28
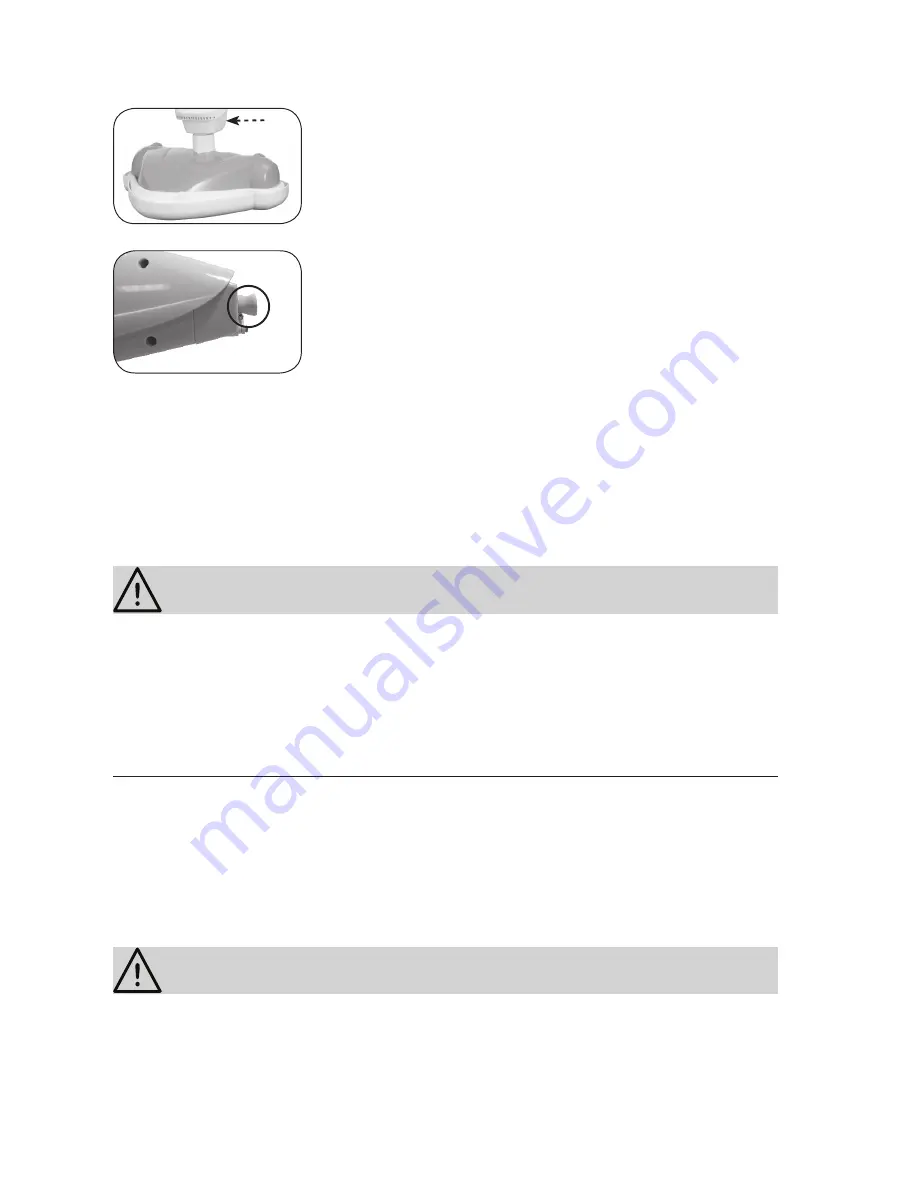
4. Insert the cleaning head (11) in the main unit (9).
5. Use the enclosed screw (10) to secure the cleaning head
(11).
6. Check whether the adapter for the cleaning head has
been inserted in the main unit (9).
7. Insert the main unit (9) back in the main unit frame (8). It must audibly lock into place.
8. Hook the locking tab (5) back in place.
9. Insert the handle (2) in the upper holder on the main unit (7) until it audibly locks into
place. To remove the handle, push the release button (4) on the back side and pull
the handle out at the same time.
Filling the water tank
ATTENTION!
❐
Always turn off the device before you
fi
ll the water tank.
❐
Never add cleaners or other additives to the water tank. They may irreparably dam-
age the device and as such, the safe operation of the device can no longer be as-
sured. Use cold, distilled water or cold tap water to
fi
ll the device.
❐
Do not over
fi
ll the water tank. Do not
fi
ll the water tank past the MAX mark.
❐
Never operate the device without water. After prolonged use, be sure to re
fi
ll the
water tank in time.
1. Open the water tank (6) by removing the cap.
2. Fill the water tank with clean tap water or distilled water. Use the enclosed measuring
cup to simplify the
fi
lling process. Do not
fi
ll the water tank past the MAX mark.
3. Then put the cap back on the water tank.
Use
ATTENTION!
❐
Each time before using the device, check the
fl
oor cleaning cloth or the cushion
cleaning cloth for wear. The cleaning clothes may not be used if they are visibly worn
down or exhibit damages!


