Operation
Install and remove the battery pack
Fit a battery pack to the angle grinder and make sure that it is pushed all the way into the battery holder
CAUTION:
• Always switch off the tool before installing or removing of the battery cartridge.
• Hold the tool and the battery pack fi rmly when installing or removing battery cartridge.
Failure to hold the tool and the battery cartridge fi rmly may cause them to slip off your hands and result in damage
to the tool and battery cartridge and a personal injury.
To remove the battery cartridge, slide it from the tool while sliding the button on the front of the cartridge.
To install the battery cartridge, align the tongue on the battery cartridge with the groove in the housing and slip it
into place. Insert it all the way until it locks in place with a little click. If you can see the red indicator on the upper
side of the button, it is not locked completely.
1. Before operation
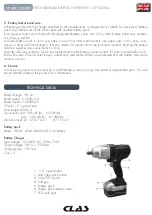
Fitting and removing the battery pack. Slide the battery into the handle until it engages. To
remove the battery, hold down the battery pack release button (A) and pull the battery pack
out of the handle.
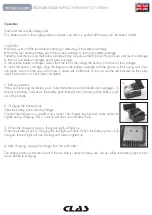
2. Charging the battery pack
Slide the battery pack onto the charger.
Connect the charger to a suitable mains socket. The charger may become warm and buzz
slightly during charging. This is normal and does not indicate a fault.
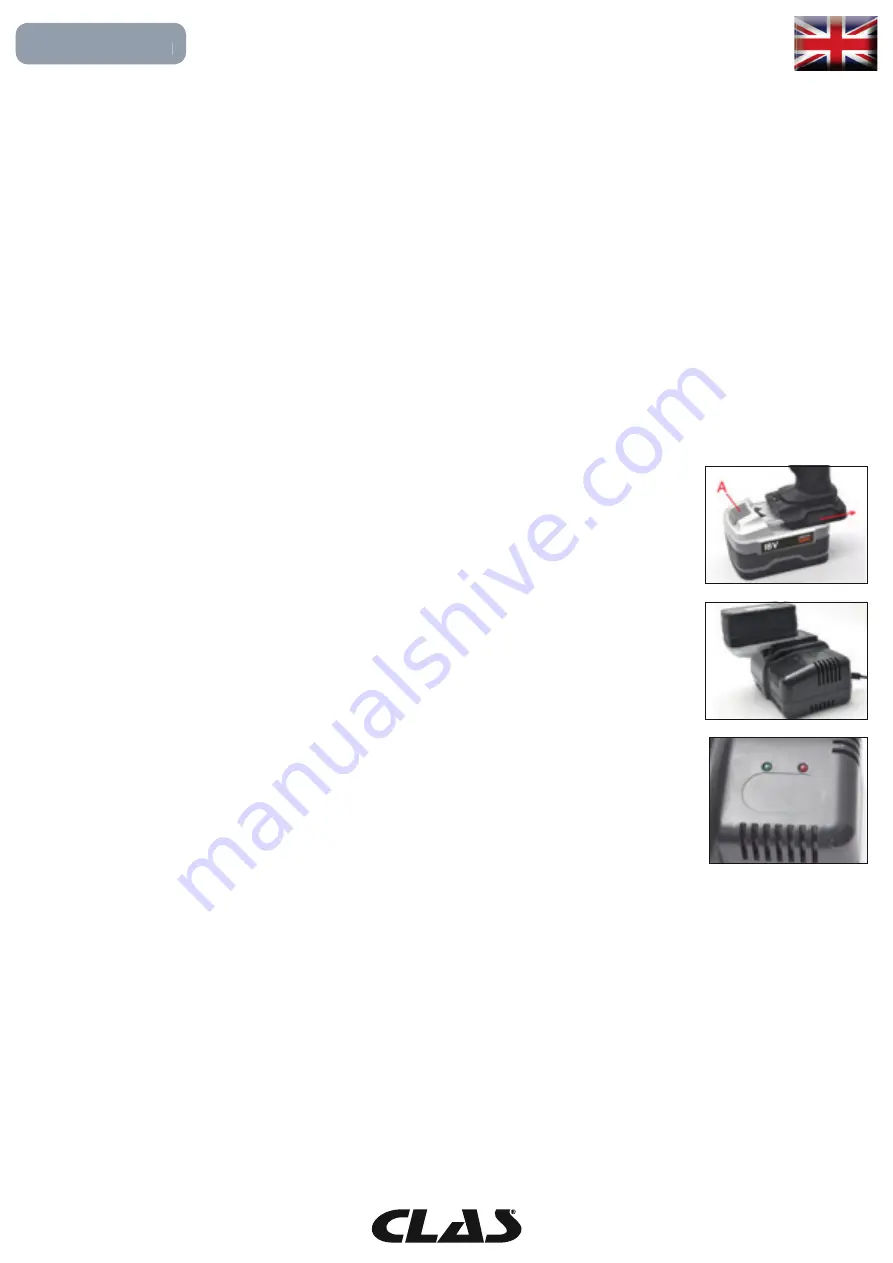
3. When the charger is plug in ,the green light will light up.
When the battery pack is charging the red light will blink. When the battery pack is fully
charged, the red light will stop blinking and remain lighted up
4. After charging, unplug the charger from the wall outlet.
The battery pack can become warm if the machine is subject to heavy use. Always allow the battery pack to cool
down before re-charging.
OE 2060 - OE 2065
RECHARGEABLE IMPACT WRENCH 1/2" 600Nm

