CKD RCKL Series Скачать руководство пользователя страница 1

CKD Corporation

INSTRUCTION MANUAL

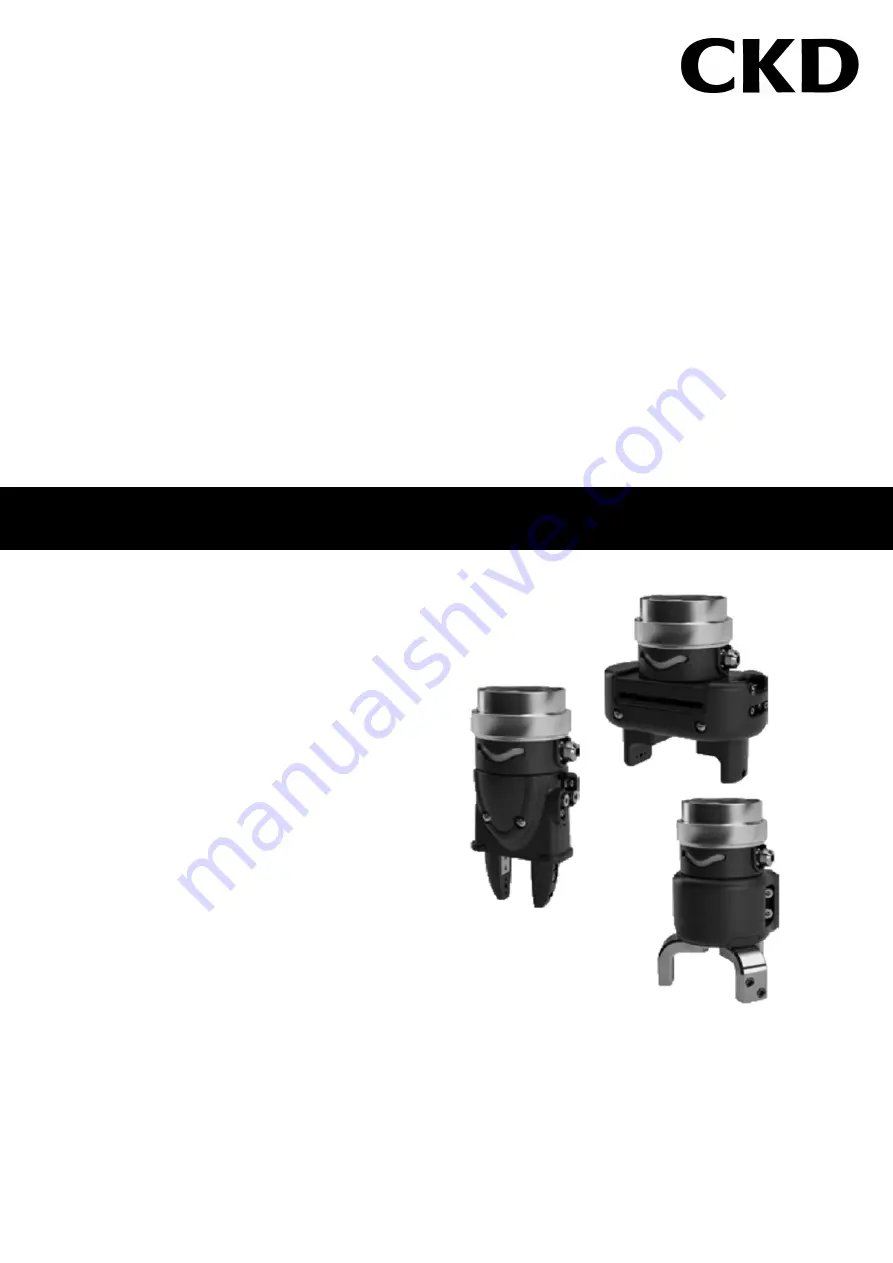
GRIPPERS FOR COLLABORATIVE ROBOT

RLSH SERIES
RHLF SERIES
RCKL SERIES

SM-A28840-A

•  Read this Instruction Manual before using the product. 

•  Read the safety notes carefully. 

•  Keep this Instruction Manual in a safe and convenient place for future reference. 

Содержание RCKL Series

Страница 1: ...ERS FOR COLLABORATIVE ROBOT RLSH SERIES RHLF SERIES RCKL SERIES SM A28840 A Read this Instruction Manual before using the product Read the safety notes carefully Keep this Instruction Manual in a safe and convenient place for future reference ...

Страница 2: ...tion In order to use our products safely it is important to select use handle and maintain the products properly Observe the warnings and precautions described in this Instruction Manual to ensure device safety Although various safety measures have been adopted in the product customer s improper handling may lead to an accident To avoid this Thoroughly read and understand this Instruction Manual b...

Страница 3: ...properties may be adversely affected and special safety measures are required Exception is made if the customer consults with CKD prior to use and understands the specifications of the product However even in that case safety measures must be taken to avoid danger in case of a possible failure Do not handle the product or remove pipes and devices until confirming safety Inspect and service the mac...

Страница 4: ...rectry inserting the work piece into the jig with the hand consider clearance during design to avoid damaging the hand Note The work piece is side along the top of the small jaw so gripper life could drop markedly Sufficient consideration should be made for the shape of the small jaw Ajust the gripper opening closing speed with a speed control valve When using at high speed play may be faster the ...

Страница 5: ...Environment 8 2 2 Unpacking 8 2 3 Mounting 8 2 3 1 Body 9 2 3 2 Sensor 10 2 4 Wiring 10 2 4 1 Wiring of Valve and Robot 10 2 5 Piping 11 2 5 1 Piping for gripper 11 3 USAGE 12 3 1 Using the gripper 12 3 1 1 Usage 12 3 1 2 Starting the robot 13 3 1 3 Software installation 13 3 1 4 Setting CKD Pneumatic Gripper 13 3 1 5 Adjustment of sencor 13 3 2 Program functions and operations 14 3 2 1 Software i...

Страница 6: ...SM A28840 A CONTENTS v 2020 02 24 5 1 2 Sensor 22 6 WARRANTY PROVISIONS 23 6 1 Warranty Conditions 23 6 2 Warranty Period 23 ...

Страница 7: ... A B port silencer R1 R2 port and mounting plate The tube has an outer daiameter of φ4 and a length of 2 5m 2 pieces Note 4 Standard with cylinder switch F2H Code Content A Robot Flange Blank Without robot flange F With Robot flange Note 1 Symbol Content B Attachments Blank Without attachments Y2 Small jaw for testing Note 2 V Directional control valve tube Note 3 Note 1 With robot flange mounting...

Страница 8: ... is 50g per piece Note 3 Directional control valve includes a φ4push in fitting air supply port and A B port silencer R1 R2 port and mounting plate The tube has an outer daiameter of φ4 and a length of 2 5m 2 pieces Note 4 Standard with cylinder switch T2H 1 1 4 Option Please contact us for single item model number JAW Y2 Y3 Small jaw for testing Y2 RLSH RHLF Y3 RCKL Accessory JAWS 2pieces RLSH RH...

Страница 9: ...duct weight kg 1 Sencor Specifications Descriptions Proximity 2 wire F2H Applications Programable controller Load supply voltage DC 10 30V Load current 5 20mA Indicator light Gripper Yellow LED ON lighting Flange Blue Green Leakage current 1 mA or less Shock resistance 980 m s2 Product weight g 10 Gripping power performance data Gripping power that functions to opening and closing directions for t...

Страница 10: ...Product weight kg 1 1 Sencor Specifications Descriptions Proximity 2 wire T2H Applications Programable controller Load supply voltage DC 10 30V Load current 5 20mA Indicator light Gripper Red LED ON lighting Flange Blue Green Leakage current 1 mA or less Shock resistance 980 m s2 Product weight g 18 Gripping power performance data Gripping power that functions to opening and closing directions for...

Страница 11: ... kg 1 1 Sencor Specifications Descriptions Proximity 2 wire T2H Applications Programable controller Load supply voltage DC 10 30V Load current 5 20mA Indicator light Gripper Red LED ON lighting Flange Blue Green Leakage current 1 mA or less Shock resistance 980 m s2 Product weight g 18 Gripping power performance data Gripping power that functions to opening and closing directions for the length ℓ ...

Страница 12: ...SM A28840 A 1 PRODUCT OVERVIEW 6 2020 02 24 1 3 Electrical Circuit Diagram Electrical circuit diagram 1 4 Dimensions 1 4 1 RLSH Series Tool connector Indicator lamp inside flange ...

Страница 13: ...SM A28840 A 1 PRODUCT OVERVIEW 7 2020 02 24 1 4 2 RHLF Series 1 4 3 RCKL Series ...

Страница 14: ...and be careful with the filtration rate a filter that removes particles exceeding 5 μm is desirable flow rate and mounting position install the filter near the directional control valve 2 2 Unpacking Check that the model number ordered and the model number indicated on the product are the same Check the exterior of the product for any damage When storing the product take proper measures to prevent...

Страница 15: ...he jaws to the fingers or table with the attached screw or bolt Note 1 Accessory jaws for RLSH and RHLF is made of resin Use for gripping test Note 2 Accessory jaws for RCKL is made of aluminum Use for gripping test Note 3 Use the following for the tightening torque of the accessory fingers RLSH RHLF 1 4N m RCKL 2 8N m Rigidity of the attachment If the attachment is not rigid enough sagging can re...

Страница 16: ...F RCKL T2H 0 1 0 2 How to replace the sensor The sensor has a special wiring treatment Please contact us Replacement procedure manual is attached to replacement sensor 2 4 Wiring 2 4 1 Wiring of Valve and Robot Setting method of I O terminal for valve wiring After installing the the decicated software from the USB memory stick attached to the product see 3 1 3 Set the valve wiring I O terminal fro...

Страница 17: ...d the Close signal is connect to Digital Output 4 2 5 Piping 2 5 1 Piping for gripper Refer to the figure below for piping between the valve and gripper and piping to the valve 4 A port 2 B port Digital Outputs Red Black Black Red Air supply Speed adjustment knob CLOSED Speed adjustment knob OPEN Tube outer diameter φ4 OPEN Tube outer diameter φ4 CLOSED 4 M4X0 7 penetrating CLOSE and valve 2 B por...

Страница 18: ...ckwise with a flathead screwdriver to confirm that the gripper opens Note Please do not turn it too quickly as it is dangerous 4 Open the cover of the B port of the valve and lever will appear When the lever is pressed air flow to the B port 5 Turn the speed control valve knob of the gripper CLOSE port slowly counterclockwise with a flathead screwdriver to confirm that the gripper close Note Pleas...

Страница 19: ...OPEN is selected check that the energization indicator lamp on the 4 A port is lit when CLOSE is selected check that the energization indicator lamp on the 2 B port is lit 3 1 5 Adjustment of sencor Adjust the sensor according to the work piece referring to 2 3 3 Sensor It is rcommended to unify the display color of the gripper and the display color of the teachpendant For details see 3 2 2 Sensor...

Страница 20: ... for product on the robot 1 The USB memory stick provided with product contains the dedicated software URCaps Insert this USB port of the teachpendant 2 On the teachpendant of the UR robot go to the Setup Robot screen and select URCaps 3 Select the button on the screen select CKD Pneumatic Gripper from data in USB and press OPEN ...

Страница 21: ...pen and Close selection button of gripper 2 Test button By pressing the button the operation test selected in No 1 is performed 3 Drop down list of Open button Set each signal of Open and Close Select and set the digital I O terminal of the controller from the drop down list A reboot is required to apply the settings to the system 4 Drop down list of Close button 5 Indicator An indicator that indi...

Страница 22: ... ON Green CLOSE None OFF OFF Gray Intermediate posiion None ON ON Light blue Intermediate position Display check the Cylinder Position Sensors Proguram registratio Display when select Program and select Structure and select URCaps press CKD Pneumatic Gripper and press CKD Gripper on the program list No 1 No 2 No 3 Select High Low when waiting for input signal ...

Страница 23: ... from the pull down menu when waiing for an inputsignal and set a waiting time when setting a waiting time Note 1 The setting on the CKD Pneumatic Gripper screen is available only for Close At the time of Open makes setting on the UR robot default setting screen shwn below Default setting for total mass and center of gravity Model Center of gravity mm Total weight kg Note 2 CX CY CZ RLSH 0 0 1 1 5...

Страница 24: ...e Installation tab Set the Tool output voltage to 24V 2 Set the Open signal and Close signal on the setting screen The figure below shows the case where the digital output 1 is set to Open valve A port output and the digital output 0 is set to Close valve B port output Set the I O terminal of the controller connected to the valve from the drop down list ...

Страница 25: ...program 1 If you select Structure tab URCaps tab and press CKD Pneumatic Gripper on the program screen CKD Grip will be added to the UR robot program list displayed on the left side of the screen Press the CKD Pneumatic Gripper button displayed on the URCaps tab 2 Press the CKD Gripper and the screen changes to the CKD Pneumatic Gripper screen Press the CKD Gripper ...

Страница 26: ...he name of program is changed and the command is registered in the UR robot program Sensor status and gripper display Operation Screen display Content No operation Operation direction not set Press the Open button Open set Press the Close button Close set Example of registering a command of the Open in a program ...

Страница 27: ...fe damage and malfunction or accidents 4 1 Periodic Inspection In order to use the product under optimum conditions perform a periodic inspection every six months or when the operation count reaches 5 hundred thousand times Inspection item Actuation state Air leakage Looseness of screws and bolts Backlash in the finger Stroke abnormality 4 2 Maintenance of the product Regularly grease the sliding ...

Страница 28: ...the way the cylinder is mounted Change the mounting style 5 1 2 Sensor Failure phenomenon Cause Treatment method Switch turns on but indicator does not blink Contact is welded Replace the switch Rating of load is exceeded Replace the relay with one recommended by CKD or replace the switch Indicator is damaged Replace the switch External signal is faulty Check the external circuit Switch does not t...

Страница 29: ...avoided if the customer s machinery or device into which the product is incorporated had functions and structures generally provided in the industry Failure caused by reasons unforeseen at the level of technology available at the time of delivery Failure caused by acts of nature and disasters beyond control of CKD The warranty stated herein covers only the delivered product itself Any loss or dama...

Отзывы: