background image


 BASIC OPERATION


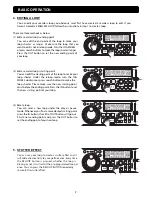
4.  EDITING A LOOP


You  can  edit  your  seamless  loop  you  obviously  must  first  have  created  a  seamless  loop  to  edit.  If  you 

haven’t created a SEAMLESS LOOP, follow the instructions in step 1 to create a loop. 

There are three methods as below: 
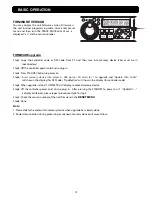
(1)  Edit a seamless loop’s ending point 

You  can  edit  the  end  point  of  the  loop  to  make  your 

loop  shorter

  or  longer.

  Make  sure  the  loop  that  you 

want to edit is not in reloop mode. Turn the JOG WHEEL 

or press search buttons to make the loop shorter/ longer. 

Press  the  OUT  button  to  set  the  new  ending  point  of 

your loop. 

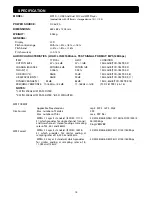
(2)  Edit a seamless loop’s starting point 

You can edit the starting point of the loop to make your 

loop  shorter.  Under  the  reloop  mode,  turn  the  JOG 

WHEEL clockwise or press search buttons to make the 

loop  shorter.  Please  make  sure  the  new  starting  point 

must before the ending point. Press the IN button to set 

the new 

starting 

point of your l oop. 

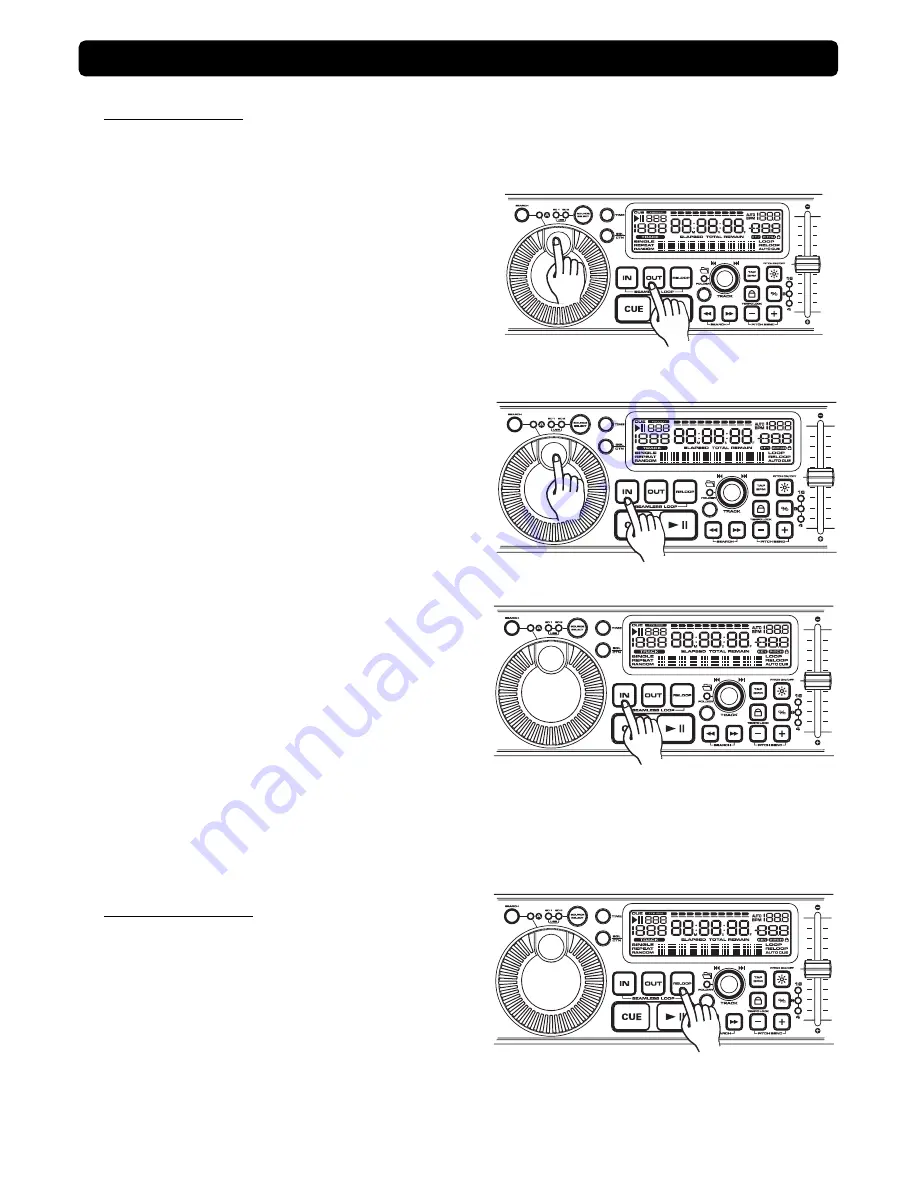
(3)  Reset a loop 

You  can  reset  a  new  loop  under  the  play  or  pause 

mode. Whenever you find a more desired starting point 

press the IN button, the LED of OUT button will go out. 

Find a new ending point and press the OUT button to 

set the ending point of your new loop. 


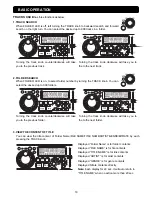
5.  STUTTER EFFECT


You can use your loop to create a stutter effect and it 

will add extra creativity to your performance. Every time 

the  RELOOP  button  is  pressed,  whether  the  loop  is 

playing or not, it will restart the pre-programmed loop at 

once. You can press the RELOOP BUTTON repeatedly 

to create the stutter effect.

Содержание MPSD-1

Страница 1: ...OPERATING INSTRUCTIONS USB And Dual SD Card MP3 Player MPSD 1 ...

Страница 2: ...uired when the apparatus has been damaged in any way such as power supply cord or plug is damaged liquid has been spilled or objects have fallen into the apparatus the apparatus has been exposed to rain or moisture does not operate normally or has been dropped WARNING To reduce the risk of fire or electric shock do not expose this apparatus to rain or moisture The apparatus shall not be exposed to...

Страница 3: ...as pitch bend tool to synchronize the beats of the playing track to another track When the fast search mode is turned on you can use the JOG WHEEL to search very quickly forward backward inside the current track PAUSE MODE normally the JOG WHEEL is used to search very precisely 1 frame precision for the exact cue point When the fast search mode is turned on you can use the JOG WHEEL to search very...

Страница 4: ... the slot Press the SD card while in Pause Cue mode to eject the SD card 8 USB PORT This is the USB port where you insert your USB mass storage device for playing MP3 files 9 TIME BUTTON The TIME button switches between elapsed playing time and remain time in a track The default mode is remain time 10 FOLDER BUTTON Use to switch between FOLDER and TRACK search modes When the LED of FOLDER button i...

Страница 5: ...n It is used to switch the power on standby When power cord plug into the rear socket to be the STANDBY mode all LED are off but STANDBY LED a In the STANDBY mode press power button to POWER ON Please insert memory device is displayed in the LCD b In the POWER ON mode press and hold the power button more than 2sec to standby 20 TEMPO LOCK BUTTON This button is used to choose the tempo lock mode an...

Страница 6: ...P INDICATOR Indicates if a loop has been set which can be activated with the Reloop function Reloop 10 AUTO CUE STATUS Indicates if Auto Cue is activated AUTO CUE Press and hold the SGL CTN for 1 second to turn the Auto Cue function on and off 11 TIME DISPLAY Indicates the time of the chosen Time mode in minutes seconds and frames 12 INFORMATION INDICATOR Indicates the current name of the track of...

Страница 7: ... slot or b TWO CARDS PLAYBACK Each SD slot inserts a card to play And each player select different SD slot to play or c THE USB PLAYBACK Press the SOURCE SELECT button and both SD A B LEDs are on to play the USB device When connecting a USB stick USB card reader or external hard drive make sure you are correctly lined up with the USB port and gently insert the USB connection To disconnect a USB dr...

Страница 8: ...same point that you pressed the IN BUTTON Pressing the CUE BUTTON will now return you to this exact point 2 You may also use the SEARCH KNOB to set a cue point While the music is in PAUSE or CUE mode use the SEARCH KNOB to scroll through a track to find your desired starting point Once you have found your desired position press the PLAY BUTTON to set your cue point Pressing the CUE BUTTON will ret...

Страница 9: ...TTON and OUT BUTTON LEDs will immediately begin to flash rapidly indicating the SEAMLESS LOOP mode has been activated 2 EXITING A LOOP To exit a SEAMLESS LOOP press the OUT BUTTON The IN BUTTON and OUT BUTTON LEDs will remain on but will stop flashing Music playback will resume normal play The IN BUTTON OUT BUTTON LEDs and RELOOP LOOP indicator in the LCD will remain on to remind you that a loop i...

Страница 10: ...the loop to make your loop shorter Under the reloop mode turn the JOG WHEEL clockwise or press search buttons to make the loop shorter Please make sure the new starting point must before the ending point Press the IN button to set the new starting point of your l oop 3 Reset a loop You can reset a new loop under the play or pause mode Whenever you find a more desired starting point press the IN bu...

Страница 11: ... desired up to 999 folders Turning the track knob counterclockwise will take you to the previous folder Turning the track knob clockwise will take you to the to the next folder 3 VIEW THE CONTENT OF TITLE You can view the title content of Folder Name FILE NAME TITLE NAME ARTIST GENRE BITRATE by each pressing the TRACK knob Displayed Folder Name is for folder contents Displayed FILE NAME is for fil...

Страница 12: ...pressing the TAP BPM button more than 1 sec and then the LCD will display AUTO BPM There are two modes for BPM count as below 1 Manual BPM following the music tempo and press the TAP BPM button to count BPM value from the auto BPM to manual mode the value won t change until the correct BPM value is counted 2 AUTO BPM counting BPM value automatically without pressing TAP BPM button BASIC OPERATION ...

Страница 13: ...CK KNOB To exit the menu settings press the TIME BUTTON again REPEAT REPEAT OFF All the tracks in the memory device will play in the normal mode REPEAT ON All the tracks in the current folder will play track by track until the repeat function is deactivated RESET In the Reset all section you may reset the system memory This will reset all your programmed menus and restore the unit to its default s...

Страница 14: ...nsert memory device into player A USB port or SD card slot 1 to upgrade and Update 10 100 will show in the display for DSP code UpdateUIxx will show in the display for controller code Step5 When upgrade is done COMPLETE will display removed memory device Step6 Off the controller power cord and re plug in After pressing the STANDBY to power on if UpdateUI is displayed failure please repeat procedur...

Страница 15: ... TCD 782 TRK 18 FREQUENCY RESPONSE 17 16KHz 0 2dB 17 16KHz 1dB TCD 781 TRK 1 4 16 NOTES 1 WITH 20KHz LOW PASS FILTER 2 WITH 20KHz LOW PASS FILTER IHF A WEIGHTED MP3 FORMAT Applicable file extensions mp3 MP3 mP3 Mp3 9 9 9 s r e d l o F f o r e b m u n x a M Disc Format s e l i f 9 9 9 x a m s e l i f f o r e b m u n x a M MPEG 1 Layer 3 standard ISO IEC 11172 3 which provides for single channel mon...

Отзывы: