5-4
Cisco Network Convergence System 4000 Series Hardware Installation Guide
Chapter 5 Installing Route Processor Cards, Fabric Cards, and Line Cards
Installing and Removing a Filler Card
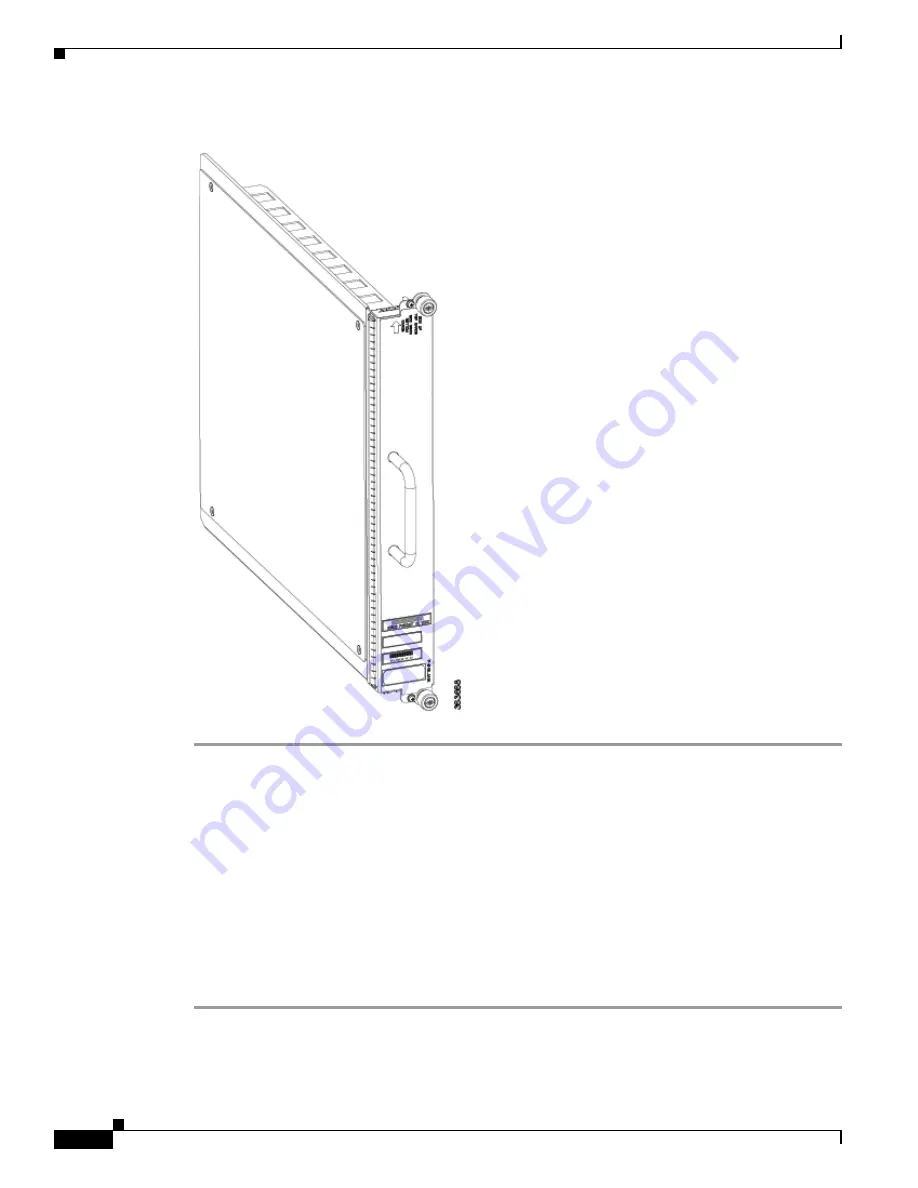
Figure 5-1
LC Slot Filler Card
Step 1
Determine the correct orientation of the filler card:
•
If you are installing the card in the top rack, the arrow should be pointing up.
•
If you are installing the card in the bottom rack, the arrow should be pointing down.
Step 2
Use both hands while inserting a filler card. Use one hand on the faceplate and the other hand along the
base of the filler card to guide it into the slot.
Step 3
Slide the filler card into the chassis until the captive screw plates are flush with the chassis.
Step 4
Partially tighten the two captive screws on the front panel of the filler card (either by hand or with the
number-2 Phillips screwdriver or number-2 common [flat-head] screwdriver) to make sure that they are
both engaged.
Step 5
Use the number-2 Phillips screwdriver or number-2 common (flat-head) screwdriver to fully tighten the
captive screws to seat the filler card firmly in the slot.


