1-4
Cisco FlexWAN and Enhanced FlexWAN Modules Installation Guide
OL-8357-01
Chapter 1 Installing the FlexWAN and Enhanced FlexWAN Modules
Installing the FlexWAN and Enhanced FlexWAN Modules
Step 2
Install port adapters on the FlexWAN or Enhanced FlexWAN module (see the
Enhanced FlexWAN Module Port Adapter” section on page 1-6
). Tighten any screws provided to secure
the port adapter.
Step 3
Choose a slot for the FlexWAN or Enhanced FlexWAN module.
Step 4
Use a screwdriver to loosen the captive installation screws that secure the switching-module filler plate
(or the existing switching module) from the desired slot, if present.
Step 5
Remove the switching-module filler plate (or the existing switching module), if present.
Step 6
Hold the module handle with one hand, and place your other hand under the carrier to support the
module. Do not touch the printed circuit boards or connector pins.
Step 7
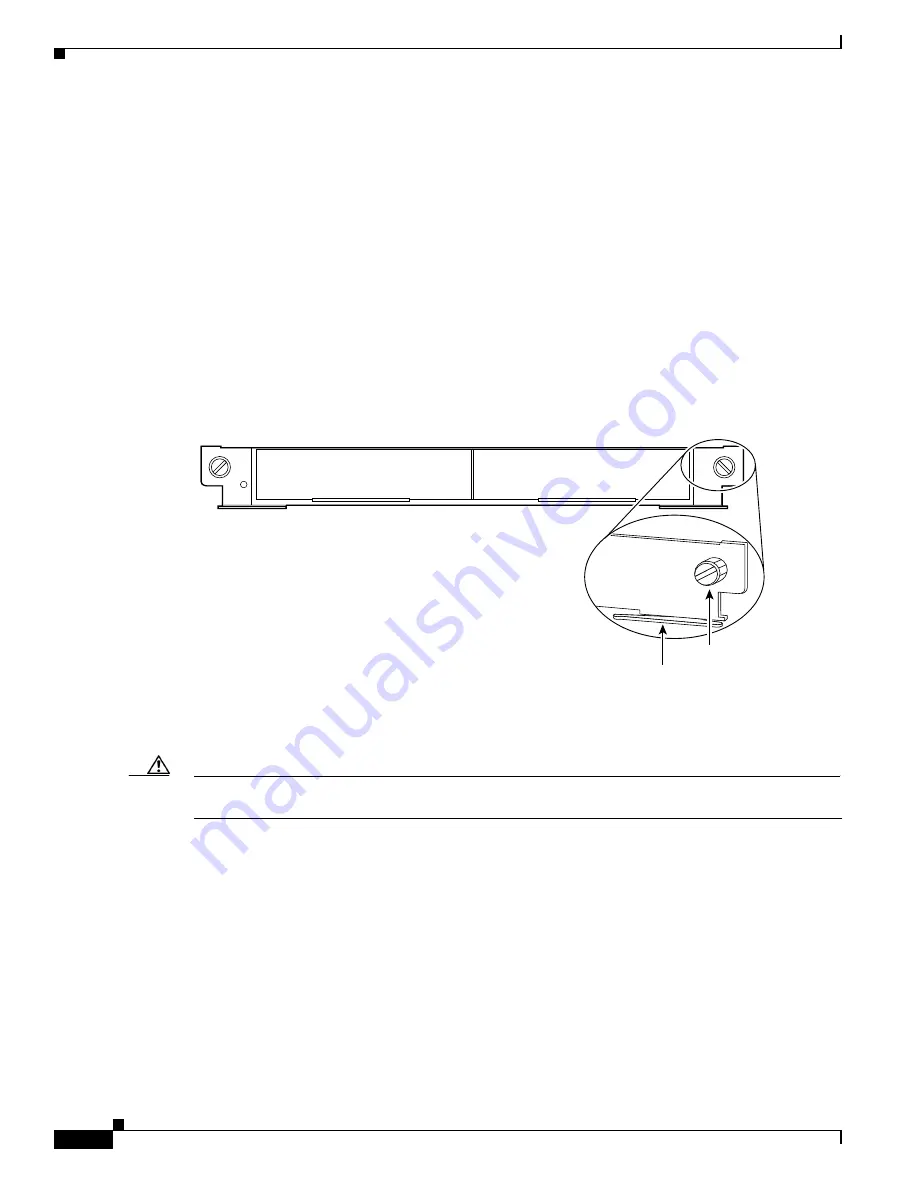
Place the module in the slot. Align the notch on the sides of the module carrier with the groove in the slot.
Step 8
Keep the modules at a 90-degree orientation to the backplane, and carefully slide the module into the
slot until the module faceplate contacts the ejector levers (see
).
Figure 1-3
Ejector Levers and Captive Installation Screws
Step 9
Use the thumb and forefinger of each hand and simultaneously push in the left and right levers to fully
seat the module in the backplane connector.
Caution
Always use the ejector levers when installing or removing modules. A module that is partially seated in
the backplane causes the system to halt and subsequently crash.
Step 10
Tighten the captive installation screws on the left and right ends of the module.
Step 11
Enter the
show module
command to verify that the system acknowledges the new module and has
brought it online.
The following example shows the output of the
show module
command:
STATUS
32465
Captive
installation
screws
Ejector lever


