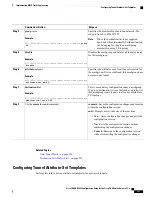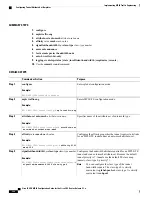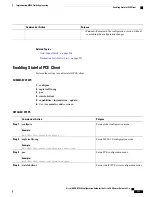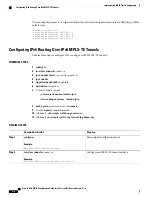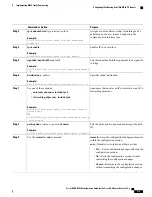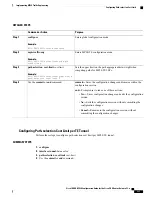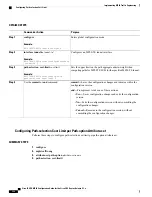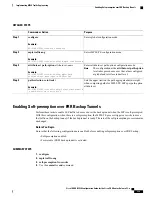
SUMMARY STEPS
1.
configure
2.
ipv4 unnumbered mpls traffic-eng Loopback N
3.
mpls traffic-eng
4.
auto-tunnel mesh
5.
tunne-id min value max value
6.
group group-id
7.
onehop
8.
Use the
commit
or
end
command.
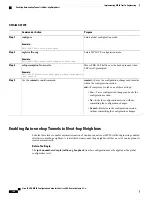
DETAILED STEPS
Purpose
Command or Action
Enters global configuration mode.
configure
Example:
RP/0/RP0/CPU0:router# configure
Step 1
Configures the globally configured IPv4 address that can
be used by the Auto-tunnel backup tunnels.
ipv4 unnumbered mpls traffic-eng Loopback N
Example:
RP/0/RP0/CPU0:router(config)#ipv4 unnumbered mpls
traffic-eng loopback 0
Step 2
Enters the MPLS-TE submode.
mpls traffic-eng
Example:
RP/0/RP0/CPU0:router(config)#mpls traffic-eng
Step 3
Enters the auto-tunnel mesh configuration submode.
auto-tunnel mesh
Example:
RP/0/RP0/CPU0:router(config-mpls-te)#auto-tunnel
mesh
Step 4
Specifies the minimum and maximum number of
auto-tunnel mesh tunnels that can be created on this router.
The range of tunnel ID is from 0 to 65535.
tunne-id min value max value
Example:
RP/0/0/CPU0:ios(config-te-auto-mesh)# tunnel-id
min 4000 max 6000
Step 5
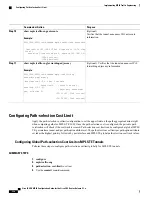
Enters the auto-tunnel mesh group configuration submode
and creates a group ID.
group group-id
Example:
RP/0/RP0/CPU0:router(config-te-auto-mesh)#group
50
Step 6
Cisco IOS XR MPLS Configuration Guide for the Cisco CRS Router, Release 5.1.x
341
Implementing MPLS Traffic Engineering
Enabling Auto-onehop Tunnels to Next-hop Neighbors

