Deployment Details
PAGE 46
1.
Create a user for Unified CM access
2.
Create a user for TMS CMR access
3.
Create a user for TMS-scheduled conference access
4.
Change the system settings
5.
Add IP addresses for instant, personal and scheduled CMR conference locations on
Conductor
6.
Create Service preferences
7.
Set up conference bridge pools
8.
Add Conference Bridge Pool in Service preference
9.
Create a conference template for an instant CMR conference
10.
Create a conference template for personal CMR conferences
11.
Create a conference template for scheduled CMR conference
12.
Create a conference alias for an personal CMR conferences
13.
Create a conference alias for an scheduled CMR conference
14.
Create locations in Conductor
15.
Add locations to conference bridge pools
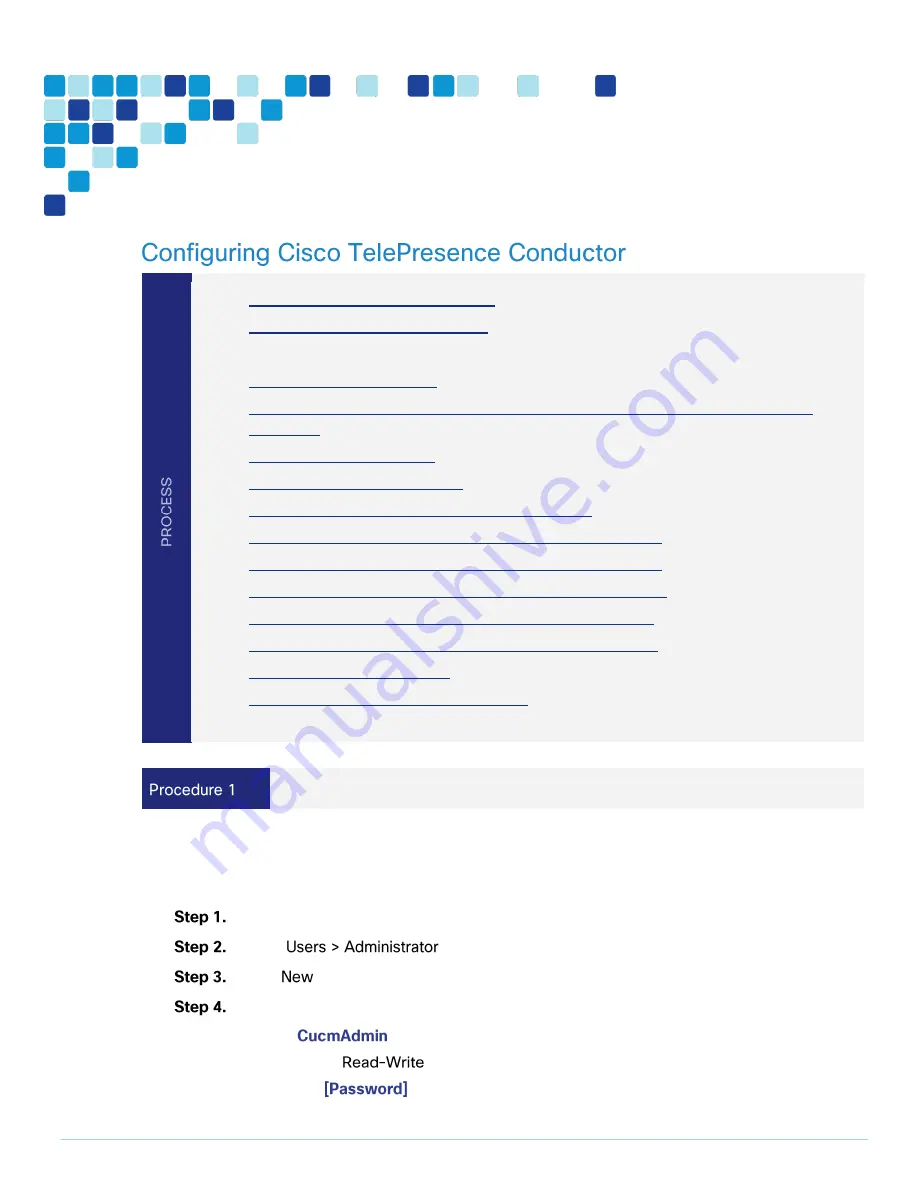
Create a user for Unified CM access
For Unified CM to communicate with TelePresence Conductor, you must configure a user with
administrator rights on TelePresence Conductor. We recommend that you create a dedicated Read-write
user for this task.
Log into TelePresence Conductor as a user with administrator rights.
Go to
accounts.
Click
.
Enter the following in the relevant fields:
Name—
Access level—
Password—
Содержание BE6000
Страница 2: ...Preface PAGE 2 ...
Страница 3: ...Preface PAGE 3 ...
Страница 10: ...Introduction PAGE 10 High level network diagram ...
Страница 29: ...Deployment Details PAGE 29 On the welcome screen click ...
Страница 35: ...Deployment Details PAGE 35 Run the TMSPE installer as Click On the page select the checkbox and click ...
Страница 50: ...Deployment Details PAGE 50 Click Navigate to and set to ...
Страница 62: ...Deployment Details PAGE 62 Click ...
Страница 69: ...Deployment Details PAGE 69 Click ...
Страница 77: ...Deployment Details PAGE 77 Click ...
Страница 89: ...Deployment Details PAGE 89 Click Make sure that the Conference Bridge shows as registered to the Unified CM ...
Страница 93: ...Deployment Details PAGE 93 SIP address URI Click ...
Страница 95: ...Deployment Details PAGE 95 Click Click In enter and then click ...
Страница 96: ...Deployment Details PAGE 96 Under enter as the URI and click ...
Страница 97: ...Deployment Details PAGE 97 Configure SX20 Navigate to In enter and then click ...
Страница 100: ...Deployment Details PAGE 100 Click on Click Enter the personal CMR name as and click ...
Страница 101: ...Deployment Details PAGE 101 On the Set your click The Personal CMR conference is created ...
Страница 104: ...Deployment Details PAGE 104 Click Click on tab ...
Страница 106: ...Appendix A Product List PAGE 106 ...


