Cisco 1262 Access Point Installation Manual
3
Installing a padlock (optional)
Use the security hasp on the adapter cable access
cover and a padlock (that you provide) to secure your
access point to the mounting plate. Compatible
padlocks are Master Lock models 120T or 121T. The
cable access cover on the mounting bracket covers the
cable bay area (including the power port, Ethernet port,
console port, and mode button) to prevent access.
Follow these instructions to install the padlock:
1. With the access point installed on the mounting
bracket, insert a padlock into the security hasp.
Note:
If your access point is mounted to a hard
ceiling, the clearance between the mounting bracket
and the ceiling is small. Work slowly using both hands
to position and secure the lock into the mounting
bracket hasp.
2. Rotate the lock clockwise and align the bail with the
lock body.
3. Grasp the lock and push it into the bail to lock the
lock. See Figure 4.
Figure 4. Inserting the padlock into the security hasp
4. Rotate the padlock into the padlock area. See
Figure 5.
Figure 5. Rotating the padlock into the padlock area
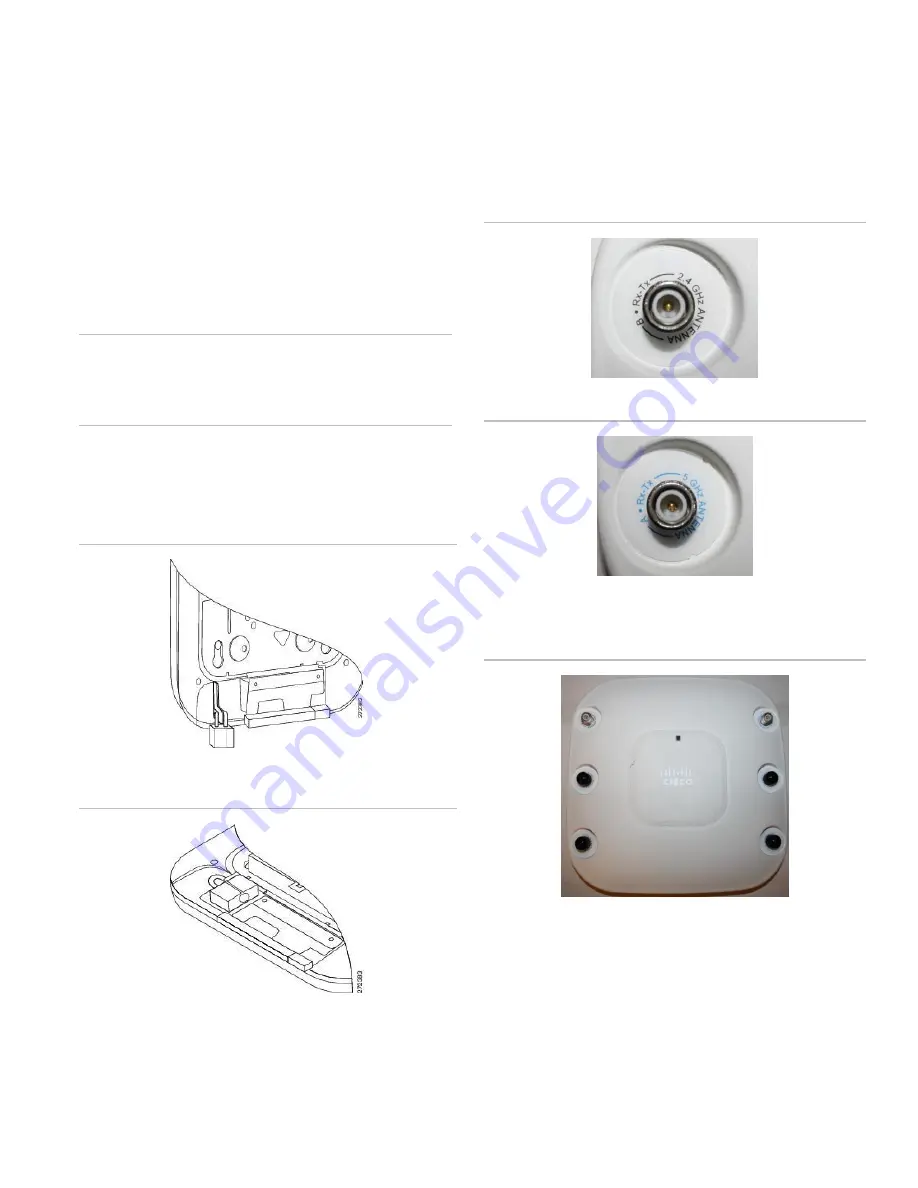
Connecting the MobileView antenna
The Cisco 1262 Access Point has six antenna ports:
three labeled 2.4 GHz ANTENNA as shown in Figure 6
below; and three labeled 5 GHz ANTENNA as shown in
Error! Reference source not found.
below.
Figure 6. Three antenna ports labeled 2.4 GHz ANTENNA
Figure 7. Three antenna ports labeled 5 GHz ANTENNA
Each port has a black rubber protective cap, as shown in
Figure 8 below.
Figure 8. Black protective caps shown on four ports
Unless instructed otherwise for your specific installation,
remove the three protective rubber caps from the access
point ports labeled 5 GHz ANTENNA.
1. Attach the three 802.11 antenna cables to the three
5 GHz access point ANTENNA ports.
2. If the wireless antenna is part number MSS-MISC-
ANT-4-240 and the DVR is a MobileView PENTA,
connect the fourth antenna cable to the DVRs GPS
port.