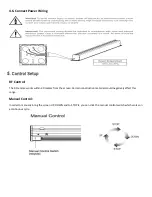
The screen has a nine-foot power cable permanently attached to the left side of the screen as seen from the
viewing area. Install or locate a receptacle close enough to plug the screen in prior to installation.
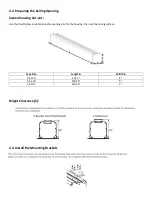
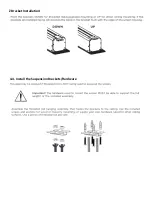
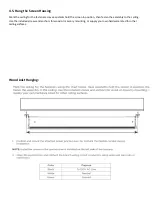
4.1. Mounting Z Brackets:
Cirrus Screens can be controlled via Manual button, IR remote, wireless 12-volt trigger, RF remote, or RS232.
Complete instructions for each method are described in the Control Setup section. Decide on the method that will
be used before installation begins to avoid any issues with control later. Pre-wire any cables from projectors or
control systems prior to closing the walls or ceiling.
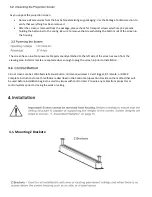
As you unpack the projection screen:
•
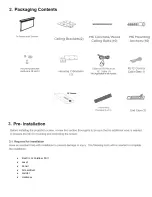
Remove all accessories from the box before discarding any packaging. Use the Package Contents section to
verify that everything has been removed.
•
After the screen is removed from the package, please check for transport screws which may be present
holding the batten bar to the casing. Be sure to remove the screws holding the bottom rail of the screen in
the housing.
Содержание Harbour 2
Страница 1: ...In Ceiling Tab Tensioned Projection Screen ...
Страница 3: ... Electric or Cordless Drill Level Pencil Screwdriver Ladder Hacksaw ...
Страница 6: ...Z Bracket Installation 4 4 Install the Suspension Brackets Hardware ...
Страница 14: ......
Страница 15: ......


