QUESTIONS? Call 01761 410084 or email support@chronologic .co .uk
?
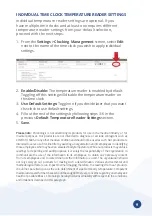
DEFAULT TEMPERATURE READER SETTINGS
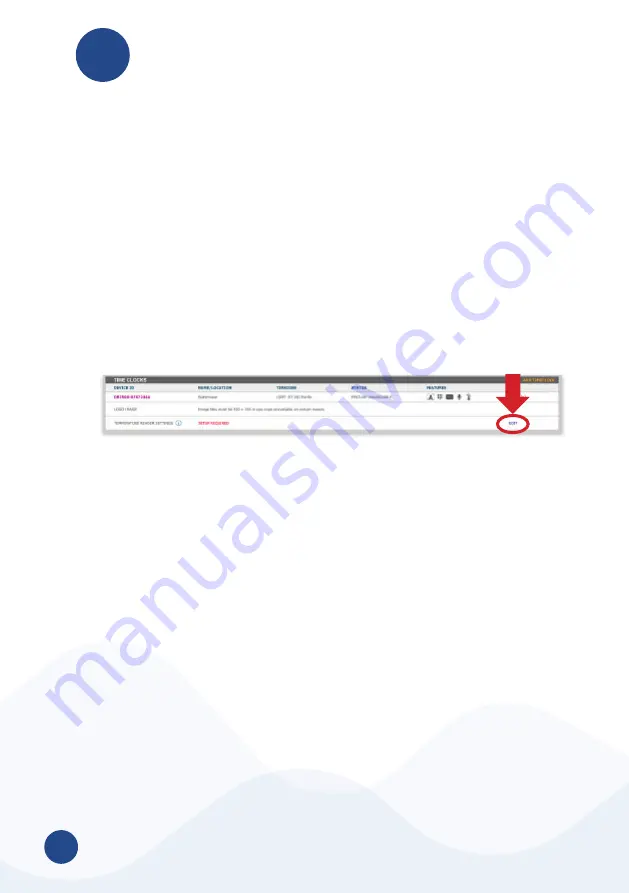
1 . Set up your default temperature reader settings by selecting
Settings > Clocking Management . Then, select Edit next
to
Temperature Reader Settings and fill out the following
information .
2 .
Enable/Disable: The temperature reader is enabled by default .
Toggling off this setting will disable the temperature reader on
all time clocks using default settings .
3 .
Temperature Unit: Fahrenheit or Celsius .
4 .
Temperature Lockout Threshold: The time clock will lockout
employees who meet or exceed this number .
5 .
Temperature Reporting: Choose how employee temperatures
will be recorded in your uAttend account as either “Actual
Temperature” or “Pass/Fail .”
6 .
Temperature Lockout Message: This message will display on
the time clock screen if an employee is locked out of clocking .
7 .
Apply Default Settings: Select which clocks will use default
settings .
8 .
Save.
9 . If you have multiple time clocks on your account and would like
to apply Individual Temperature Reader Settings, proceed to the
next section .
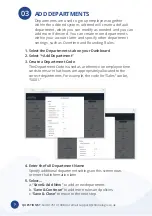
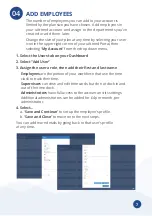
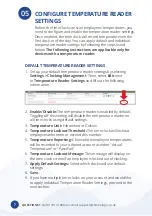
CONFIGURE TEMPERATURE READER
SETTINGS
Before the time clock can scan employees’ temperatures, you
need to configure and enable the temperature reader settings.
Once enabled, the time clock will record temperatures on the
first clock-in of the day. You can apply default and individual
temperature reader settings by following the steps listed
below .
The following instructions are applicable only for
devices with a temperature reader.
05


