Downloaded from Projector.com
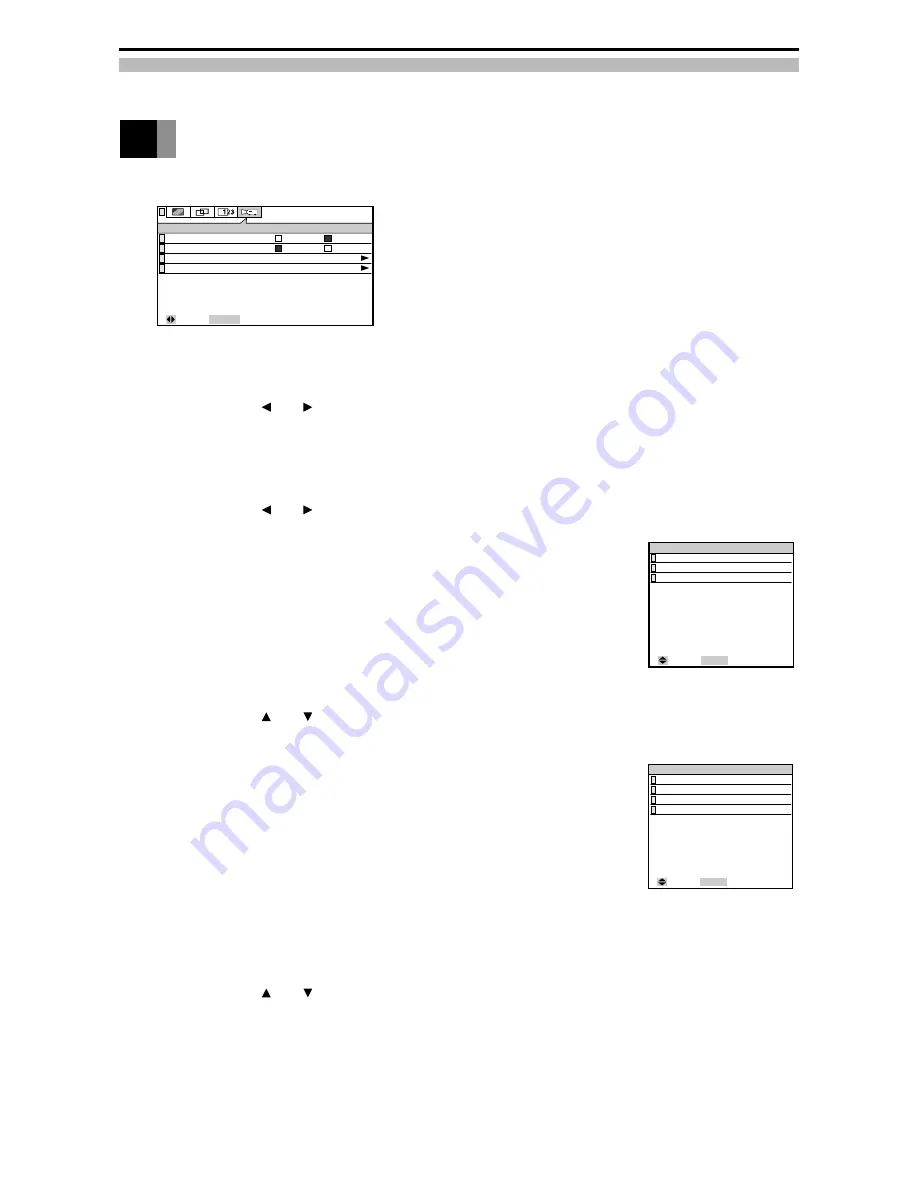
You can adjust and select the following items from the INSTALLATION Menu.
■
Auto Power Up
You can set whether or not the lamp comes on automatically when the
power plug is inserted in the socket.
Select by pressing the
and
adjustment buttons.
The factory default setting is [Manual].
■
Auto Lamp Off
You can set whether or not the lamp goes off when there is no image
input signal for about 20 minutes.
Select by pressing the
and
adjustment buttons.
The factory default setting is [On].
■
Remote Control
You can select use of the wireless remote control unit light receivers on
the front and rear of the projector from the following.
1) Rear & Front
The remote control signal can be received from the front and rear.
2) Rear
The remote control signal can be received from the rear only.
3) Front
The remote control signal can be received from the front only.
Select by pressing the
and
adjustment buttons.
The factory default setting is [Rear & Front].
■
Reverse Mode
You can select the picture condition from the folowing.
1) Floor • Front
Used to project from the front of the screen.
2) Floor • Rear
The picture is flipped horizontally. Used to project from behind
the screen.
3) Ceiling • Rear
The picture is flipped vertically. Used to project from behind the
screen with ceiling suspension.
4) Ceiling • Front
The picture is flipped horizontally and vertically. Used to project
from the front of the screen with ceiling suspension.
Select by pressing the
and
adjustment buttons.
The factory default setting is [Floor • Front].
Setting INSTALLATION
(Remote Control)
(Reverse Mode)
: Select MENU : Return
Remote Control
Rear & Front
Rear
Front
Rear & Front
Floor • Front
INSTALLATION
Auto Power Up
Auto Lamp Off
Remote Control
Reverse Mode
Auto
Manual
On
Off
: Select
ENTER : Next
: Select MENU : Return
Reverse Mode
Floor • Front
Floor • Rear
Ceiling • Rear
Ceiling • Front
28


