Adjusting the image
Learn how to adjust image geometry so it displays correctly.
Adjusting the image to fit the screen
This procedure must be completed before you complete a boresight adjustment.
1. Verify that the projector is properly positioned relative to the screen (on page 13).
2. Display the RGB-12bit-Full Screen White test pattern (on page 32).
3. On the main screen, tap the Lens Adjust (
) icon.
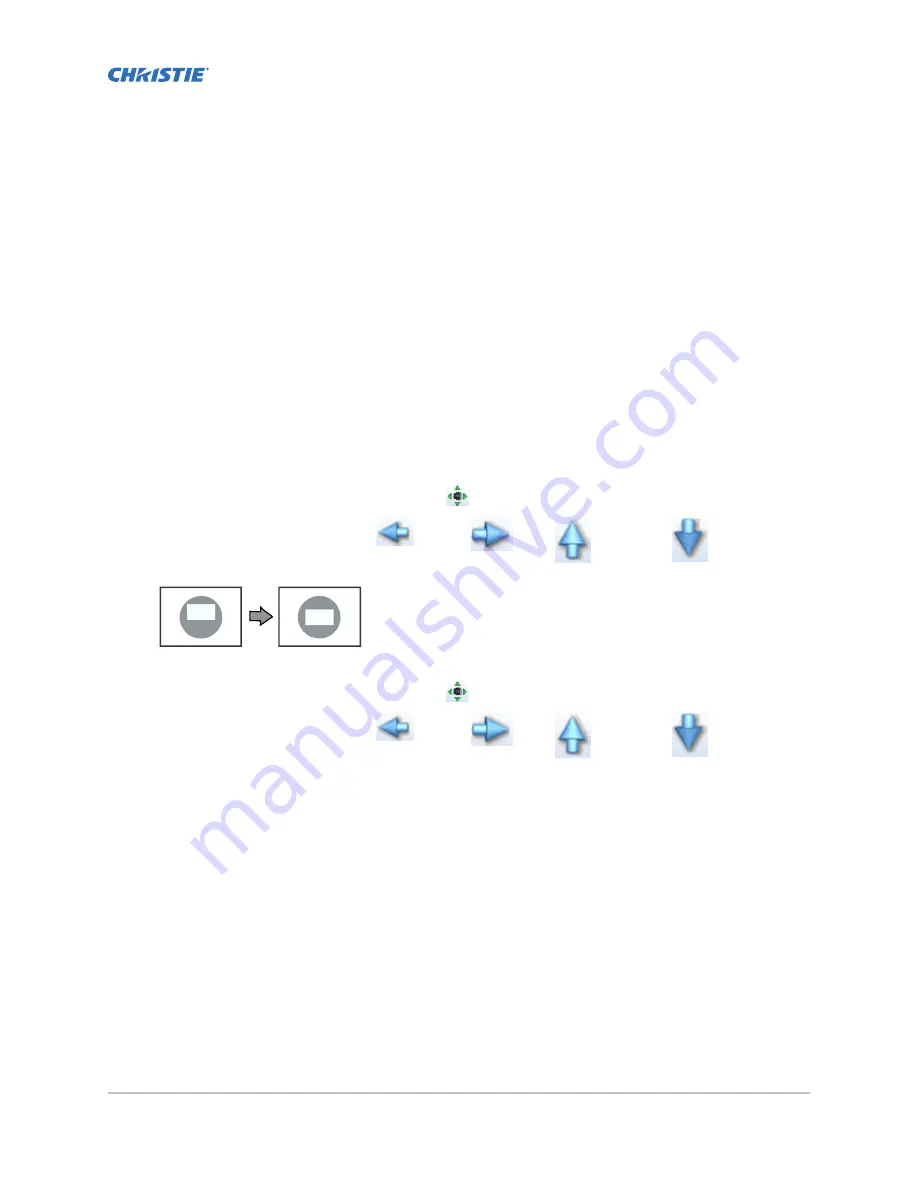
4. In the Offset area, tap the left (
), right (
), up (
), or down (
) arrow icons
until the light created by the projector is centered on the screen.
5. Display the DC2K Framing2 test pattern (on page 32).
6. On the main screen, tap the Lens Adjust (
) icon.
7. In the Offset area, tap the left (
), right (
), up (
), or down (
) arrow icons
to refine the position of the test pattern on the screen.
8. In the Zoom area, tap the positive and minus icons until the image fits your screen.
9. In the Focus area, tap the left and right focus icons until the test pattern details are in focus.
When your adjustment is complete, the words and lines in the test pattern should be
distinguishable uniformly across the screen and there should not be any sections that are out
of focus.
10. With the framing test pattern displayed, re-check projector leveling so the top edge of the
image is parallel to the top edge of the screen.
11. Display the RGB-12bit-Full Screen White test pattern (on page 32).
12. If the test pattern is focused and centered on the screen you do not need to complete further
image adjustment. If the image is not focused and centered on the screen, complete one of
these procedures:
a) If the image appears distorted and resembles a trapezoid, correct the keystone effect (on
page 23).
CP2208-LP Installation and Setup Manual
22
020-102152-03 Rev. 1 (05-2017)
Copyright
©
2017 Christie Digital Systems USA Inc. All rights reserved.


