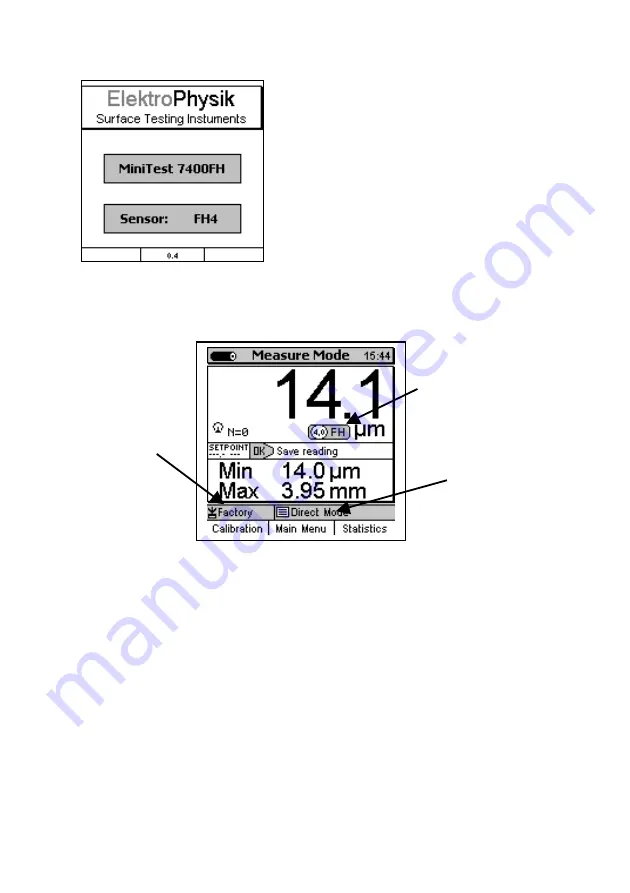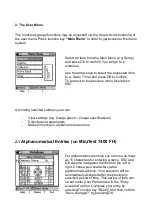
a) Start Screen appears showing company
logo, gauge version and sensor type that is
currently connected (see illustr. on the left.)
b) After approx. 2 seconds, the gauge switches
automatically into measure mode and is
ready to take readings. The Measure
Screen will appear without any reading
being shown.
c)
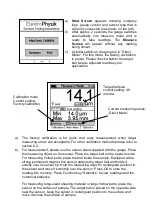
At initial switch-on the gauge is in “Direct
Mode“. For this mode, the factory calibration
is preset. Please check whether the target
ball size as adjusted matches your
application.
a) The factory calibration is for quick and easy measurement when larger
measuring errors are acceptable. For other calibration methods please refer to
section 6.2.
b) For measurement, please use the sensor stand supplied with the gauge. Place
the measuring object on the sensor. Place the target ball on the opposite side.
For measuring hollow parts, place the ball inside the sample. Equipped with a
strong permanent magnet, the sensor attracts the target ball and holds it
exactly over its sensor tip. Hold the measuring object in rectangular position to
the sensor and move it smoothly over the sensor. Press OK to store the
reading into memory. Press Function key “Statistics” to view readings and the
numerical statistics.
For measuring large-sized sheeting material or large hollow parts, place the
sensor on the surface of sample. The target ball is placed on the opposite side
near the sensor. Keep the sensor in rectangular position to the surface and
move it across the surface of sample.
Target ball size
current setting: 4.0
mm dia.
Calibration mode
Current setting:
Factory calibration
Current measuring series:
„Direct Mode“


