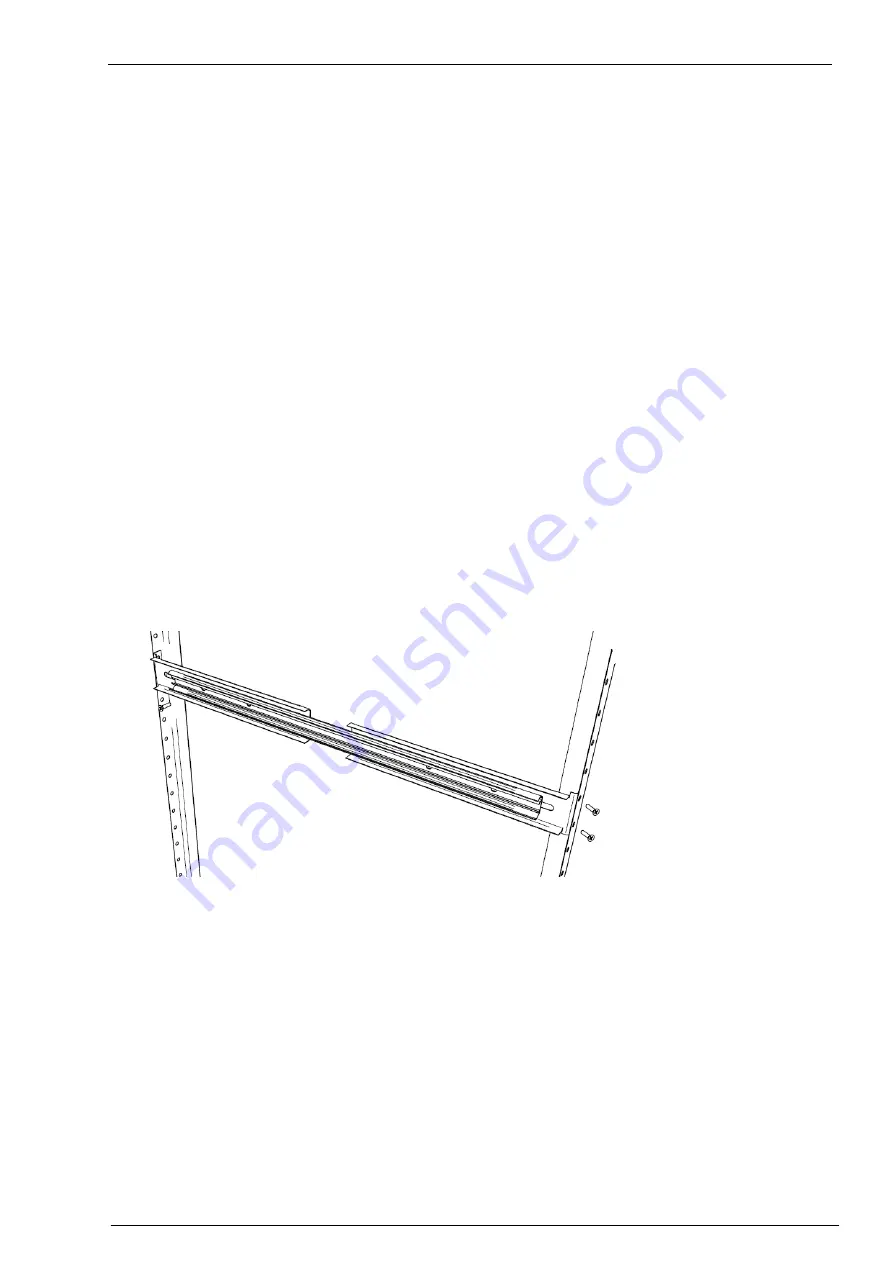
Attaching the Slide and Mounting Bracket Assembly to the Rack
Mounting Smart-1 25 in a Rack
Page 16
f) Place a threaded washer on the screw. Leave it slightly loose. (You will tighten it later).
4. Attach a mounting bracket to the back of a slide, using two screws and two threaded washers:
a) Open the slide so it is fully extended.
b) Position a mounting bracket at the back of the slide so you see four holes straight though.
c) Insert one of the screws through the round hole closest to the back of slide, then through the slot in
the bracket.
d) Place a threaded washer on the screw, and tighten normally.
e) Insert one more screw through the fourth, oval hole in the slide (furthest from the back), then through
the slot in the bracket.
f) Place a threaded washer on the screw, and tighten normally.
5. Close the slide so it is fully retracted.
You now have a slide and mounting bracket assembly ready to attach to the rack.
6. Repeat for the second slide. Attach one mounting bracket (loosely) to the front of the slide and another
(normally) to the back.
Attaching the Slide and Mounting Bracket
Assembly to the Rack
Now attach the slide and mounting bracket assembly to the rack:
1. While standing in the front of the rack, place a slide and bracket assembly in position in one side of the
rack
2. Attach the mounting bracket to the rack vertical rail at the front using two screws and two washers .
Place a washer between screw and the rack.
3. Go to the back of the rack.
4. Extend the slide so that it reaches the vertical rail at the back of the rack
5. Attach the mounting bracket to the rack vertical rail at the back, using two screws and washers.
6. Go the front of the rack.
7. Tighten the screws that attach the slide to the front mounting bracket. These screws were earlier left
intentionally loose. You may need to hold the threaded washer with a pair of pliers while you tighten the
screw.
8. Repeat for the other side of the rack: Attach the slide and mounting bracket assembly to the other side
of the rack.


