Using the First Time Configuration Wizard
Configuring
Power-1 Page 12
Click
Next
.
8. Configure Network Connections in the
Network Connections
page.
If you modify the
Mgmt
address, a secondary interface is automatically created to preserve connectivity.
This secondary interface can be removed on the
Network
>
Network Connections
page after the
wizard is completed.
Click
Next
.
9. Configure Routing on the
Routing Table
page.
Click
Next
.
10. Set the Host and Domain on the
Host and Domain Name
page.
The host name must start with a letter and cannot be named Com1, Com2....Com9.
Set the DNS servers on the
DNS Servers
page.
Click
Next
.
11. Configure client access in the
Web/SSH
window. Define which IP addresses are allowed to connect
using Web or SSH Clients. These clients will be able to manage the appliance using a web or SSH
connection. Enter a comma-separated list of IP addresses from which you will manage Power-1. Type
Any
to manage Power-1 from any computer.
These and other advanced configuration options are available via the
WebUI
menu.
Click
Next
.
12. Configure the gateway type as either standard, a member of a cluster, or as a type of gateway that uses
a dynamically assigned IP address.
Click
Next
.
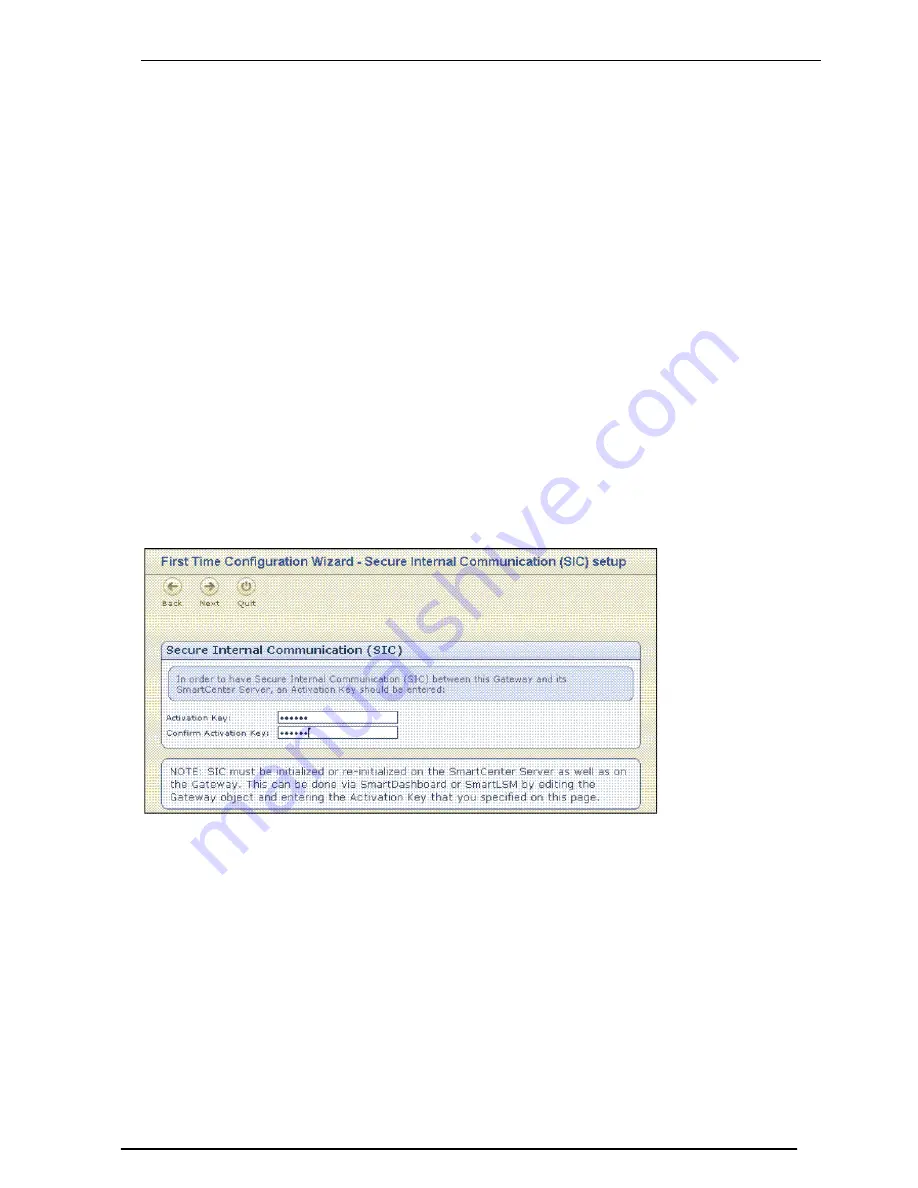
13. Establish Secure Internal Communication (SIC) with the SmartCenter server that will manage the
Power-1 appliance:
Figure 2-2
Secure Internal Communication
SIC must be initialized or re-initialized on the SmartCenter server as well as on the gateway. In
SmartDashboard, on the
General Properties
window of the gateway object, enter the activation key
that you specified here.
Click
Next
.
14. The
Summary
page appears.


