


2. SAMPLER
Now, let’s enjoy some more immediate, performative
looping with Sampler mode. This is a place to play
around or capture samples to trigger.
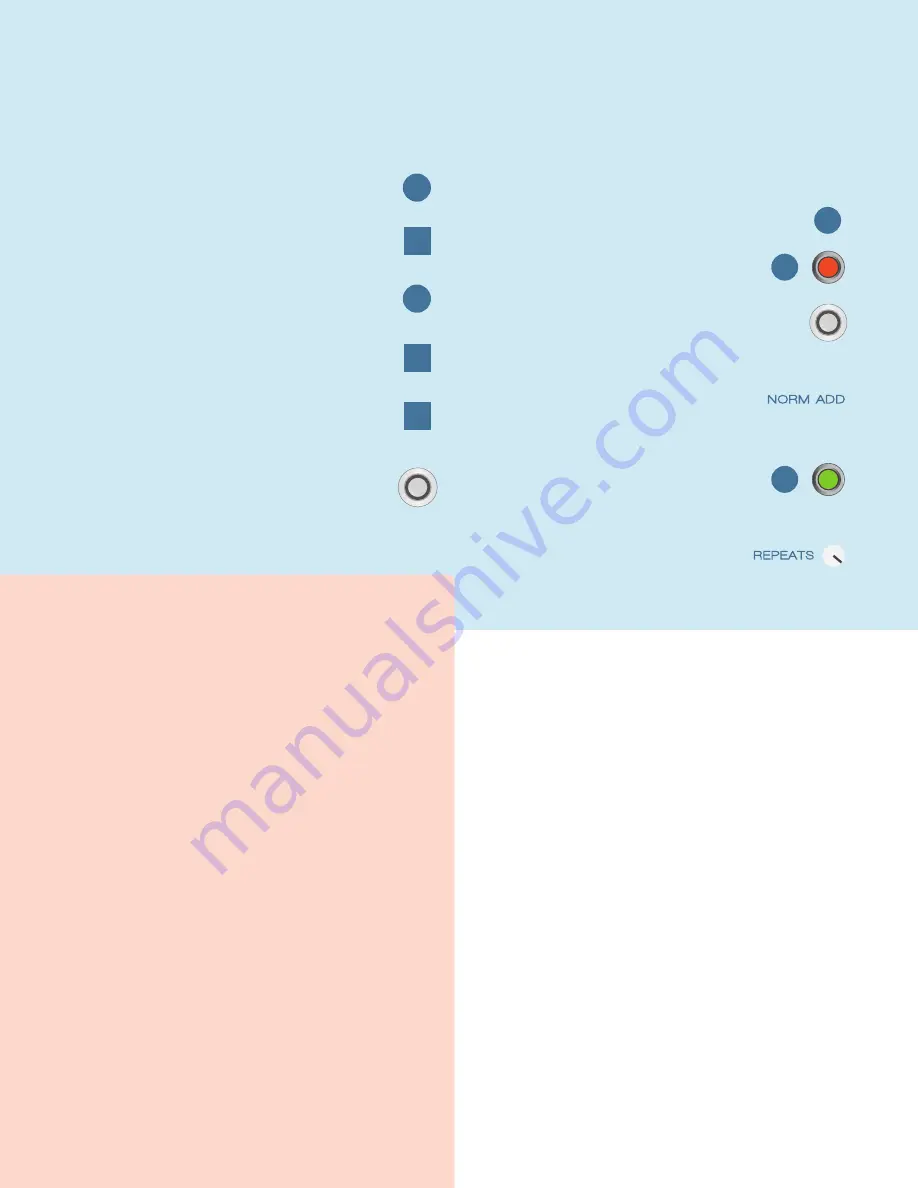
4. DELAY-STYLE
The repeats knob unlocks a whole other side of
Blooper. It allows it to function like a delay, or perform
frippertronics-style looping. Here, think of your loop
length as “tap tempo.” Remember that this will only
work if the loop is recording (not in playback).
Input “tap tempo”
Play like a delay
Experiment
with modifiers
Try additive
& normal
Toggle over to play,
and notice how the
loop is now stable
Crank repeats, now
overdub like a loop
1
2
3
4
5
6
Tap x2
Tap
Tap
Record loop
Retrigger
Replace
Turn off looping
Trigger samples
Explore using
modifiers with
samples
1
2
3
4
5
6
Tap
Tap
Tap
Hold
Tap
TIPS
Additive terror
There is an element of risk involved with Additive mode.
We are allowing you to record the same effect over and
over, intensifying it each time. This is a dangerous thing
to do, and it’s up to you to control it. There’s no safety
switch (well, normal mode). If you leave things recording
in additive mode, effects may get outrageous fast or
distort. It depends on what you are using, and how
it’s set.
Mode switching
Your audio comes with you when switching modes.
This can be useful for using additive mode to effect
and transform your base layer, then moving on to
normal mode for some more predictable overdubbing,
for example. Build a complex, multi-layered loop, then
switch over to Sample mode and manually fire it off.
Mind the repeats
You may find yourself noticing that your loops keep
fading away. This is not a mistake: this is Repeats. Keep it
maxed if you want standard looping behavior.
LEDs are your friend
We’ve taken some care to have unique LED feedback
for each of Blooper’s various states. It would be boring
and silly to describe them all, but they should become
familiar and second-nature before long.
DIP SWITCHES
You can break Blooper’s dip switches up
into two categories:
Ramping / Expression and Customization
RAMPING / EXPRESSION
The ramping dip switches allow you to activate and customize
built-in modulation or external control (like expression or CV)
that can be applied to any (or multiple) of Blooper’s knobs.
To get started, put the knobs you want to control into the on
position. If you are using CV or Expression, you’re all set. You
can use the Sweep and Polarity dip switches to customize
further. You also have some other options if you are using
internal ramping. In this case - once you put something in the
on position - the Volume knob now becomes the Ramp knob. It
controls the speed of Ramping.
There are two ways you can use Ramping:
Ramp and hold, which transitions from one point
to another and stays there, or bounce, for continuous
movement.
Sweep
Sets the range of the modulation. (T)op will sweep from the
knob position to maximum, while (B)ottom will sweep from the
knob position to minimum.


