


Chapter 3
is able to run in APIC mode. Enabling APIC mode will expand available IRQs
resources for the system. Available options are [
Enabled
] and [
Disabled
].
MPS Version Control OS
This item allows you to select which MPS (
Multi-Processor Specification
)
version to be used for the operating system. You need to select the MPS version
which is supported by your operating system. To find out which version to use,
consult the vendor of your operating system. Available options are [
1.4
] and
[
1.1
].
OS Select For DRAM > 64MB
If your system's DRAM is larger than 64MB and you are running OS/2, select
OS/2 as the item value. Otherwise, set the item value to Non-OS/2 for all other
operating systems.
HDD Instant Recover
This board supports HDD Instant Recover, Select enabled to use the function.
Upon system boot up, the HDD Instant Recover Utility will be shown on the
screen. Select enable or disable to continue booting. Available options are
[
Disabled
] and [
Enabled
].
Show POST CODE
Enabling this function can show POST error code on the screen before
proceeding to system’s operating system.
Small Logo(EPA) Show
This setup allows photo that is EPA. Logo.
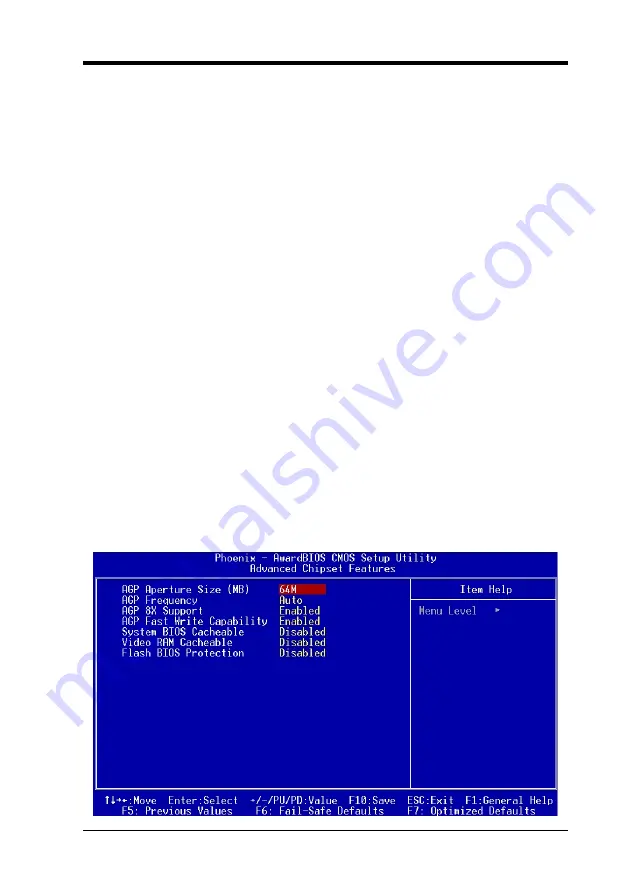
3.3 Advanced Chipset Features
By choosing the [
Advanced Chipset Features
] option from the CMOS Setup
Utility menu (Figure 3-1), the screen below is displayed. This sample screen
contains the manufacturer's default values for the motherboard.
23
Содержание 7NJL3
Страница 1: ...7NJL3 7NJL4 AMD Socket A NVIDIA nForce2 400 Ultra 400 MCP ATX Motherboard User s Guide Version 1 0...
Страница 7: ...Chapter 1 1 3 7NJL3 Motherboard Layout 3...
Страница 22: ...Chapter 2 JP23 Green Mode LED Pin Definition 1 2 Default 2 3 OEM This cap is to setup Green LED flash mode 18...
Страница 41: ...Chapter 4 3 Please select OK to continue 4 Please select Finish to restart your computer 37...
Страница 43: ...Chapter 4 3 Please select Next to continue 4 Please select Next to continue 39...
Страница 44: ...Chapter 4 5 Please select Next to continue 6 Please select Continue Anyway to continue 40...
Страница 47: ...Chapter 5 Chapter 5 C Media 3D Audio Configuration 5 1 Speaker Out 1 Earphone 43...
Страница 48: ...Chapter 5 2 Two Channel 44...
Страница 49: ...Chapter 5 3 Four Channel 45...
Страница 50: ...Chapter 5 4 Six Channel 46...
Страница 51: ...Chapter 5 5 2 S PDIF 1 S PDIF Out Source Format 5 3 Volume Control 47...
Страница 52: ...Chapter 5 5 4 Microphone 1 Microphone Selection 5 5 Xear 3D 1 5 1 Virtual SPEAKER SHIFTER and Sound Effects 48...
Страница 53: ...Chapter 5 2 Sound Effect 3 Demo Program 49...


