63
Digital Recording Systems
Digital Recording Systems
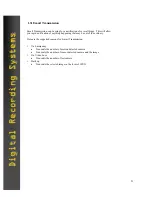
2.4 Entering into Search Mode
Search Mode allows you to
quickly and easily access re-
corded data. If you capture an
event that you need to copy or
backup, you can transfer your
video to a variety of removable
media devices including floppy
disks, CD-R, CD-RW disks,
External hard drives, and net-
work storage devices.
The transferred images may be
‘Watermarked’ to prevent tam-
pering and allow admissibility
as evidence in the court system.
1
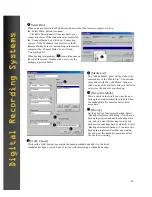
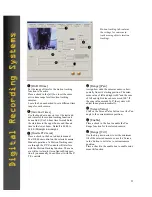
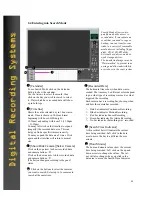
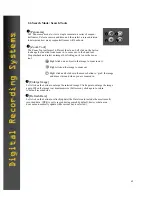
[Calendar]
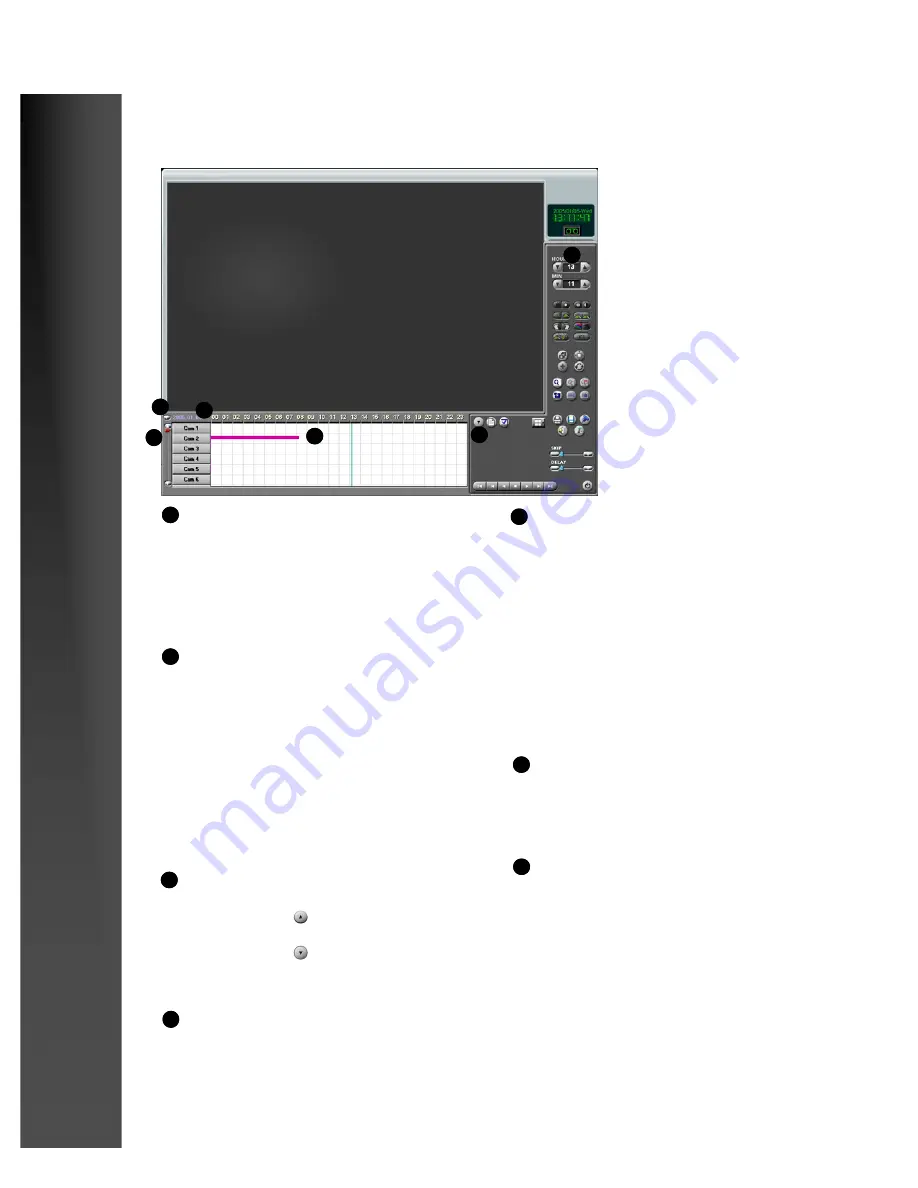
To use Search Mode click on the Calendar
button to show the calendar.
Use the Arrows to select the month, then
click on the day you wish to search to select
it. Days which have recorded data will show
up in bold type.
1
[Timeline]
Shows the entire selected day in 1 hour incre-
ments. Time is shown in 24-Hour format
beginning with hour 00 (Midnight ~
12:59am) and ending with hour 23 (11:00pm
~ 11:59pm)
You may left click on the timeline to expand
(magnify) the recorded data area. This can
help you find a specific time more easily.
You may expand the data area 2 times. Click
again and the timeline will return to normal
size.
2
2
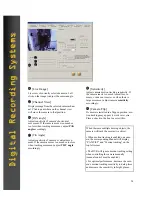
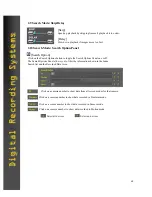
[Recorded Data]
The horizontal lines show when data was re-
corded. The lines may be different colors depend-
ing on what type of recording was used, or what
triggered the recording.
Each camera has a recording bar, showing when
and how the camera has recorded.
>
Pink bar indicates Continuous Recording.
>
Blue bar indicates Motion Recording.
>
Red bar indicates Sensor Recording.
>
Green bar indicates Pre Alarm Recording.
>
No bar indicates that nothing was recorded.
4
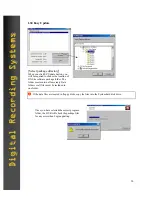
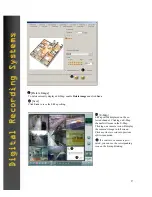
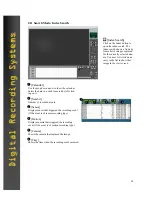
[Show/Hide Camera][Select Camera]
Click on the up arrow to show recorded data
and camera buttons.
Click on the down arrow to hide recorded data
and camera buttons.
(The button changes according to the panel
status.
Click on the buttons to select the cameras
you want to search. Select up to 16 cameras to
search at the same time.
3
3a
3a
3
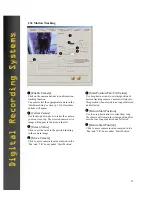
[Search Time Indicator]
A thin vertical bar will indicate the current
time being searched. Left click in the data
area to move the bar to a different hour or
minute.
5
[Hour Minute]
The hour and minute values show the current
time being searched. Left click on the up and
down arrows to change the values. The val-
ues will also change when you click in the
data area to move the Search Time Indicator.
6
5
6
Содержание DN-1808S
Страница 5: ...5 C CHAPTER HAPTER 1 1 I INSTALLATION NSTALLATION AND AND S SETUP ETUP I INSTALLATION NSTALLATION...
Страница 11: ...11 C CHAPTER HAPTER 1 1 I INSTALLATION NSTALLATION AND AND S SETUP ETUP SETUP SETUP...
Страница 58: ...58 C CHAPTER HAPTER 2 2 O OPERATION PERATION S SURVELLIANCE URVELLIANCE M MODE ODE...

