49
Digital Recording Systems
Digital Recording Systems
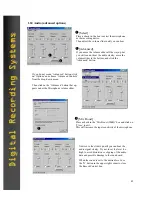
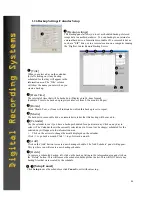
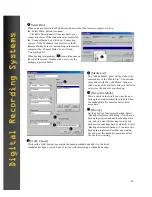
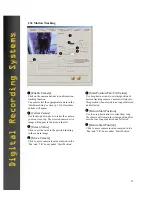
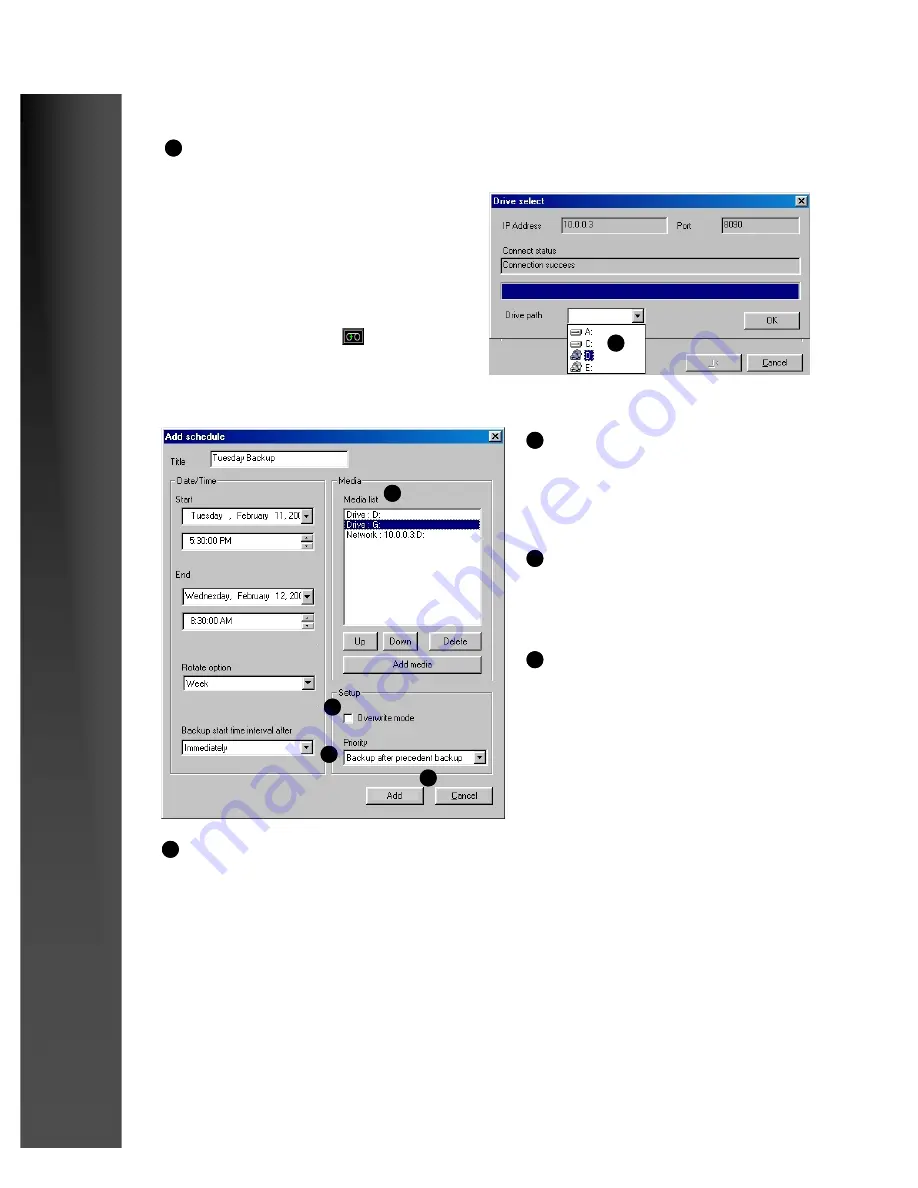
Select Drive
When you have entered the IP address and password of the remote computer, click on
the ‘Select Drive’ button to connect.
4
The Drive Select panel will open to show your
connection status. If the connection was successful,
the ‘Connect Status’ box will show ‘Connection
success’. If the IP address is not correct, or the K-
Remote Backup Server is not running on the remote
computer, the ‘Connect Status’ box will read,
‘Connection Fail’.
4
5
6
7
8
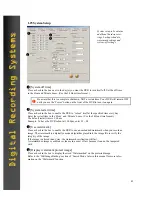
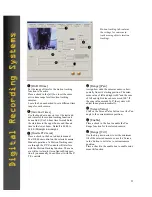
[Media List]
The ‘Add Schedule’ panel will now show the
remote drive in the ‘Media List’. You can add
more drives with the ‘Add Media’ button, or
click on one of the available drives in the list to
select it as the drive for your backup.
5
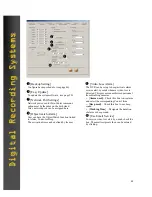
[Overwrite Mode]
Place a check in the box if you want the new
backup to overwrite (erase) the old data when
the backup drive becomes too full to hold
more data.
6
[Priority]
Set the priority of the current backup. Select
‘Backup after precedent backup’ if you have a
backup in progress, and another backup wait-
ing, and you want this backup to wait until
both previous backups have completed. Select
‘Backup after current backup’ if you have one
backup in progress and another one waiting,
but you want this backup to complete before
the one that is waiting.
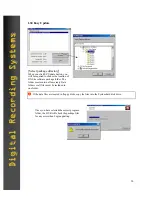
7
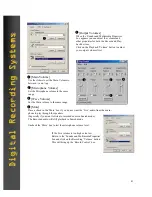
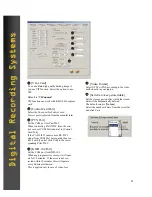
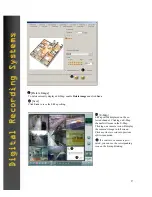
When backup is in progress,
icon will appear on
the top of the screen. Double-click on it to see the
backup progress in detail.
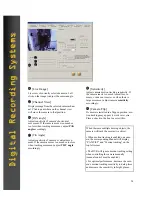
[Add / Cancel]
Click on the ‘Add’ button to complete the backup schedule and add it to the list of
scheduled backups, or click ‘Cancel’ to stop without creating a scheduled backup.
8
Содержание DN-1808S
Страница 5: ...5 C CHAPTER HAPTER 1 1 I INSTALLATION NSTALLATION AND AND S SETUP ETUP I INSTALLATION NSTALLATION...
Страница 11: ...11 C CHAPTER HAPTER 1 1 I INSTALLATION NSTALLATION AND AND S SETUP ETUP SETUP SETUP...
Страница 58: ...58 C CHAPTER HAPTER 2 2 O OPERATION PERATION S SURVELLIANCE URVELLIANCE M MODE ODE...

