14
8
On the Wireless Connection 2 window, click one of the projection area position
buttons and then click the
button.
z
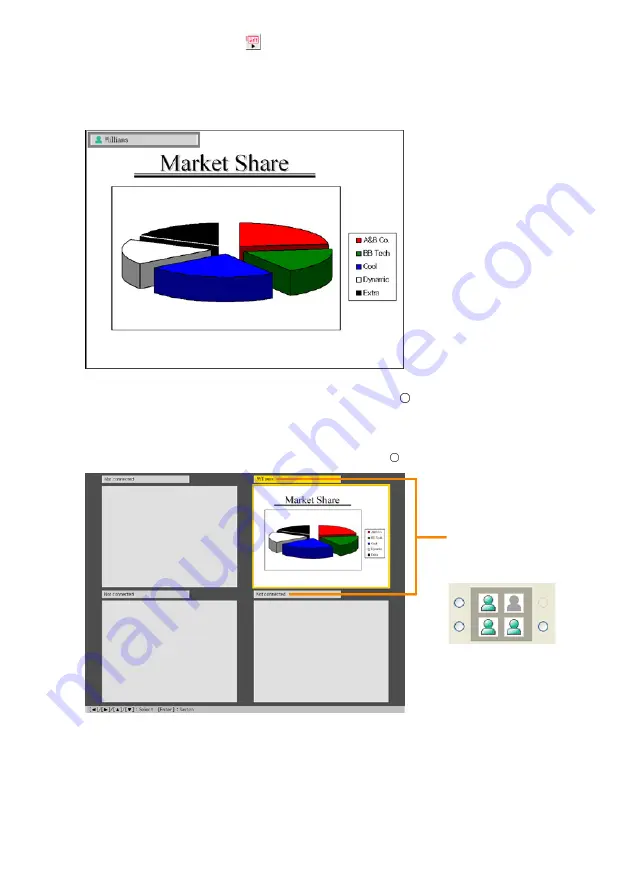
This will cause the contents of the computer screen to be projected so they fill the
entire projection area. At this time the user name assigned to the computer will appear
in the upper left corner of the projection area.
z
For information about the computer user name, see “Assigning a User Name to a
Computer for Projection” (page 37).
9
On the Data Projector’s remote controller, press the [
] key.
z
This will switch to the user list screen. When the Data Projector is connected to multiple
computers, you can use the user list screen to control user whose computer screen
image is currently being projected.
z
To exit the user list screen, press the [ENTER] key or [
] key on the remote controller.
z
To establish wireless LAN connections between the Data Projector and a second and
subsequent computers, perform the procedure under “To establish a wireless LAN
connection with Manual Connection 1 between the second and subsequent computers
and the Data Projector” below.
The projection area position
buttons are arranged in the
same sequence as the screens
on the user list screen.
Содержание YW-2L - Wireless LAN For Projector
Страница 54: ...MA0805 C...


