background image

EN-34

Config

u

ring Settings 

w

ith the Key

b

oard

Your Digital Piano can connect with a smartphone, 
tablet, or other smart device. A special app is available 
to display music scores and a piano roll display to 
support your practice.

Downloading the Special App

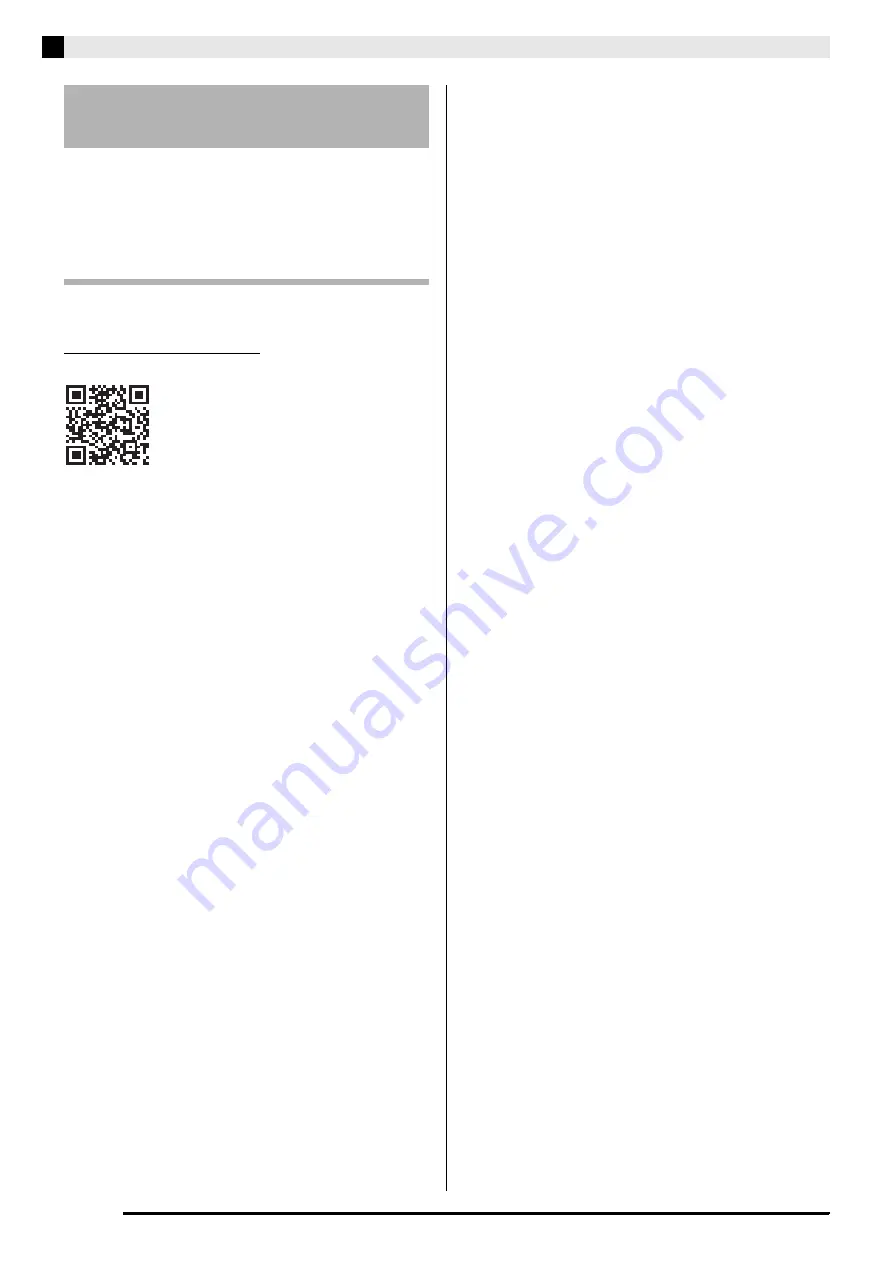
Go to the website below to download the app and 
install it on your smart device.

http://web.casio.com/app/en/

Linking with an Application 
(APP Function)

Содержание Privia PX-770

Страница 1: ...PX870 770 E 3A EN USER S GUIDE Full Before using this Digital Piano for the first time be sure to read the separate USER S GUIDE to familiarize yourself with basic operations PX 870 PX 770...

Страница 2: ...t EN 28 Hall simulator PX 870 EN 28 Reverb PX 770 EN 28 Tone selection EN 28 Chorus EN 28 Brilliance EN 28 Layer balance EN 28 Lower Pedal EN 28 Damper noise EN 28 Hammer response PX 870 EN 28 String...

Страница 3: ...ding Song Data from a USB Flash Drive into Digital Piano Memory EN 40 Deleting Data from a USB Flash Drive EN 41 Simple Play Back of a Song on a USB Flash Drive EN 42 Error Indicators EN 43 Connecting...

Страница 4: ...EN 3 General Guide Illustrations in this User s Guide show the PX 870 1 3 4 7 8 9 6 5 2 1 3 4 7 8 9 6 5 2 bk PX 870 PX 770 bl bm bn bn bo bp Front Bottom Rear PX 870 only PX 870 PX 770...

Страница 5: ...settings see Configuring Settings with the Keyboard on page EN 25 Your Digital Piano can be configured to save its current settings when power is turned off and restore them when turned back on again...

Страница 6: ...re below to temporarily suspend Auto Power Off To disable Auto Power Off 1 While the Digital Piano is turned on press the P POWER button to turn it off 2 While holding down the FUNCTION button press t...

Страница 7: ...t 2 Use the VOLUME controller to adjust the volume NOTE Some keys may have more than one tone assigned In this case each press of the key cycles to the next assigned tone Which tone is selected by the...

Страница 8: ...MER RESPONSE STRING RESONANCE LID SIMULATOR 1 Hold down the FUNCTION button and press the desired tone key Each press of the keyboard key cycles to the next option for that setting The Digital Piano e...

Страница 9: ...old down the FUNCTION button and press the Select Layer Tone key For details about using the keyboard keys for settings see Keyboard Keys Used for Configuring Settings page EN 26 Each press of the key...

Страница 10: ...t to select To apply Reverb PX 770 1 Each press of the REVERB button toggles reverb between on and off Reverb is applied when it is turned on To select the reverb type 1 While holding down the FUNCTIO...

Страница 11: ...f pedal operation pressing the pedal part way is also supported When one of the GRAND PIANO tones or the MODERN piano tone is selected using the damper pedal adds damper resonance that is similar to t...

Страница 12: ...ano to beep as described below Long beep Damper noise output disabled Short beep Damper noise output enabled 1 Press the METRONOME button This starts the metronome The lamp flashes with each beat 2 Wh...

Страница 13: ...ong was recorded that was last selected on the Digital Piano To adjust the metronome volume You can perform the following procedure at any time regardless of whether or not the metronome is sounding 1...

Страница 14: ...s not enough when one person is playing the left hand part and another person is playing the right hand part 1 While holding down the FUNCTION and GRAND PIANO buttons press the keyboard C key that you...

Страница 15: ...page A 1 3 Press the a button again to stop built in song play NOTE Pressing the METRONOME button while holding down the FUNCTION button during Concert Play jumps to the first Music Library song Perf...

Страница 16: ...tempo of the playback if you want See Configuring Settings with the Keyboard page EN 25 for more information NOTE Some Concert Play tunes incorporate tempo changes in their arrangements Because of th...

Страница 17: ...om the Internet and then transfer it from your computer to Digital Piano memory See Transferring Song Data with a Computer on page EN 46 for more information 1 Find the song number of the song you wan...

Страница 18: ...USB Flash Drive PX 870 on page EN 35 for more information Linear PCM 16bit 44 1 kHz Stereo PREPARATION Prepare a USB flash drive that contains data recorded to it using the Digital Piano s Audio Recor...

Страница 19: ...l Simulator setting Track 1 only PX 770 Reverb setting Track 1 only PX 870 Acoustic Simulator Track 1 only PX 770 Damper Noise On Off Track 1 only Recording Data Storage Starting a new recording delet...

Страница 20: ...back press the MIDI REC button so its lamp goes out Recording to One Track while Listening to Playback of the Other Track 1 Press the MIDI REC button so its lamp is lit 2 While holding down the FUNCT...

Страница 21: ...y do not need the data in Digital Piano memory before you perform the following steps 1 Press the MIDI REC button once or twice so the MIDI REC lamp is flashing 2 While holding down the FUNCTION butto...

Страница 22: ...d while a USB flash drive mounting sequence is being performed The Digital Piano s L R lamps flash while the mounting process is in progress It may take up to 10 or 20 seconds or even longer for a USB...

Страница 23: ...ying Back Data Recorded on a USB Flash Drive page EN 22 To exit the audio record playback operation press the AUDIO REC button so its lamp becomes unlit Playing Back Data Recorded on a USB Flash Drive...

Страница 24: ...annot be undone Check to make sure you really do not need the data in Digital Piano memory before you perform the following steps 1 Press the AUDIO REC button once or twice so the AUDIO REC lamp is li...

Страница 25: ...amp is unlit NOTE When you record a new file it is always automatically assigned the next new file number in the sequence of files currently on the USB flash drive even if a previous number is unused...

Страница 26: ...There are four types of operations that you can perform while configuring settings with the keyboard keys Type A Type B Type C and Type D Example Pressing the JAZZ ORGAN keyboard key to select the JAZ...

Страница 27: ...Select Tempo Beat Temperament select Local Control Send Channel USB Flash Drive Mode PX 870 Format PX 870 Save PX 870 Load PX 870 Delete PX 870 USB Flash Drive Mode Hall Simulator PX 870 Reverb PX 77...

Страница 28: ...mperament METRONOME BEAT Tone Select Layer Tone METRONOME TEMPO Base Note Touch Response Brilliance Transpose Layer Balance A tuning Octave Shift Keyboard Volume Music Library Song Volume Metronome Vo...

Страница 29: ...On Default Off D When turned on and the BASS LOWER tone is selected pressing the damper pedal or sostenuto pedal will apply sustained reverberation to the BASS LOWER tone page EN 7 Damper noise Off O...

Страница 30: ...d with another tone Configuring of layering settings is not supported for recording function Track 2 recording Duet mode Off On Pan Default Off D Enables or disables the Duet Mode page EN 12 When Pan...

Страница 31: ...ETRONOME BEAT Enters a setting mode for specifying the metronome beat with keyboard keys Use the BEAT keyboard keys to input a beat value page EN 11 CONCERT PLAY a Play Stop D Toggles a Concert Play s...

Страница 32: ...setting For details about temperament refer to a book that covers music theory Temperaments 0 Equal 1 Pure Major 2 Pure Minor 3 Pythagorean 4 Kirnberger 3 5 Werckmeister 6 Mean Tone 7 Rast 8 Bayati 9...

Страница 33: ...uts off the Digital Piano s sound source so no sound is produced by the Digital Piano when keys are pressed Send channel 1 to 16 Default 1 B Specifies one of the MIDI channels 1 through 16 as the Send...

Страница 34: ...roduced when using headphones Volume Sync Equalizer PX 870 Off Weak Normal Strong Default Normal D Automatically performs timbre compensation in accordance with the volume level This feature ensures t...

Страница 35: ...t or other smart device A special app is available to display music scores and a piano roll display to support your practice Downloading the Special App Go to the website below to download the app and...

Страница 36: ...Standard Audio Data WAV Files to a USB Flash Drive page EN 36 and Playing Back Audio Data Stored on a USB Flash Drive PX 870 page EN 17 Using the Song Recorder to save recorded song MID data to a USB...

Страница 37: ...itten to or loaded from it Doing so can corrupt the data on the USB flash drive and damage the USB flash drive port Never insert anything besides a USB flash drive into the USB flash drive port Doing...

Страница 38: ...firm that there is no data exchange operation being performed and then pull the USB flash drive straight out IMPORTANT Be sure to format a USB flash drive on the Digital Piano before using it for the...

Страница 39: ...fter formatting is complete the L R lamps will go out and the Digital Piano will exit the formatting operation NOTE Formatting a large capacity USB flash drive can take several minutes Use the procedu...

Страница 40: ...a button This starts the data save operation When saving is complete the L R lamps will go out to indicate that the USB flash drive mode has been exited USB Flash Drive Data File Storage Locations The...

Страница 41: ...hrough 70 inside the MUSICLIB folder on the USB flash drive The number names of the sub folders correspond to the Digital Piano s user song numbers 61 to 70 2 Insert the USB flash drive into the Digit...

Страница 42: ...g operation To play back loaded song data exit turn off the USB flash drive mode and then press the a button You can use the procedure below to delete song data stored in the MUSICLIB folder on a USB...

Страница 43: ...y of the first 00 to 99 songs sorted in file name sequence for playback 2 Insert the USB flash drive into the Digital Piano s USB flash drive port 3 While holding down the FUNCTION button press the ke...

Страница 44: ...name you are trying to use is already stored on USB flash drive Change the name and then save the new data Remove the read only attribute from the existing USB flash drive file and overwrite it with t...

Страница 45: ...is not compatible with this Digital Piano 1 Format the USB flash drive on the Digital Piano 2 The USB flash drive is corrupted 2 Use a different USB flash drive Media R W The USB flash drive is corrup...

Страница 46: ...to the Digital Piano Use a USB 2 0 or 1 1 A B connector type USB cable 3 Turn on the Digital Piano If this is the first time you are connecting the Digital Piano to your computer the driver software r...

Страница 47: ...ata save and load operations If data is deleted it will take longer than normal for the Digital Piano to power up the next time you turn it on page EN 5 1 Perform steps 1 through 3 of the procedure un...

Страница 48: ...Perform one of the following operations on your computer to show file name extensions To show file name extensions under Windows Vista or Windows 7 To show file name extensions under Windows 8 1 or Wi...

Страница 49: ...USB device mode to MIDI will load the contents of MUSICLIB into user song memory and the contents of RECORDER into Recorder memory IMPORTANT A data conversion error is indicated when the GRAND PIANO E...

Страница 50: ...l CASIO service provider CAUTION To assemble the stand at least two persons should work together on a flat surface Take care that you do not pinch your fingers between parts when assembling them Sprea...

Страница 51: ...it is not against a wall you need to extend the anti tip brackets at the base of side panels and Remove the two screws one on the outside of each side panel that hold the brackets and then slide the b...

Страница 52: ...e the screws Just loosen them 4 Insert angle brackets into the gap between the anti tipping bracket and the side panel 5 From the outside of side panels and temporarily tighten the screws you loosened...

Страница 53: ...ront of the Digital Piano and securely tighten the three screws shown in the illustration below 9 From the back of the assembled stand slide the piano into the grooves of side panel and side panel Not...

Страница 54: ...ano a Press the plug fully into the connector as far as it will go b Use the clips to secure the pedal cable to two locations on side panel 2 Insert the plug of the AC adaptor that comes with the Digi...

Страница 55: ...tective tape is affixed to the front edges of the keyboard keys to protect them during shipment Remove the protective tape before using the Digital Piano Peel off the tape by pulling carefully towards...

Страница 56: ...e to the Digital Piano be sure to read the user documentation that comes with the device Connecting Audio Equipment Figure Use commercially available connecting cords Standard Plug 1 Pin Plugs 2 to co...

Страница 57: ...ccessories creates the risk of fire electric shock and personal injury NOTE You can get information about accessories that are sold separately for this product from the CASIO catalog available from yo...

Страница 58: ...a USB flash drive See Error Indicators EN 43 It takes a long time before I can use the Digital Piano after I turn it on It takes about 20 seconds after you turn on power to perform the memory format o...

Страница 59: ...flash drive real time recording and playback Linear PCM 16bit 44 1 kHz stereo WAV format Songs 99 files Approximately 25 minutes maximum recording per file Audio file volume Adjustable MIDI Recorder M...

Страница 60: ...Landmann Album f r die Jugend 15 Von fremden L ndern und Menschen Kinderszenen 16 Tr umerei Kinderszenen 17 Tambourin 18 Menuet BWV Anh 114 Clavierb chlein der Anna Magdalena Bach 19 Inventio 1 BWV 7...

Страница 61: ...0 O 8nH v 0 127 Note ON Note OFF Mode Mode 3 X Mode 3 X Default Messages Altered 0 32 1 5 6 38 7 10 11 16 17 18 19 64 65 66 67 Bank select Modulation Portamento Time Data entry LSB MSB 2 Volume Pan Ex...

Страница 62: ...pth Vibrato delay DSP Parameter4 2 DSP Parameter5 2 DSP Parameter6 2 DSP Parameter7 2 Portamento Control High resolution velocity prefix 3 Reverb send 4 Chorus send RPN LSB MSB 2 All sound off Reset a...

Страница 63: ...MA1707 A...

Отзывы: