22
* When you are not using the default setting, then the relationship between Source Address
and Destination Address of Indicator and Pad will be set in the following relationship.
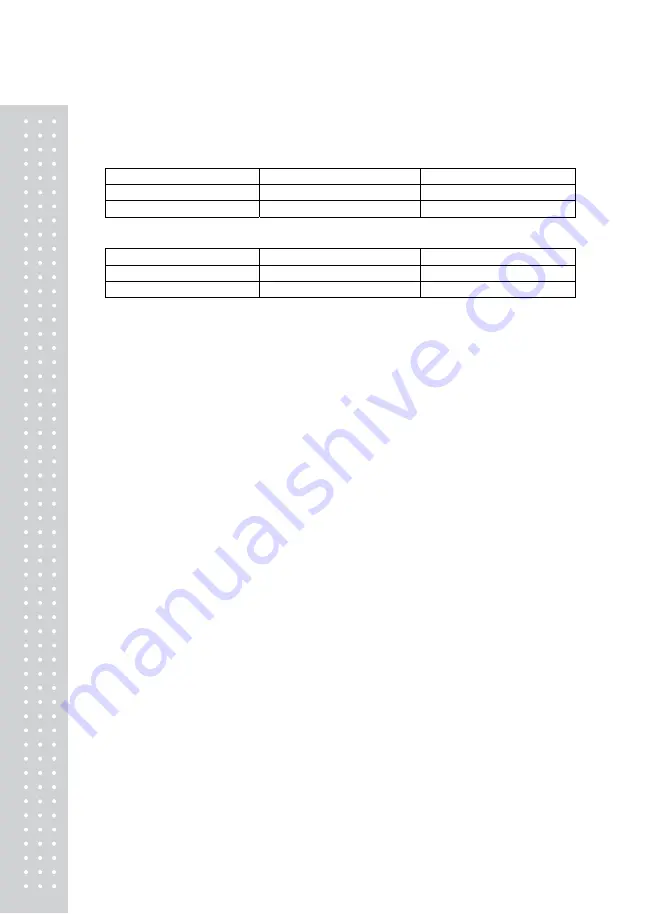
EX) 1
Pad
Indicator
Source Address
1
0
Destination Address
0
1
EX) 1
Pad
Indicator
Source Address
1234
5678
Destination Address
5678
1234
6. Method of Weighing Truck
Once the vehicle enters, press the Truk NO key first. Once the Car No is displayed, press
SET KEY after having inputted the vehicle number.
When READY message is displayed, then it is ready to do measuring.
1) 1
st
weighing: Place the vehicle on the 1
st
weighing location as illustrated in the diagram in
the following page, and print the weight by pressing the print key.
2) 2
nd
weighing: Once the 1
st
weighing is completed, move the vehicle forward to prepare for
the 2
nd
weighing. As in the 1
st
weighing, when you press the print key, the weight will be
printed.
3) 3
rd
~ 4
th
measurements: Weigh with method used in above 1
st
and 2
nd
weighing.
4) Total weight of the vehicle: When the SUM key is pressed upon full completion of vehicle
weighing total weight of the vehicle will be printed. Stores the weighing data in accordance
with the option setting.
* In the case of automatic print option, printing will be performed automatically without having
to press the print key.
When using the automatic printing option, printing for each axle will be carried out without
having to input the vehicle number, the vehicle number will not be indicated when printing
and the data will not be stored.
Automatic printing will be performed only when weight has been applied to all PADs that
have been set.
For example, if weighing on 2-axle vehicle is carried out although weighing for 3-axle vehicle
has been set by using 6 PADs, automatic printing will not be performed.
Print either by pressing the PRINT key or reset the number of PAD to 4 (2-axles) in the
setting.
Содержание RW-10Z
Страница 1: ...2...
Страница 7: ...8...
Страница 27: ...28 Properly install the paper and verify that the paper outputs properly by pressing the FEED button...
Страница 30: ...31 MEMO...
Страница 31: ...32 MEMO...
Страница 32: ...33 MEMO...
Страница 33: ...34...
Страница 34: ...35...


