15
table and that pressures in both vessels are above
35 psig (241 kPa).
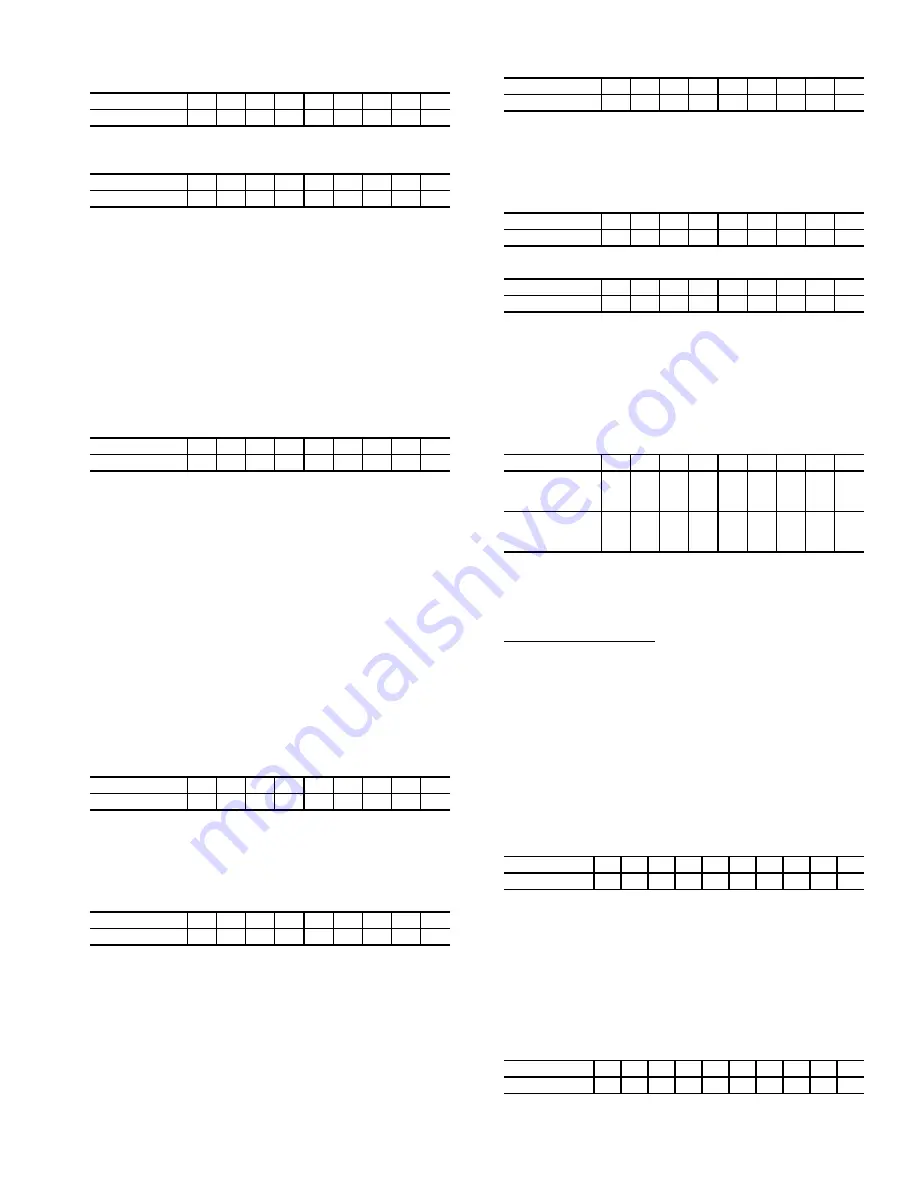
b. Set valves as shown below to allow the refrigerant
to equalize:
c. Turn on pumpout compressor, and develop a 10 to
20 psi (69 to 138 kPa) refrigerant differential pres-
sure between the vessels.
d. Partially open valve 11 while maintaining a refrig-
erant pressure differential to push liquid refrigerant
out of the chiller condenser to the cooler.
e. When all liquid is out of the chiller condenser,
close valve 11 and any other isolation valves on the
chiller.
f. Turn off the pumpout compressor.
g. Close pumpout valves 3 and 4 while opening valve
2 and 5 to prepare for removal of remaining refrig-
erant vapor in condenser vessel.
h. Turn on pumpout condenser water.
i. Turn on pumpout compressor.
j. Turn on the chiller water pumps, establishing water
flow when the condenser refrigerant pressure is 35
psig (241 kPa).
The water pumps have to be in
operation whenever the refrigerant pressure is
equal to or less than 35 psig (241 kPa) to reduce
the potential of tube damage.
k. Run the pumpout compressor until the condenser
refrigerant pressure reaches 35 psig (241 kPa) then
turn off the pumpout compressor. Warm condenser
water will boil off any entrapped liquid refrigerant,
and chiller pressure will rise. Repeat this process
until the chiller pressure no longer rises.
l. Run pumpout unit in auto until the vacuum switch
is satisfied; this occurs at approximately 15 in. Hg
vacuum (48 kPa absolute or 7 psia). Close
valve 1B.
m. Monitor that condenser pressure does not rise (if it
does, then repeat previous step).
n. With service valve 1B closed, shut down pumpout
compressor (if still running).
o. Close remaining valves.
p. Turn off pumpout condenser water.
q. Turn off chiller water pumps, and lock out chiller
compressor.
Return Chiller to Normal Operating Conditions
1. Vapor Pressure Equalization:
a. Ensure that the chiller vessel that was exposed to
ambient has been evacuated. Final vacuum prior to
charging with refrigerant should in all cases be
29.9 in. Hg (500 microns, 0.07 kPa [abs]) or less.
b. Turn on chiller water pumps.
c. Open valves 1A, 1B, and 2.
d. Slowly open valve 4, gradually increasing pressure
in the evacuated vessel to 35 psig (241 kPa).
e. Leak test to ensure chiller vessel integrity.
f. Open valve 4 fully for cooler and condenser pres-
sure equalization (vapor equalization).
g. Close valves 1A, 1B, 2, and 4.
2. Liquid equalization:
a. If refrigerant is stored in cooler, install a charging
hose between valves 7 and 8, and open both the
valves and any other isolation valves (except valve
11) for liquid to drain into the condenser while
bypassing the linear float valve. If refrigerant is
stored in the condenser, keep valve 11 and any
other isolation valves open for liquid drain.
b. If valves 7 and 8 were used to bypass the linear
float valve, once the liquid transfer is complete,
close these valves, and slowly open valve 11.
c. Turn off chiller water pumps.
Distilling the Refrigerant
1. Transfer the refrigerant from the chiller to the pumpout
storage tank as described in the Transfer Refrigerant from
Chiller to Storage Tank Vessel section.
2. Equalize the refrigerant pressure.
a. Turn on chiller water pumps and monitor chiller
pressures.
b. Close pumpout and storage tank valves 2, 4, 5, and
10, and close chiller charging valve 7; open chiller
isolation valve 11 and any other chiller isolation
valves, if present.
c. Open pumpout and storage tank valves 3 and 6;
open chiller valves 1a and 1b.
d. Gradually crack open valve 5 to increase chiller
pressure to 35 psig (241 kPa). Slowly feed refriger-
ant to prevent freeze-up.
e. Open valve 5 fully after the chiller pressure rises
above the freezing point of the refrigerant. Let the
storage tank and chiller pressure equalize.
3. Transfer remaining refrigerant.
a. Close valve 3.
b. Open valve 2.
c. Turn on pumpout condenser water.
VALVE
1A
1B
2
3
4
5
7
8
11
CONDITION
C
C
C
C
C
C
C
C
C
VALVE
1A
1B
2
3
4
5
7
8
11
CONDITION
C
C
C
C
C
VALVE
1A
1B
2
3
4
5
7
8
11
CONDITION
C
C
C
C
C
VALVE
1A
1B
2
3
4
5
7
8
11
CONDITION
C
C
C
C
C
C
VALVE
1A
1B
2
3
4
5
7
8
11
CONDITION
C
C
C
C
C
C
C
C
C
VALVE
1A
1B
2
3
4
5
7
8
11
CONDITION
C
C
C
C
C
C
VALVE
1A
1B
2
3
4
5
7
8
11
CONDITION
C
C
C
C
C
VALVE
1A
1B
2
3
4
5
7
8
11
CONDITION
C
C
C
C
C
C
C
C
C
VALVE
1A
1B
2
3
4
5
7
8
11
CONDITION
(CHARGE IN
COOLER)
C
C
C
C
C
C
C
CONDITION
(CHARGE IN
CONDENSER)
C
C
C
C
C
C
C
C
VALVE
1A
1B
2
3
4
5
6
7
10
11
CONDITION
C
C
C
C
C
VALVE
1A
1B
2
3
4
5
6
7
10
11
CONDITION
C
C
C
C
Содержание 19XR Series
Страница 19: ......


