10
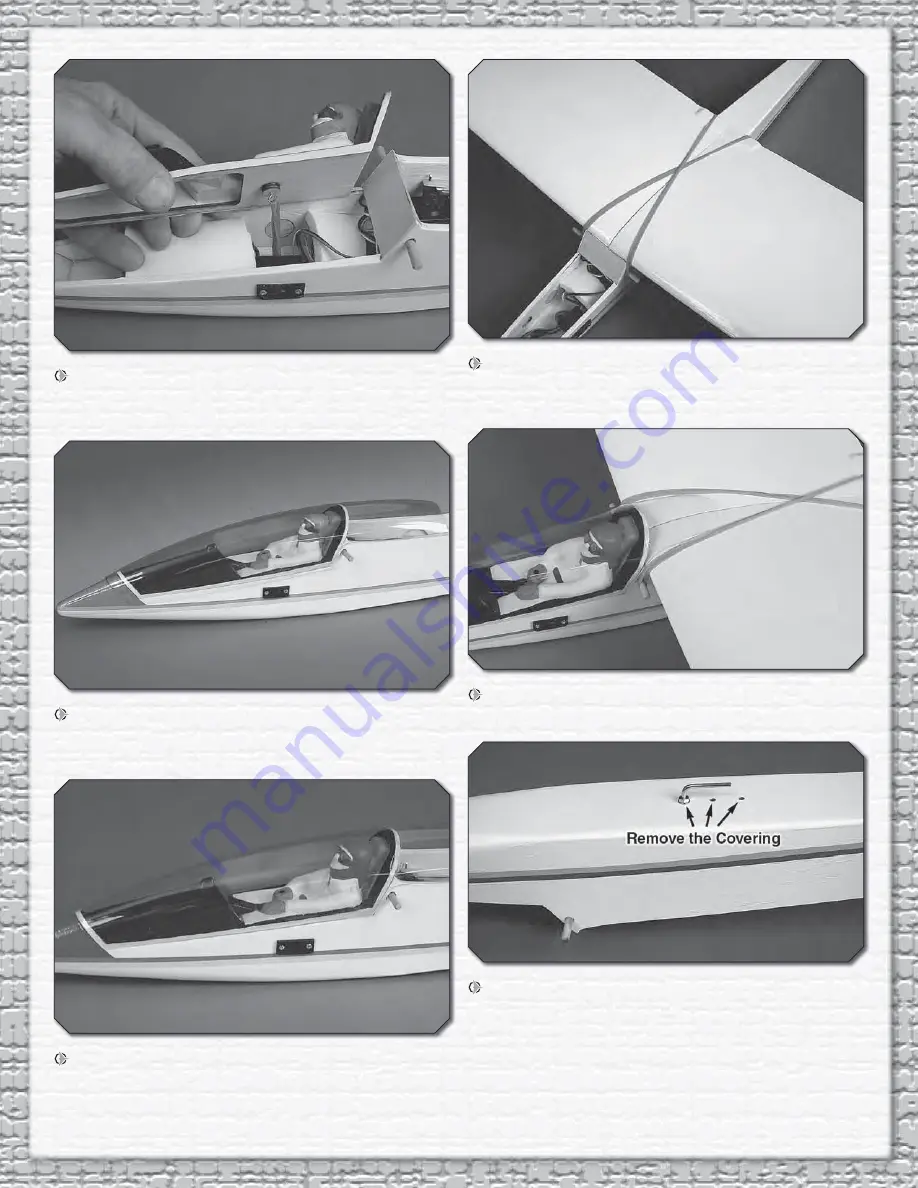
4. Attach one of the rubberbands to the eyelets. It will have
to be doubled or tripled to create enough tension to hold the
back of the cockpit against the fuselage.
5. Trim the canopy 1/4" [6.4mm] outside the scribe lines.
Set the canopy over the cockpit and mark the outline of the
cockpit on the canopy. Trim the canopy to the line.
6. Remove the canopy and the cockpit from the fuselage.
Glue the cockpit between the lines on the canopy using canopy
glue such as J&Z R/C-56 Glue, Pacer RIC 560 Canopy Glue
or 6-minute epoxy. Use the glue sparingly.
7. Remove the canopy and install the wing. Only a couple
of large rubberbands are needed to hold the wing at this time.
You will need to use at least eight rubber bands for fl ying.
8. Trim the aft end of the canopy to follow the shape of
the wing.
9. Attach the threaded tow hook to the bottom of the
fuselage by threading a 3mm nut and a 3mm washer all the
way onto the tow hook. Apply a drop of threadlocker to the
threads and tighten the tow hook into the front blind nut for
the fi rst fl ights. With the tow hook threaded almost all the way
into the blind nut, make sure the tow hook is facing straight
back and tighten the 3mm nut to secure it. After the fi rst fl ights
the tow hook can be moved back to the center hole for most


