6
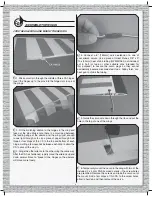
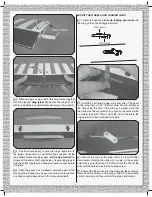
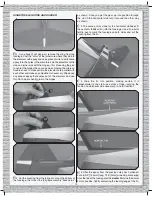
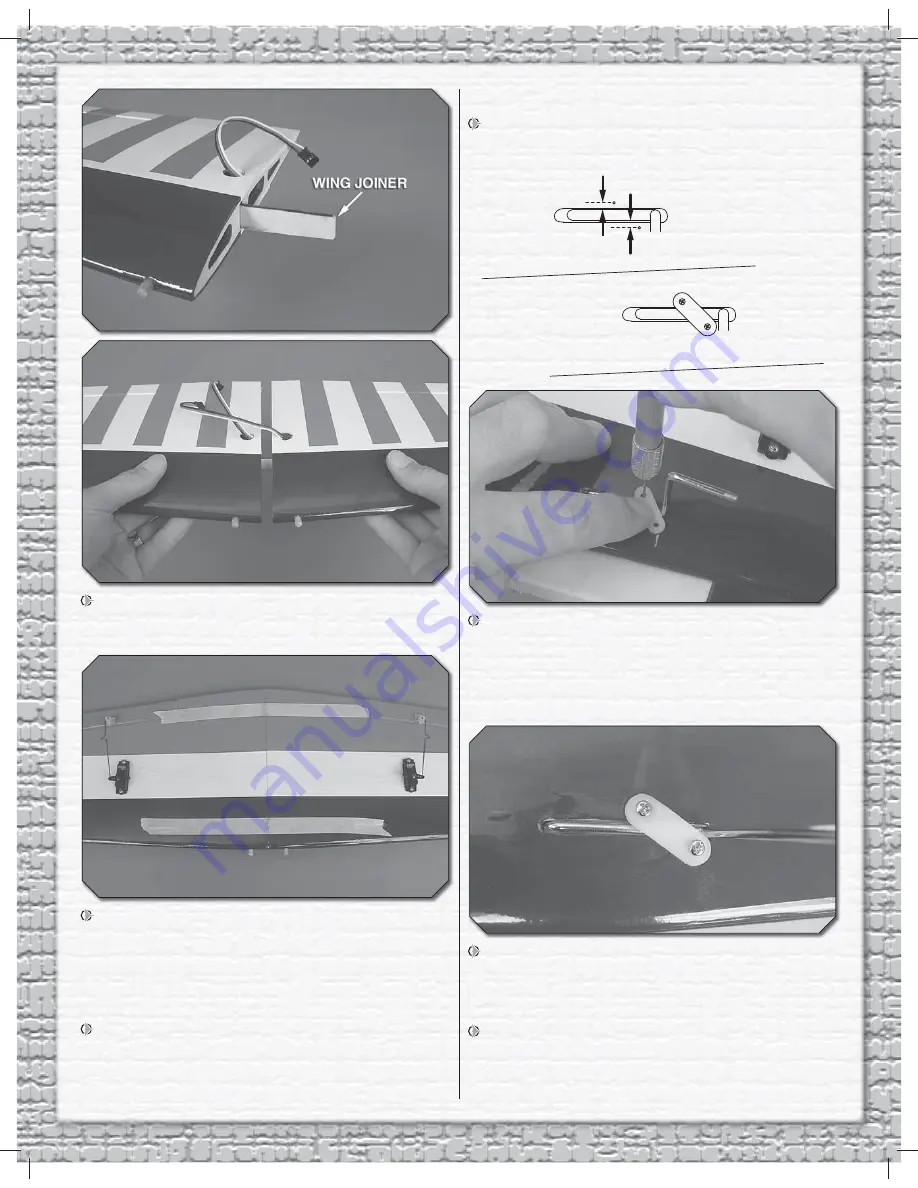
2. Without using any glue, test fi t the wing halves together
with the plywood
wing joiner
. Make sure the wings fi t well
with no gap. Make any adjustments necessary for a good fi t.
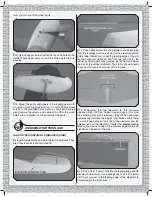
3. Use 30-minute epoxy to glue the wings together with
the joiner—be certain to coat
all
mating surfaces—inside
the pockets where the joiner goes,
all the way around
the
joiner and the ends of both wing halves. Use masking tape to
hold the halves together and wipe away excess epoxy before
it hardens.
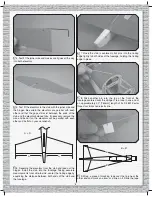
4. After the epoxy has hardened, carefully peel off the
masking tape. If necessary, use your covering iron to reattach
any lifted covering back down to the balsa underneath.
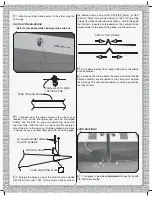
MOUNT THE WHEELS AND LANDING GEAR
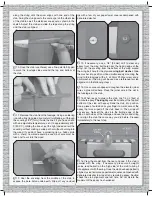
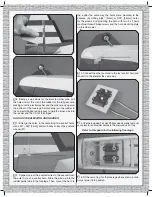
1. Insert the right and left
main landing gear wires
into
the wing so they will be angled forward.
3/32" [2mm]
3/32" [2mm]
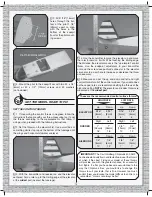
2. Holding a fl at landing gear strap over one of the gears
in the wing, drill a 1/16" [1.6mm] hole into the bottom of
the wing using the hole in the strap as a guide—note that
the strap must be mounted at an angle so the holes will be
no farther than 3/32" [2mm] from the wire. Otherwise, the
screws will miss the hardwood rail inside.
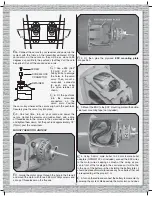
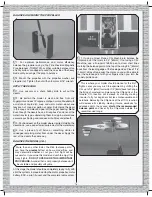
3. Mount the strap to the wing with a 2 x 8mm Phillips
wood screw. Holding the strap at an angle so the second
hole will be no farther than 3/32” [2mm] from the front of the
wire, drill the hole and install the second screw.
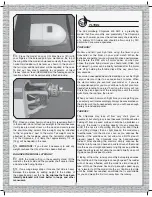
4. Mount the other strap over the other gear the same way.
Remove all the screws, add a drop of thin CA to each hole,
allow to harden, and then reinstall the straps and screws.
Содержание Super Chipmunk 400 ARF
Страница 19: ...19 ...
Страница 20: ...Entire Contents 2012 Hobbico Inc All rights reserved GBGA1023 www carlgoldbergproducts com ...


