13
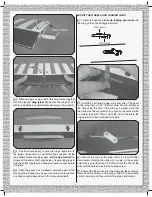
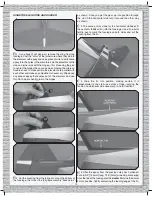
so in the correct direction when you advance the throttle
stick. If necessary, reverse the servo direction for the throttle
channel (to get the motor to turn when you advance the
throttle). If the motor turns, but in the wrong direction, switch
any two motor wires with each other connected to the ESC.
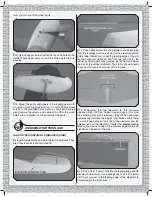
Once the motor has been properly set up, disconnect the
battery and turn off the Tx.
Now the cowl can be mounted…
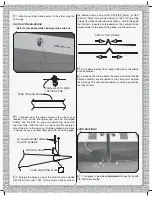
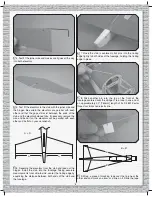
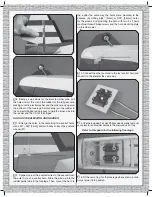
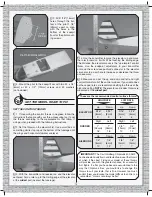
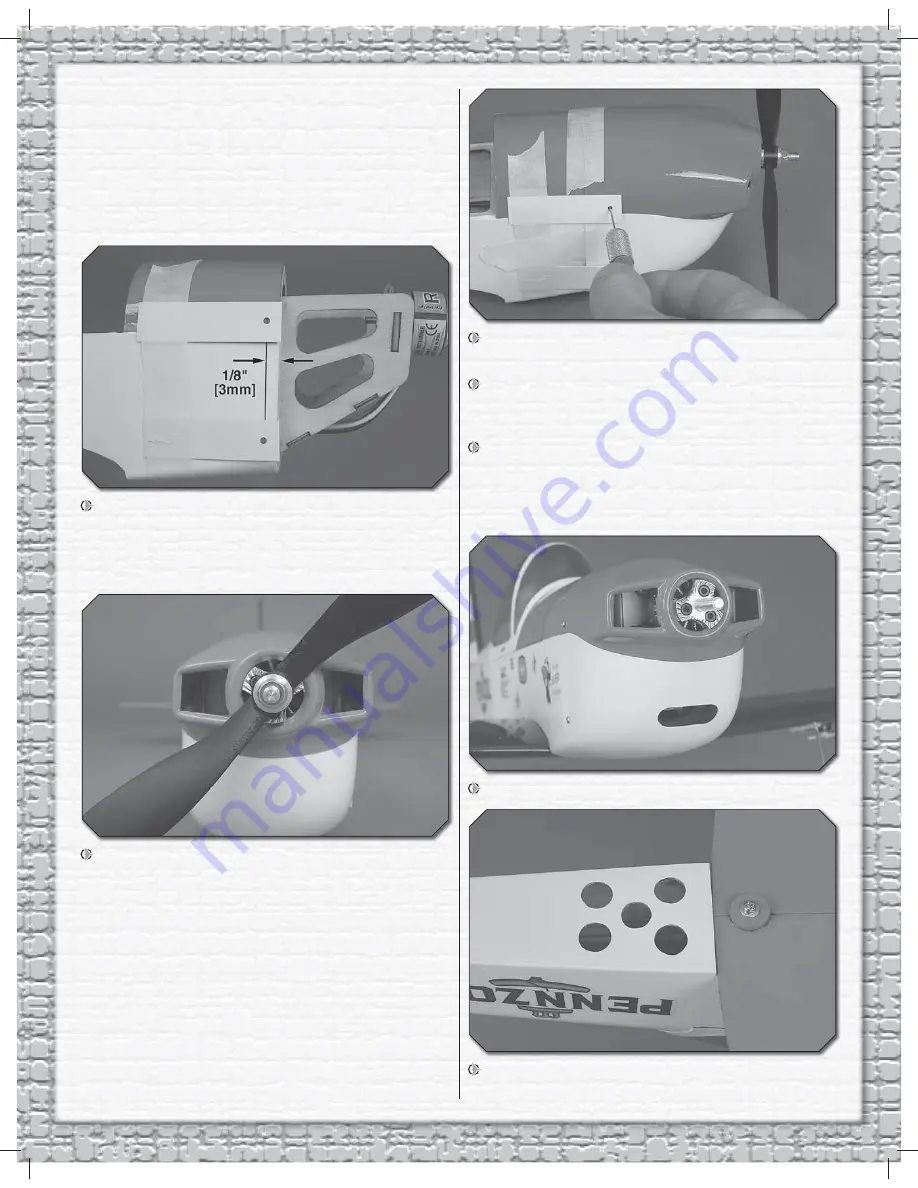
6. Draw a vertical line on both sides of the fuselage 1/8"
[3mm] back from the front edge. Make four templates from
thin cardstock or heavy paper as shown. Tape them to the
fuselage so the holes in the template are centered over the
lines near the top and bottom of the fuselage.
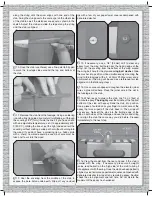
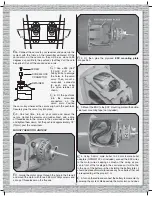
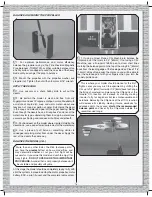
7. Slide the cowl over the fuselage under the cardstock
templates. Mount the propeller (not included). Checking to
be sure the red and white paint line on the cowl aligns with
the red and white covering on the fuselage, tape the cowl
into position—also make sure the cowl is centered over the
propeller shaft and there will be approximately 1/8" [3mm]
clearance between the front of the propeller and the cowl.
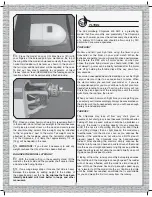
8. Using the holes in the templates as a guide, drill 1/16"
[1.6mm] holes through the cowl into the fuselage.
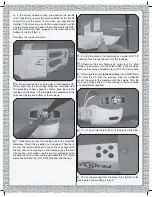
9. Remove the cowl. Temporarily screw four 2 x 8mm
Phillips wood screws into the holes drilled in the fuselage.
Remove the screws and add a drop of thin CA to each hole.
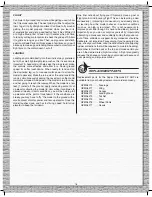
10. Enlarge the holes
in the cowl only
with a 5/64” [2mm]
drill. After the CA from the previous step has hardened,
mount the cowl to the fuselage with the screws. Turn the
motor and make certain it is not rubbing in the cowl. Make
any adjustments required.
11. Cut an air inlet hole in the cowl to help cool the ESC.
12. Cut the covering from the holes in the bottom of the
fuselage to allow cooling air to exit.
Содержание Super Chipmunk 400 ARF
Страница 19: ...19 ...
Страница 20: ...Entire Contents 2012 Hobbico Inc All rights reserved GBGA1023 www carlgoldbergproducts com ...


