4
ASSEMBLE THE WINGS
JOIN THE AILERONS AND MOUNT THE SERVOS
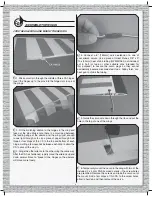
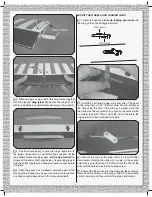
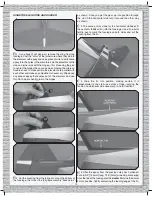
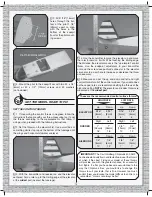
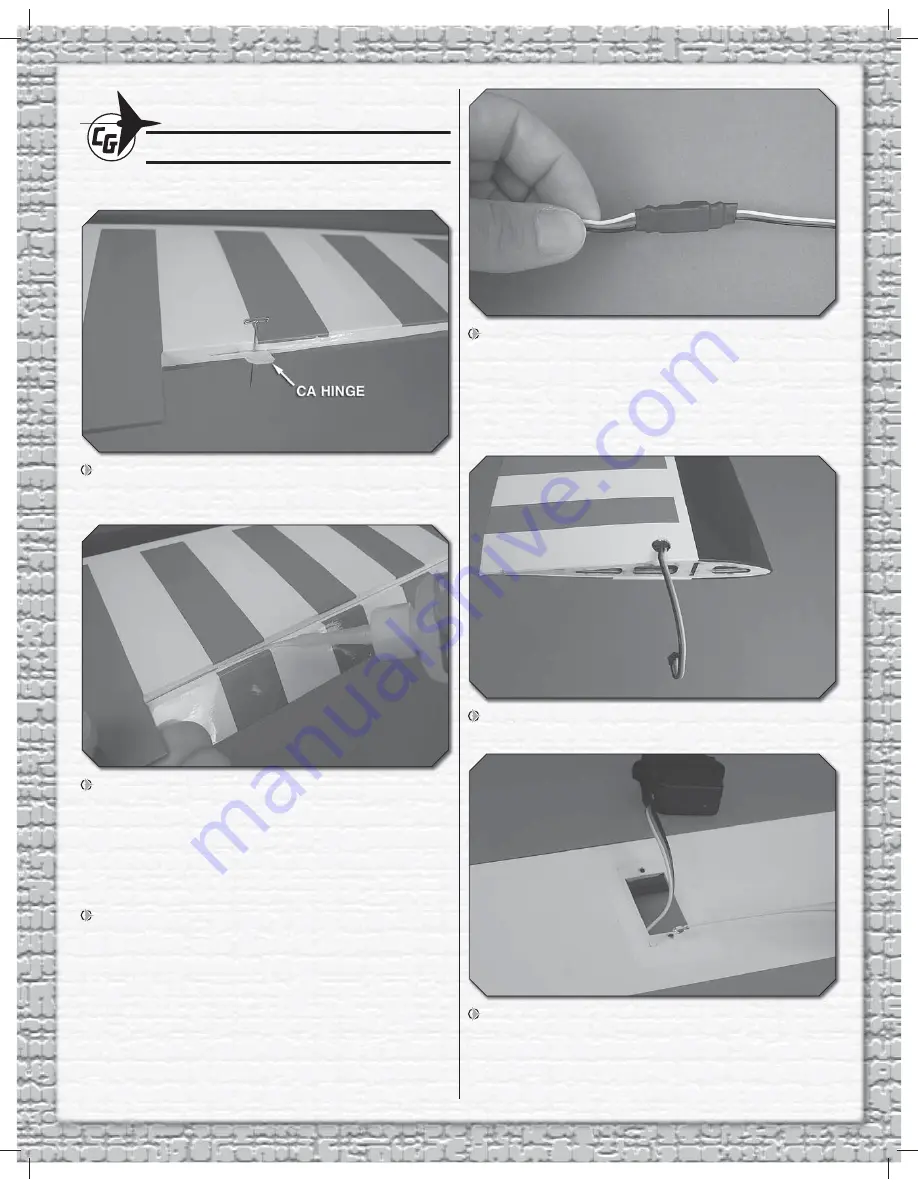
1. Stick a small pin through the middle of three CA hinges.
Insert the hinges up to the pins into the hinge slots in one of
the wings.
2. Fit the matching aileron to the hinges in the wing and
take out the pins. Make sure there is a small gap between
the leading edge of the aileron and the wing—just enough
to see light through or to slip a piece of paper through. Add
three or four drops of thin CA to the top and bottom of each
hinge, waiting a few seconds between each drop to allow the
CA to wick all the way in.
3. Hinge the other aileron to the other wing the same way.
After the CA has hardened, rapidly move the ailerons up and
down several times to “break in” the hinges so the ailerons
will move more freely.
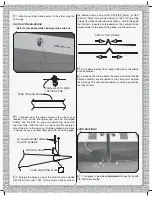
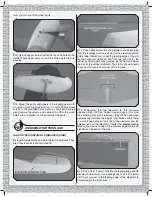
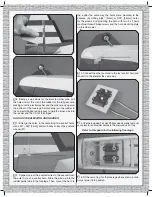
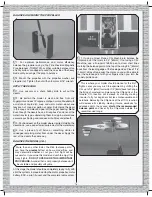
4. Connect a 6" [150mm] servo extension to one of
your aileron servos. Use a piece of Great Planes 3/8" x 3"
[10 x 80mm] heat shrink tubing (GPMM1060, not included)
cut in half (or tape or other suitable clips intended for
this purpose) to secure the servo plugs so they cannot
accidentally become disconnected. Use a hobby torch or a
heat gun to shrink the tubing.
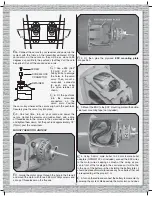
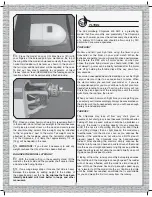
5. Guide the servo wire down through the ribs and out the
hole in the top of one of the wings.
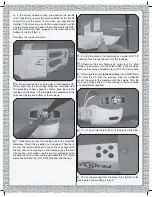
6. Temporarily mount the servo in the wing with two of the
included 2 x 4mm Phillips wood screws—the screw holes
are predrilled. Remove the screws and take the servo out of
the mount. Add a few drops of thin CA to the screw holes,
allow to harden, and then remount the servo.
Содержание Super Chipmunk 400 ARF
Страница 19: ...19 ...
Страница 20: ...Entire Contents 2012 Hobbico Inc All rights reserved GBGA1023 www carlgoldbergproducts com ...


