background image

15

❏ 

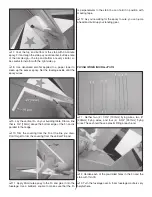
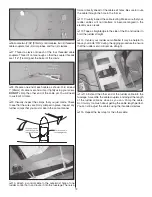
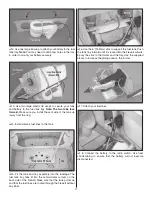
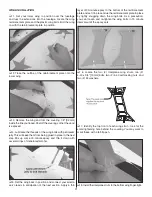
4. Install the throttle servo.

❏ 

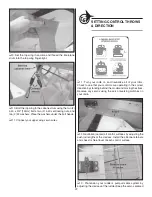
5. Prepare a servo arm or a servo wheel and install a 

screw-lock pushrod connector. Use a plastic retainer to 
secure the connector to the servo arm.

❏ 

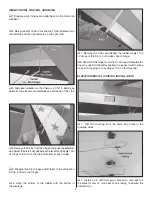
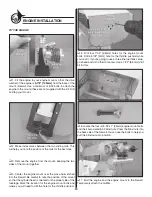
6. Fit the muffl er and any extension that you may need for 

the main mixture control valve.


 RADIO 

INSTALLATION

❏ 

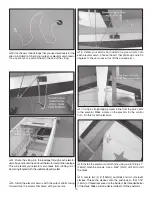
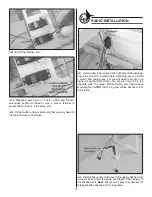
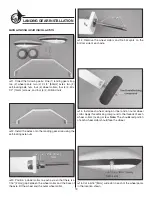
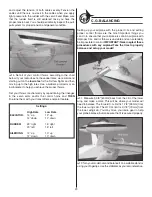
1. Install a new radio switch in the right side of the fuselage. 

There is a cutout for a switch there. Optionally you can install 
a switch and charge jack, but you will need to mount it up 
higher along the same former. You can also mount it to the 
opposite side. The Great Planes Switch and Charge Jack 
Mounting Set (GPMM1000) is a good choice because of its 
thin profi le.

❏ 

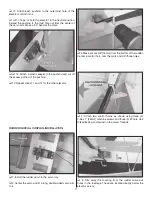
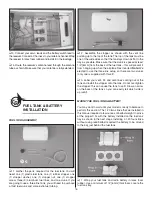
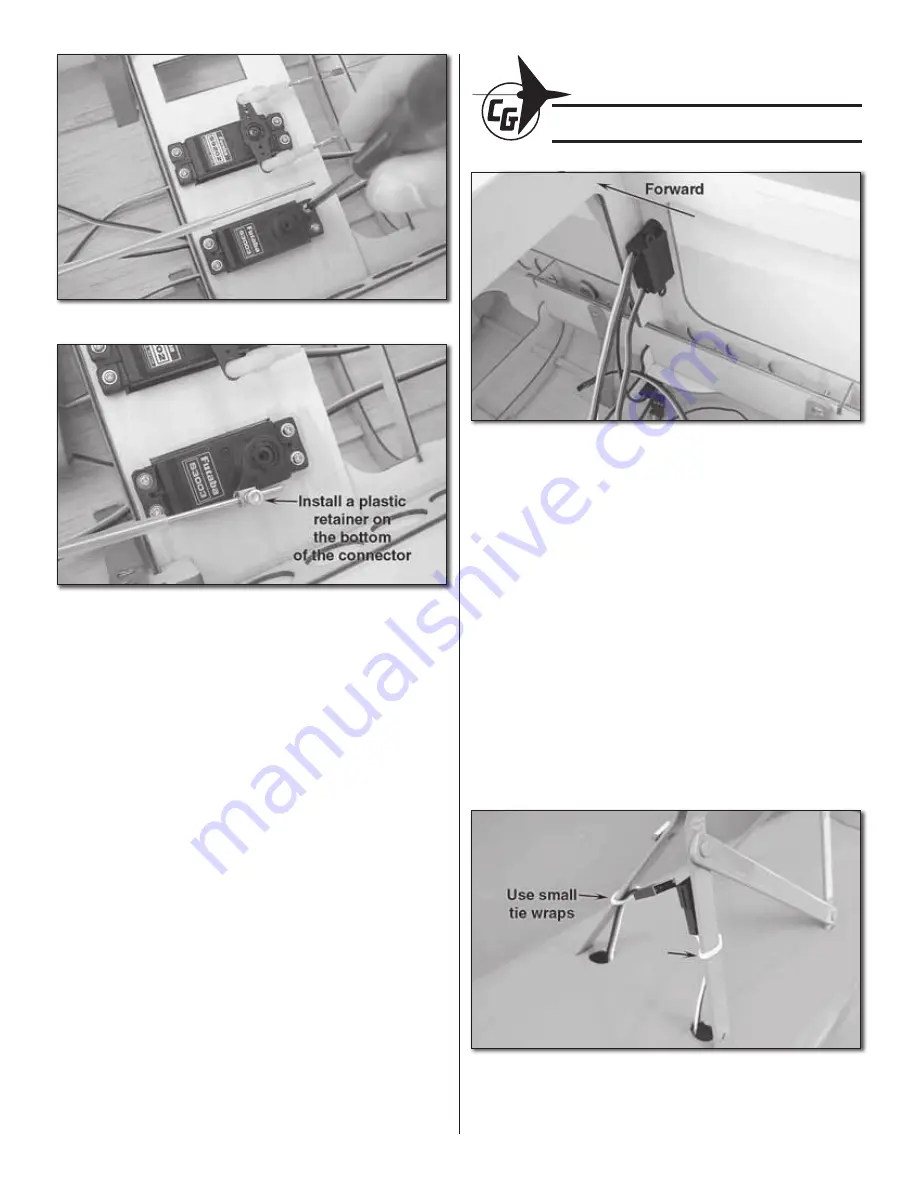
2. Install a heavy duty Y-harness to the upper cabane struts 

using small tie wraps to secure each lead of the harness to 
the cabane struts. 

Note:

 We chose a heavy duty harness for 

this application because of the long leads.

Содержание The Ultimate ARF

Страница 1: ...d with the use of this product the buyer is advised to return this kit immediately in new and unused condition to the place of purchase To make a warranty claim send the defective part or item to Hobby Services at the address below Hobby Services 3002 N Apollo Dr Suite 1 Champaign IL 61822 USA Include a letter stating your name return shipping address as much contact information as possible daytim...

Страница 2: ...DUBQ0637 A suitable Pitts style muffler If you re going to use a three line fuel tank you ll also need a second fuel clunk and a fuel dot stopper plug for the fill line RADIO EQUIPMENT A 5 channel radio system with seven standard servos is required for this plane Below is a list of standard case size servos we recommend Note The second elevator servo must be reversed 6 Futaba 9001 OR minimum 54 oz...

Страница 3: ...h of the wings and each of the four ailerons 2 Prepare sixteen 16 CA hinges by placing a T pin through the center of each hinge Slide the hinges into the hinge slots of each wing 3 Fit the ailerons to each wing Note All ailerons are identical with respect to shape and hinge slot location but you must be careful to mount left side ailerons to the left wings and right side ailerons to the right wing...

Страница 4: ...o installation 3 Position the servos in the servo bays with the output shaft facing forward Using a 1 16 1 6mm drill bit drill the holes for the servo mounting screws 4 Use the screws that came with your servos to tap the holes Remove the screws and place a drop of thin CA into each hole This will harden the wood and will keep the screws from loosening over time 5 Use your radio to center your ser...

Страница 5: ...peat steps 7 through 10 for each aileron 12 Locate the four 4 3 1 4 83mm long aileron pushrods and four 4 plastic clevises Thread the clevises onto the pushrods so that 1 16 1 6mm of thread is exposed on the inside of the threaded barrel of the clevis Slide a silicone clevis retainer onto the pushrod 13 Attach the clevis to the outermost hole of the control horn 14 Holding the aileron in the neutr...

Страница 6: ...age Center the TE of the stab so that the distance A A Make a mark at the top center of the firewall and measure the distance from each stab tip The stab is correctly aligned when the distance A A and B B 4 Use a fine felt tip pen to draw lines on the stab where the stab meets the fuselage Don t forget to draw lines on both the top and bottom of the stab 5 Lay a straightedge just a bit inboard of ...

Страница 7: ...ring from the fin at the line you drew Don t forget to trim the covering from the vertical TE post 11 Apply 30 minute epoxy to the fin and glue it into the fuselage Use a builder s square to make sure that the fin is perpendicular to the stab You can hold it in position with masking tape 12 As you re waiting for the epoxy to cure you can jump ahead and build up your landing gear FLYING WIRES INSTA...

Страница 8: ... the length of the bottom wires until they match the holes in the stab Be careful to allow an equal amount of thread engagement on each fitting Note You don t necessarily want these to be equal lengths on both sides just make sure that the stab and fin are both aligned 8 Flip the fuselage over and use two 2 2 56 x 5 8 16mm machine screws and two 2 2 nuts to loosely attach the four 4 9 3 4 247mm up...

Страница 9: ...to the top and bottom of each hinge 5 Prepare three 3 hinges and fit them to the vertical fin Fit the rudder to the hinges 6 Align the bottom of the rudder with the bottom of the fuselage 7 Remove the T pins and deflect the rudder Apply 10 to 12 drops of thin CA to both sides of each hinge 8 Allowallofthehingestoair dry DonotuseCAaccelerator You may use CA debonder applied to a paper towel to clea...

Страница 10: ...hat came with your servos 6 Center your servos and install a long servo arm onto each elevator servo Choose the arm that points up and is 90 degrees to the servo case Cut off the unused arms 7 Using a straightedge project a line from the servo arm to the elevator Make a mark on the elevator for the control horn Do this for both elevators 8 Install the elevator control horns using six 6 2 56 x 1 25...

Страница 11: ...for the other elevator RUDDER SERVO CONTROL INSTALLATION 1 Install the rudder servo in the servo tray 2 Center the servo and fit a long double sided servo arm to it 3 Make a mark 5 8 16mm from the bottom of the rudder Center a control horn over the mark and drill three holes 4 Attach two control horns as shown using three 3 2 56 x 1 25mm machine screws and three 3 2 nuts Use threadlocking compound...

Страница 12: ...e of one rudder control horn and route it into the fuselage There is a former directly ahead of the cable exit holes Be sure to route the cable through the hole in the former 11 Visually inspect the cable routing Make sure that your rudder cables will not interfere or become tangled in the elevator servo leads 12 Tape a straightedge to the side of the fin and rudder to hold the rudder straight 13 ...

Страница 13: ... to note the position of the mount so that the cylinder head is oriented on the proper side of the fuselage Mark the location for the engine mount bolts and where you will need to drill the hole for the throttle pushrod 5 Drill four 7 32 5 6mm holes for the engine mount bolts Drill a 5 32 4mm hole for the throttle pushrod while you re at it If you re going to use a three line fuel tank setup go ah...

Страница 14: ...gine does not interfere with the cowl you may leave it attached We left the engine attached and removed the muffler 4 Use the six 6 1 2 13mm button head screws to attach the cowl 5 Trace around the openings in the templates you made Use a Dremel tool to cut a hole in the cowl for the cylinder head muffler and needle valves Fit the engine and muffler and re trim where necessary 6 Remove the cowl an...

Страница 15: ...of the fuselage There is a cutout for a switch there Optionally you can install a switch and charge jack but you will need to mount it up higher along the same former You can also mount it to the opposite side The Great Planes Switch and Charge Jack Mounting Set GPMM1000 is a good choice because of its thin profile 2 Install a heavy dutyY harness to the upper cabane struts using small tie wraps to...

Страница 16: ...sible Make sure that the clunk is spaced at least 1 4 6mm from the back of the fuel tank this will prevent it from hanging up when the airplane flies inverted Note We elected to use the three line setup so there are two clunks only one is supplied with this kit 3 Label your vent fill and carb lines coming out of the tank and install the stopper onto the tank Do not overtighten the stopper this can...

Страница 17: ...and tray assembly into the fuselage The fuel tank tray tabs fit into the semi circular cutouts on the back side of the firewall Make sure that the tank points up and that the fuel lines are routed through the firewall without any kinks 6 Use the 6 152mm stick to support the fuel tank Push the tank tray forward until it is locked into the firewall cutouts Epoxy the stick to the former and the tray ...

Страница 18: ...le nuts 3 Position a wheel collar on each axle so that there is a 1 16 2mm gap between the wheel collar and the base of the axle Fit the wheel and the outer wheel collar 4 Remove the wheel collars and file flat spots on the bottom side of each axle 5 Install each wheel using an inner and an outer wheel collar Apply threadlocking compound to the threads of each wheel collar s locking screw Note The...

Страница 19: ...TALLATION RIGGING 1 Collect the following parts One 1 tail wheel landing gear strap one 1 tail wheel wire one 1 1 1 4 32mm tail wheel one 1 steering arm assembly one 1 large area wheel collar one 1 standard collar two 2 springs and two 2 4 40 x 1 2 13mm screws 2 Install the large area wheel collar onto the tail wheel wire as shown 3 Fit the tail wheel wire onto the landing gear strap using the ste...

Страница 20: ...them to the rudder control horns as shown Bend the wire of the spring back onto itself and twist the ends of it around the wire Cut off any excess wire 9 Test the operation of the tail wheel using your radio 10 Apply a couple drops of light machine oil to the axle FINAL ASSEMBLY INSTALL THE COWL PROPELLER 1 Install all engine accessories like the muffler needle valve extension throttle pushrod and...

Страница 21: ... epoxy and thin it down with several drops of denatured alcohol 5 Set the wing back in position and connect your aileron servo leads in anticipation of the next section Apply a thin layer of 30 minute epoxy to the bottom of the reinforcement plate and set it in place Glue the reinforcement plate in place by lightly snugging down the wing bolts As a precaution you can loosen and re tighten the wing...

Страница 22: ...TION 1 Turn your radio on and neutralize all of your trims Check to see that your controls are operating in the correct direction by standing behind the model and moving the sticks Reverse any servos using the servo reversing switches on your radio 2 Neutralize center all control surfaces by adjusting the pushrod lengths at the clevises Install the silicone retainers and check for free travel of e...

Страница 23: ...t feature Settings High Rate Low Rate ELEVATOR 14 up 12 up 14 down 12 down RUDDER 23 right 15 right 23 left 15 left AILERONS 12 up 10 up 12 down 10 down C G BALANCING Setting up your airplane with the proper C G and setting proper control throws are the most important things you can do to ensure that your airplane is safe An airplane with improper C G and or throws is unstable and can potentially ...

Страница 24: ...FLIGHT LOG Date Built Date of First Flight Flight Notes ...

Отзывы: