background image

2. With the 

scala rider Q2 

pro

 headset turned ON, press and 

hold the Volume Up Button for at least six seconds until the 

Red and Blue Lights begin rapidly alternating.

3. Search for 

Bluetooth

 headsets on your GPS device by following 

the device’s instructions. The headset will be listed as 

“scala 

rider Q2 Pro” 

Please consult your GPS device’s User Manual 

for more information.

4. If your GPS device prompts for a PIN or Passkey enter 0000 (four zeros).

5. Your GPS device will confirm that pairing has succeeded. The 

headset will begin flashing slowly in Blue. 

6. If you wish to use a 

Bluetooth

 mobile phone to make and 

receive calls through the headset, you must now pair your 

mobile phone to your GPS device by following your GPS 

and/or mobile phone’s instructions.

NOTE: 

If the Pairing process is not completed within two 

minutes the headset will return to Standby mode. 

GETTING STARTED

ATTACHING THE CLAMP ON THE HELMET 

The Helmet Clamp must be attached to the left side of the helmet. 

Once attached, the headset unit can be mounted  or released from 

the Helmet Clamp at any time. If you wish to connect your MP3 player 

to your headset, please refer first to the assembly instructions listed in 

section: CONNECTING YOUR MP3 PLAYER TO YOUR HEADSET. 

There are two methods that can be used in order to attach the Clamp 

onto the helmet:

Standard Method:

 Recommended for most helmet types.

Glue Plate Method: 

Recommended for helmets to 

which the standard method cannot be applied, 

using the Glue Plate included in the box. 

Standard Method

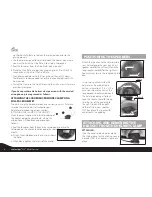
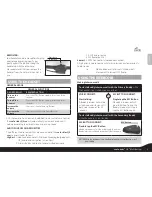
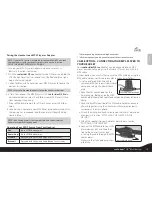
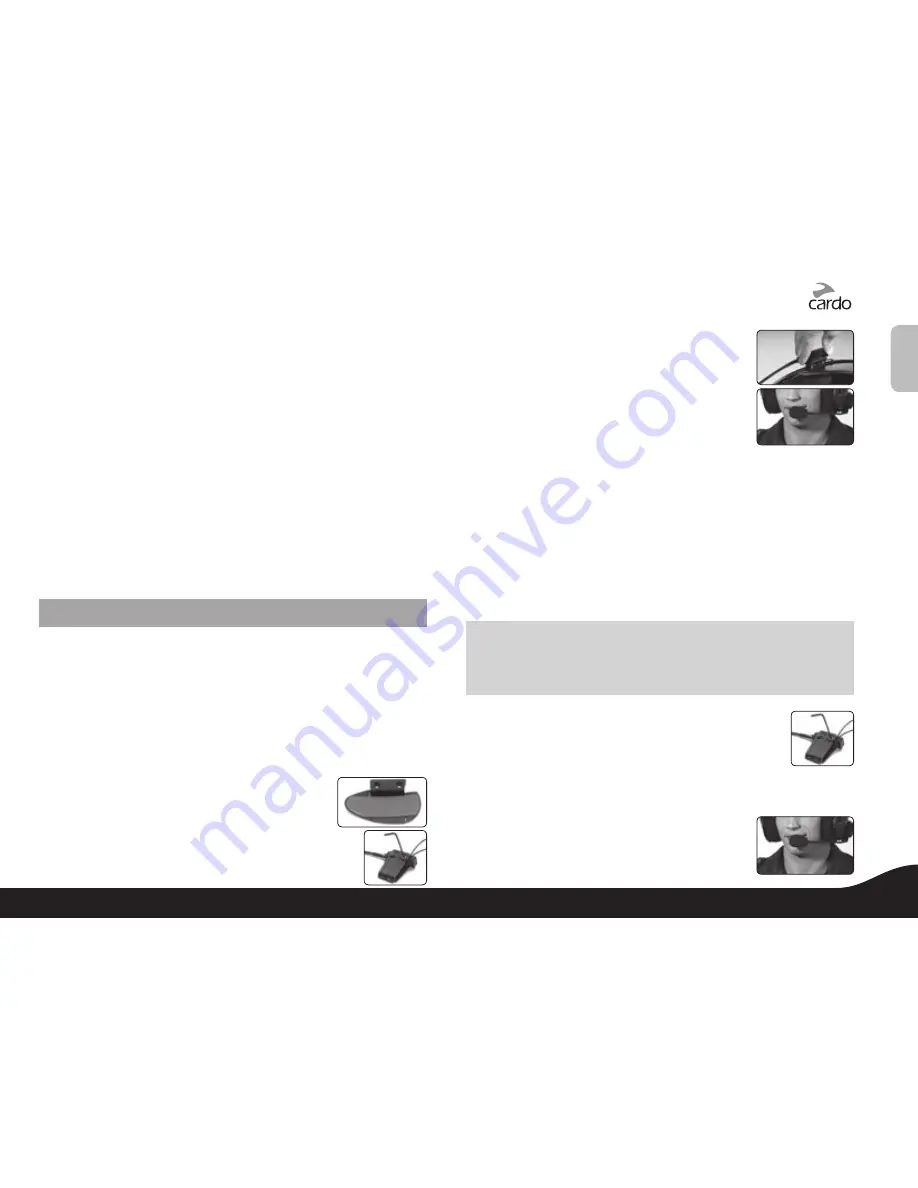
1. Use the enclosed Allen Wrench to loosen the two 

screws on the Back Plate.

2. Slide the Back Plate between the internal 

padding and the external shell of the helmet. 

3. Adjust the clamp’s location so that the 

microphone is located opposite your mouth 

and then tighten the screws. You may need 

to reposition the Clamp repeatedly until you 

identify the best spot. The microphone 

must be positioned vertically and not 

horizontally. 

If you have purchased a helmet clamp version with the corded micro-

phone, please refer to section 

ATTACHING THE CORDED MICROPHONE 

CLAMP ON A FULL-FACED HELMET

Glue Plate Method

You have the option to glue the Helmet Clamp onto your helmet, 

when the above standard method cannot be used, or in case you 

prefer to secure the Helmet Clamp with adhesive glue. This option 

has been successfully used for a range of high end helmets.

NOTE:

 While we have no reason to believe that the gluing option might 

negatively affect any helmet, Cardo does not assume any responsibility to 

that affect, irrespective of its nature and circumstances. The Glue Plate is 

offered as a free option that you may choose to use at your own risk and 

subject to renouncement of any future claims.

Caution: 

This process can be done only once! 

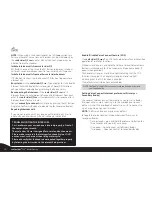
1. Use the enclosed Allen Wrench to remove both Allen 

screws and release the Helmet Clamp’s back plate.

2. Determine the location on the helmet where the Hel-

met Clamp must be attached.

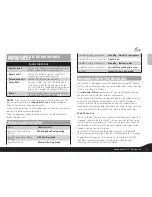
3. Adjust the Helmet Clamp’s location on the Helmet so that the 

microphone is located opposite your mouth. 

You may need to reposition the Clamp 

repeatedly until you identify the best spot. The 

microphone must be positioned vertically and 

En

glis

h

7

scala rider

®

 Q2

 MultiSet 

pro

Содержание SCALARIDER Q2 MULTISET PRO

Страница 1: ...Q2 MultiSet pro Gebrauchsanleitung Guide d Utilisation Guida di Avvio Guia de Usario User Guide communication in motion...

Страница 2: ...etooth word mark and logos are owned by the Bluetooth SIG Inc and any use of such marks by Cardo Systems Inc is under license Other trademarks and trade names are those of their respective owners 2 sc...

Страница 3: ...ransmits audio from the embedded FM Radio As a speaker that transmits music from your MP3 player via provided cable As a Bluetooth stereo headset for wireless music streaming sup porting the Bluetooth...

Страница 4: ...turns on it may take up to 15 seconds until the Red Light turns on When charging is complete the Red Light will turn off SET UP AND CONFIGURATION SETUPFORBIKE TO BIKEINTERCOM PAIRING Pairing is a one...

Страница 5: ...can communicate among each other directly via Intercom NOTE If the Pairing process is not completed within two minutes the headset will return to Standby mode Same process is applicable also for pairi...

Страница 6: ...Turn on your phone and make sure its Bluetooth function is activated 2 With the scala rider Q2 pro headset turned ON press and hold the CTRL Button for at least six seconds until the Red and Blue Lig...

Страница 7: ...ndard Method 1 Use the enclosed Allen Wrench to loosen the two screws on the Back Plate 2 Slide the Back Plate between the internal padding and the external shell of the helmet 3 Adjust the clamp s lo...

Страница 8: ...al padding of the helmet opposite your mouth where the microphone will be placed and proceed as follows a Peel the foil cover from the adhesive Velcro pad and place the Velcro pad on the chosen locati...

Страница 9: ...ice Incoming outgoing calls GPS audio and navigation instructions 2 Primary Buddy Audio and Secondary Buddy Audio 3 A2DP audio source 4 FM Radio built in Lowest 5 MP3 Connectivity corded connection A...

Страница 10: ...of your mouth The scala rider Q2 pro is designed for use in loud environments Please make sure to test the Intercom functionality in a LOUD environment such as next to an idling motorcycle Please als...

Страница 11: ...econds Standby Battery is low 2 red flashes every 3 seconds Low battery while audio is on Solid red Headset is being charged WORKINGWITHTHEFMRADIO Your headset is equipped with an FM Radio receiver an...

Страница 12: ...with a memory capacity of six stations Select the station you wish to replace by tapping the MC button until you find the station you want to replace Search for a new station as described above Tap t...

Страница 13: ...Forward Press and hold the Volume Up Button for 3 seconds Rewind Press and hold the Volume Down Button for 3 seconds Varies depending on your mobile phone model With some phones you may need to repea...

Страница 14: ...n between the equipment and receiver Connect the equipment into an outlet on a circuit different from that to which the receiver is connected Consult the dealer or an experienced radio TV technician f...

Страница 15: ...conditions and irrespective of jurisdiction Cardo will not be responsible for any physical damages irrespective of reasons condi tions or circumstances including malfunctioning of the Device and all r...

Страница 16: ...GES WHATSOEVER RESULTING FROM THE USE OF THE DEVICE WHETHER BASED ON BREACH OF CONTRACT TORT INCLUDING NEGLIGENCE PRODUCT LIABILITY OR OTHERWISE EVEN IF ADVISED OF THE POSSIBILITY OF SUCH DAMAGES YOU...

Отзывы: