8200-M628-O1 Rev A
212G/212GX Installation & Technical
Page 20
SETUP AND CALIBRATION
Your Model 212G/212GX indicator has been thoroughly tested and calibrated before being
shipped to you. If you received the indicators attached to a scale, calibration is not necessary.
If the indicator is being connected to a scale for the first time or recalibration is necessary for
other reasons, proceed as indicated.
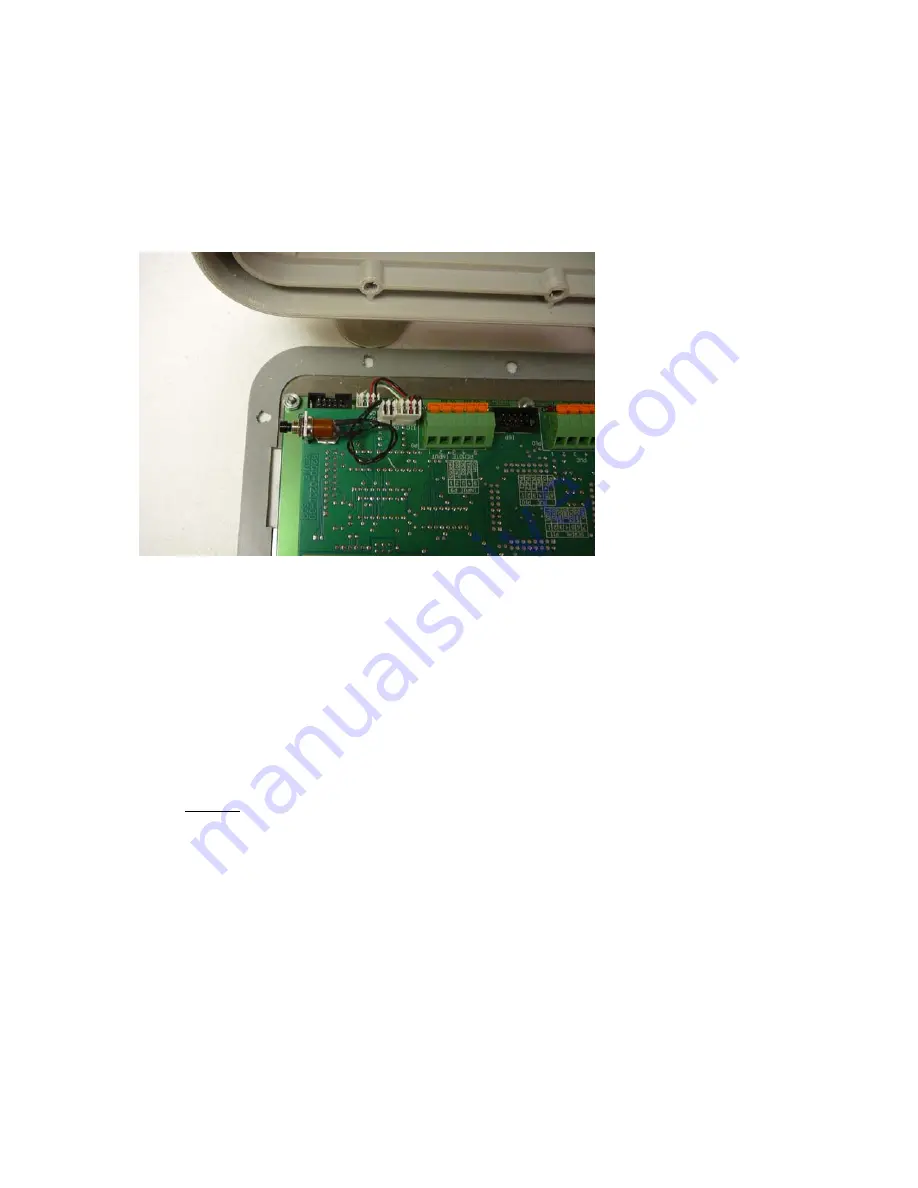
The calibration switch is located on a bracket on the inside of the enclosure front panel. You
may gain access to this switch simply by removing the 12 access screws on the front panel.
Refer to Figure No. 11.
Enter Setup Mode
1. With the 212G/212GX indicator OFF;
2. Remove the front panel.
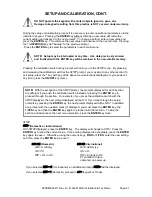
3. With the 212G/212GX indicator ON, press and release the calibration switch. Refer to
Figure No. 11.
4. The
SETUP
menu prompt will be displayed.
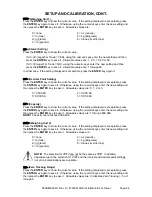
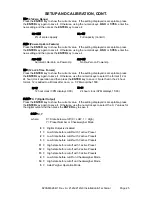
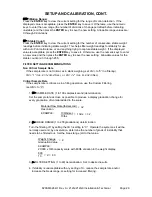
5. Continue to press and release the switch to step to the beginning point for other menus.
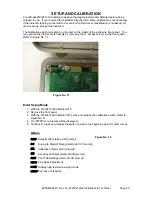
MENUS
SEtUP
Setup Mode (starts at
USA
prompt)
A
-
D
Analog to Digital Filtering (starts at
dFLt
=
prompt)
CAL
Calibration (starts at
CAL1
prompt)
SIO
Serial Input/Output (starts at
BAUD
prompt)
Print Tab Settings (starts at
PORT
prompt)
FSPAn
Fine Span Adjustment
Hi rES
Display high resolution weight mode
LoCoUt
Key lock out function
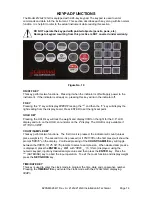
Figure No. 11
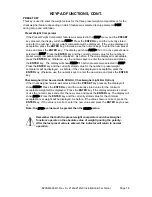
Figure No. 12
Содержание 212G
Страница 2: ...8200 M628 O1 Rev A 212G 212GX Installation Technical Page 2 ...
Страница 10: ...8200 M628 O1 Rev A 212G 212GX Installation Technical Page 6 INSTALLATION CONT Figure No 2 ...
Страница 16: ...8200 M628 O1 Rev A 212G 212GX Installation Technical Page 12 INSTALLATION CONT Main PCB Figure No 9 ...
Страница 27: ...8200 M628 O1 Rev A 212G 212GX Installation Technical Page 23 Lamp test on power up ...
Страница 52: ...8200 M628 O1 Rev A 212G 212GX Installation Technical Page 48 ...


