background image

50

51

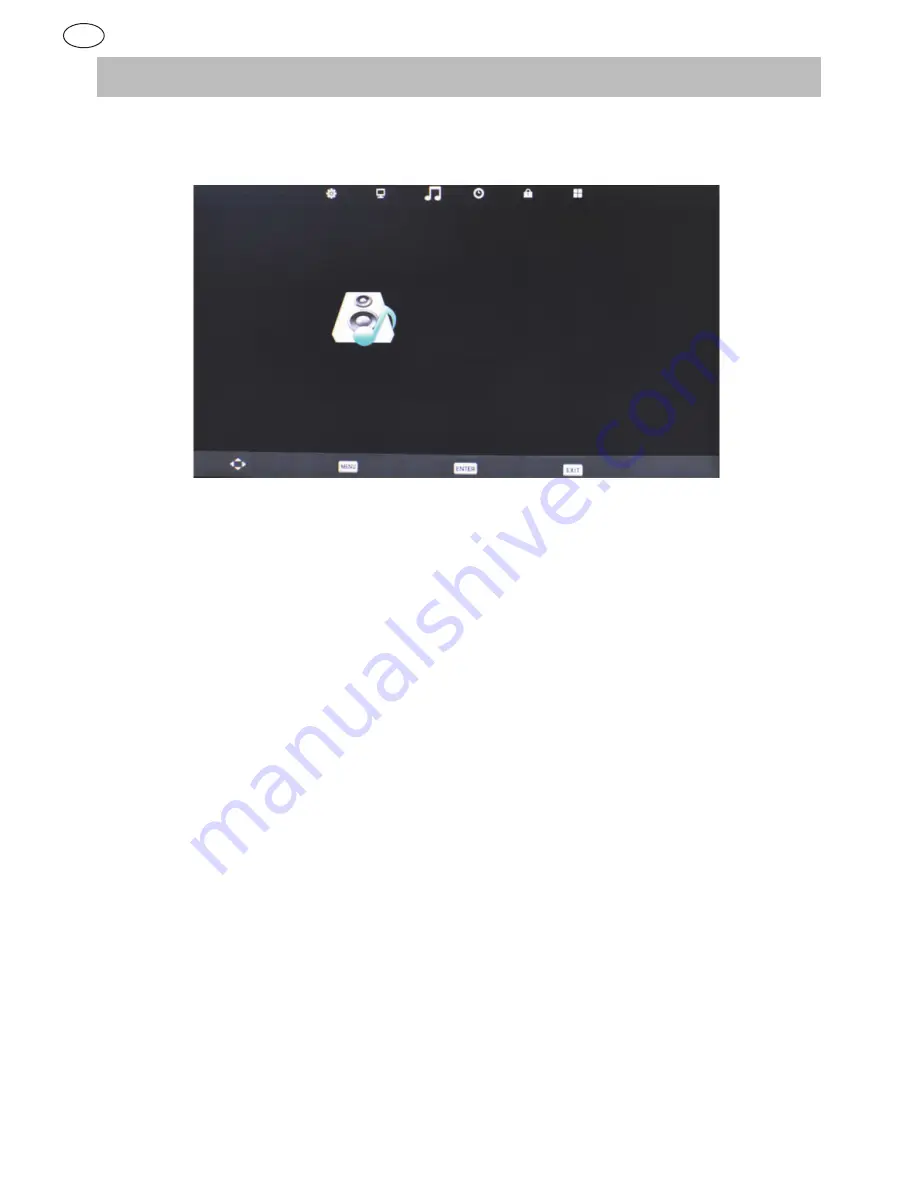
SOUND MENU

Press 

menu

 button to display the main menu.

Press 

F

 / 

E

 button to select 

Sound

 in the main menu; it will highlight the first option.

1. Press 

/

 H

 button to select the option that you want to adjust in the 

Sound

 menu.

2. Press 

F

 / 

E

 button to adjust.

3.  After finishing your adjustment, press 

Menu

 button to save and return to the previous menu.

Sound Mode

Press 

/

 H

 button to select 

Sound Mode

, then press 

enter

 button to enter sub-menu.

Press 

/

 H

 button to select. (Available Sound mode: Standard, Music, Movie, Sports, Personal).

You can change the value of Treble and Bass when the sound is in USER mode. Tips: You can press 

Smode

 button on the 

remote control to change the Sound Mode directly.

Treble

Press 

/

 H

 button to select 

Treble

, then press 

enter

 button to enter sub-menu.

Press 

F

 / 

E

 button to adjust.

Bass

Press 

/

 H

 button to select 

Bass

, then press 

enter

 button to enter sub-menu.

Press 

F

 / 

E

 button to adjust.

Balance

Press 

/

 H

 button to select 

Balance

, then press enter button to 

enter

 sub-menu.

Press 

F

 / 

E

 button to adjust.

Auto Volume

Press button to select 

Auto Volume

, then press 

enter

 button to select.

SPDIF MODE

Press 

/

 H

 button to select 

SPDIF MODE

, then press 

enter

 button to select Auto On of Off or PCM.

AD Switch

Press 

/

 H

 button to select 

AD Switch

, then press 

enter

 button to select On or Off.

Sound Mode 

Standard

Treble 50
Bass 50
Balance 0
Auto Volume Level 

Off

Digital Output 

PCM

AD Switch 

Off

Move 

Return 

Select  

Exit

Sound

GB

Содержание 494822

Страница 1: ...User Manual GB 494822...

Страница 2: ...tion 41 Power Connection 41 Main unit description 42 Control Panel Button Function 42 TV terminal Connections 43 Remote Controller 44 Select input source 46 Channel menu 46 Picture Menu 49 Sound Menu...

Страница 3: ...e that may be of sufficient magnitude to constitute a risk of electric shock The flash with the exclamation point inside a triangle alerts the user about important operating and maintenance instructio...

Страница 4: ...ularly at plugs convenience receptacles and the point where it exits from the apparatus 11 Only use attachments accessories specified by the manufacturer 12 Use only with the cart stand tripod bracket...

Страница 5: ...en the battery cover b Insert two size AAA batteries Place the batteries with their terminals corresponding to the and indications in the battery compartment c Replace the cover Precaution on battery...

Страница 6: ...THE ANTENNA WILL DEPEND UPON YOUR PARTICULAR AREA Note It is recommended that a 75 ohm coaxial cable be used to eliminate interference and noise which may occur due to radio wave conditions The antenn...

Страница 7: ...N THE OSD OFF 4 5 VOL ADJUSTS THE VOLUME UP AND DOWN SELECTS THE MAIN MENU ITEM AND CHANGES VALUES FOR ITEMS WHEN IN THE OSD MODE 6 7 CH SCANS UP AND DOWN THROUGH CHANNELS SELECTS SUB MENU ITEM WHEN I...

Страница 8: ...S S2 Connects RF input from VHF UHF antenna or cable to receive high standard definition television Coaxial Connects to the audio jack on the digital standard 5 1 audio system USB Allows access to di...

Страница 9: ...and previous channels I MENU Displays the OSD menu on the screen J EXIT Exits the OSD menu K INFO Press to displays a variety of information about the current channel and the input source L G H F E O...

Страница 10: ...ge 21 FF In Media mode use to reverse move EE playback rapidly IFF In Media mode press to jump to the previous chapter or track EEI In Media Mode press to jump to the next chapter or track L In Media...

Страница 11: ...ess G H button to select the option that you want to adjust in the Channel menu 2 Press Enter button to adjust 3 After finishing your adjustment press Menu button to save and return to the previous me...

Страница 12: ...lect channel number you want to store Press G H button to select the second option Press F E button to select audio system Press G H button to select search then press Enter button to start tuning Pre...

Страница 13: ...idge Modulation Quality and Strength CI information Press G H button to select CI Information then press enter button to display details if you have inserted the CI card Programs Edit 1 AFD0 16 9 2 AF...

Страница 14: ...ct Contrast then press enter button to enter sub menu Press F E button to adjust Brightness Press G H button to select Brightness then press enter button to enter sub menu Press F E button to adjust C...

Страница 15: ...ss Smode button on the remote control to change the Sound Mode directly Treble Press G H button to select Treble then press enter button to enter sub menu Press F E button to adjust Bass Press G H but...

Страница 16: ...time It s not available Time Zone Press G H button to select Time Zone then press enter button to enter sub menu Press G H F E button to select time zone Sleep Timer Press G H button to select Sleep T...

Страница 17: ...shing your adjustment press Menu button to save and return to the previous menu System Lock Press G H button to select Lock System then press enter button to make the following 3 options valid Default...

Страница 18: ...save and return to the previous menu Language Press G H button to select OSD Language then press Enter button to enter sub menu Press G H F E button to select OSD language TT Language Press G H butto...

Страница 19: ...t Restore factory Default then press enter button to enter a dialogue Press F button to select Select Yes to restore factory default by choosing OSD language country and conducting Channel Tuning E So...

Страница 20: ...nd return to the previous menu Auto Adjust Press G H button to select Auto Adjust then press enter button to start adjusting automatically H Offset Press G H button to select H Offset then press enter...

Страница 21: ...r Press F E button to select the option you want to adjust in the main MEDIA menu then press enter button to enter PHOTO MENU Press F E button to select PHOTO in the main menu then press enter button...

Страница 22: ...the file folder you want to search in the file selecting menu then press red or enter button on your remote control to enter sub menu Press F E button to select the file you want to delete in the fil...

Страница 23: ...he movie forward at low speed Step forward Press OK to step forward within the movie Goto time Time is displayed as 00 00 00 01 23 45 Use the F E buttons to move between the positions and the G H butt...

Страница 24: ...r Press F E button to select return option to return to the previous menu When highlighting the option you select the file information will appear on the right and movie will be previewed in the cente...

Страница 25: ...nd text will be previewed in the center Press media button to view the selected text Press display button to select menu in the bottom you want to run then press enter button to operate Press menu but...

Страница 26: ...D VCD2 0 discs the screen will display the Super VCD VCD2 0 Disc Menu PBC OFF Press the D MENU button to display the PBC status Playback the Super VCD VCD2 0 discs the default PBC status is ON For DVD...

Страница 27: ...VCD CD 12 cm 74 mins approx CD DA Digital audio HD CD 12 cm 74 mins approx HD DA Digital audio MP3 JPEG 12 cm 600 mins approx Digital audio NOTE Also supports DVD R CD R CD RW playback Warning Do not...

Страница 28: ...ying the disc you may use forward or backward function There are 4 speeds for forward Press EE button to toggle between different speeds in sequence FORWARDx2 FORWARDx8 FORWARDx20 Play While in backwa...

Страница 29: ...the on Screen display 7 Goto for DVD Super VCD VCD CD CD G HD CD and Mp3 discs This function allows you to play your favorite Title Chapter Track Press Goto button to activate the on screen scroll do...

Страница 30: ...playback Buttons for switching between Mp3 and JPEG playback function Use the navigation buttons to check your favorite folder and playback the first file or move to your favorite file Note Press but...

Страница 31: ...ess the Navigator E button to enter Press the Navigator G or H button to set the OSD language as desired 3 If Screen Saver is selected press the Navigator E button to enter Press the Navigator G or H...

Страница 32: ...e Navigator G or H button to set the Dual Mono level as desired You can select four different audio outputs Stereo Mono L Mono R Mix Mono 3 If Dynamic is selected press the Navigator E button to enter...

Страница 33: ...select and set the language as desired 3 If Parental is selected press the Navigator E button to enter Press the Navigator G or H button to select the desired level then press the OK button The Passw...

Страница 34: ...on air Contact the broadcaster to ensure that the channel is running 3 Poor picture sound quality Install the antenna in an obstacle free place Make sure there is no mobile phone or microwave oven ne...

Страница 35: ...0 1 Brightness 250 cd m2 Response Time 5 ms Viewing Angle 170 160 TV System Colour System PAL SECAM Sound System BG Speaker 3W X2 Input TV Antenna Input 5V X2 VGA X1 Video X1 HDMI X1 YPbPr X1 CI X1 PC...

Страница 36: ...www reimo com...

Отзывы: