


Step 2 Select an Input Signal
52
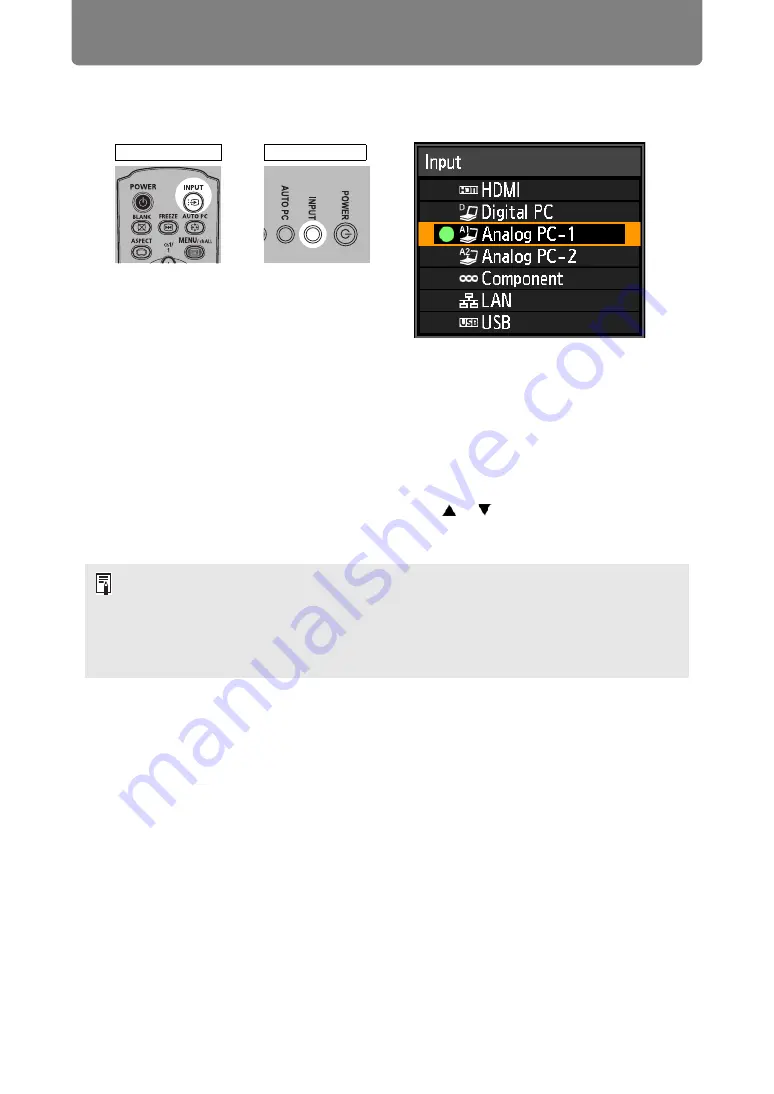
Selecting an Input Signal
1
Press the INPUT button to display the window shown below.
The currently active input signal is marked with a green circle and enclosed by
a orange border.
An input signal that is ready for projection is displayed in white. When no signal
is received, it is displayed in gray. However, [Digital PC] or [Analog PC-1] may
be displayed in gray even if these signals are ready for projection.
2
You can switch the available input signal types by pressing the INPUT
button.
•
You can select the target input signal with [ ] / [ ].
3
Press the OK button to confirm the input signal type.
• Screens of computers connected to the projector over a network can be projected
when you have selected [LAN] as the input signal. For details, refer to Networked Multi-
Projection (NMPJ).
• Images on USB flash drives can be projected when you have selected [USB] as the
input signal. For details, refer to “Projecting Images on a USB Flash Drive” (
• In split-screen mode, the side without control rights is identified by a white circle.
Remote control
Projector
Содержание WUX450
Страница 30: ...30 ...
Страница 46: ...46 ...
Страница 47: ...47 MULTIMEDIA PROJECTOR Operation ...
Страница 48: ...48 ...
Страница 72: ...72 ...
Страница 122: ...122 ...
Страница 162: ...162 ...
Страница 201: ...201 MULTIMEDIA PROJECTOR Networked Multi Projection NMPJ ...
Страница 202: ...202 ...
Страница 216: ...216 ...
Страница 250: ...250 ...
Страница 264: ...Using Layout Functions 264 Meeting Mode window Classroom Mode window starting a session ...
Страница 273: ...273 MULTIMEDIA PROJECTOR Appendix ...
Страница 274: ...274 ...


