


44
Shooting - Letting the Camera Select Settings
Using the Built-In Flash
Use the built-in flash according to the guidelines below.
* No icon appears in the display panel in Auto mode.
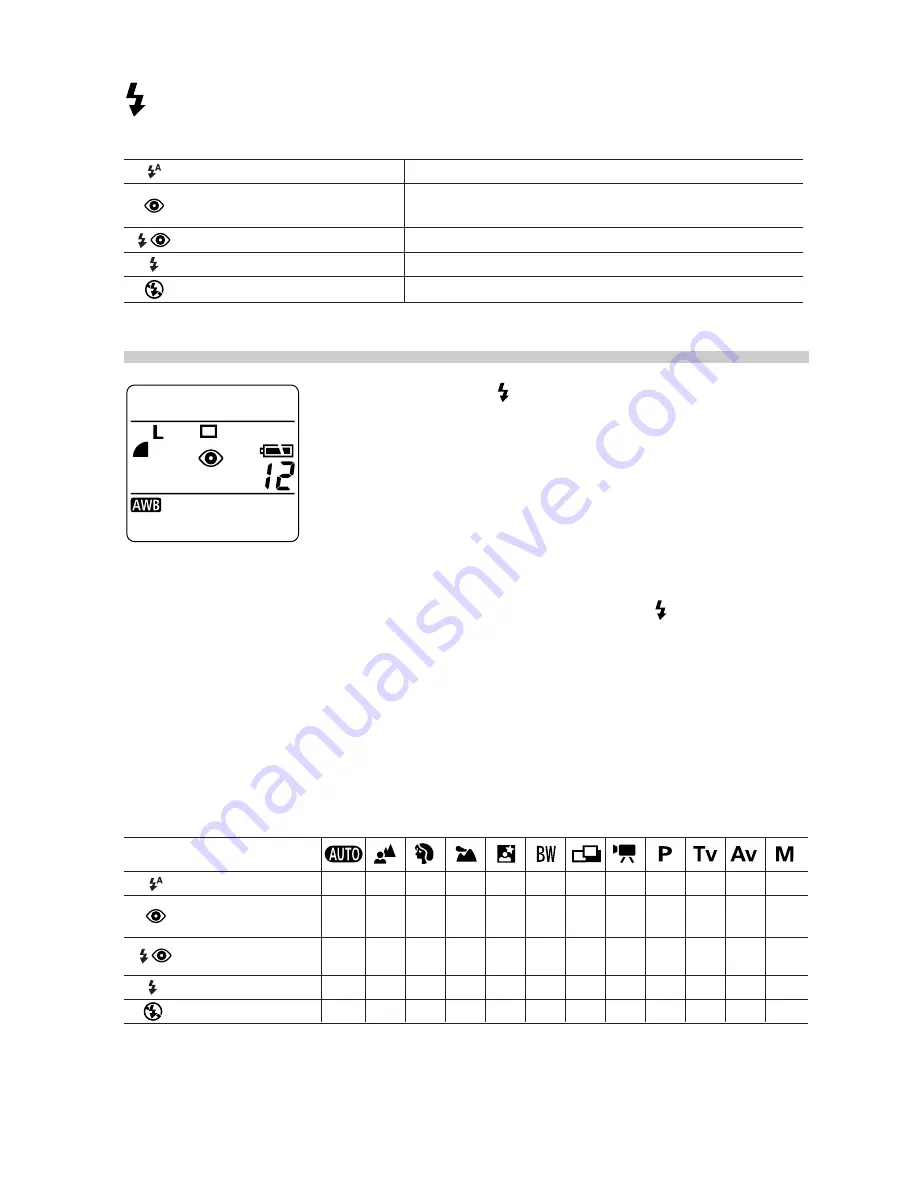
1
Press the button to switch between
flash modes.
• The selected flash mode will show in the
display panel. It will also appear in the LCD
monitor or viewfinder if it is on.
2
Shoot the image.
• When the flash is set to fire, it will
automatically pop up when the shutter button
is pressed halfway and a red will appear in
the LCD monitor or viewfinder.
• Shooting procedures are described in steps 6-8
in the Quick Start section (p. 9).
• To close the flash, press it down with your
fingers.
Built-in Flash Settings
The flash cannot be used with some shooting modes.
(Auto)
(Red-eye reduction,
Auto)
(Red-eye reduction,
Flash on)
(Flash on)
(Flash off)
●
●
*
-
-
●
-
-
-
-
●
*
-
-
●
●
●
*
-
-
●
●
●
*
-
-
●
●
●
*
-
-
●
●
●
*
-
-
-
▲
▲
*
●
*
●
●
●
●
●
●
*
●
●
●
●
●
●
●
●
*
●
●
*
●
●
●
●
*
●
●
●
●
(Auto)*
(Red-eye reduction, Auto)
(Red-eye reduction, Flash on)
(Flash on)
(Flash off)
The flash fires automatically as required by the lighting level.
The red-eye reduction lamp always fires but the flash only fires as
required by the lighting level.
The red-eye reduction lamp and the flash always fire.
The flash always fires.
The flash does not fire.
* Default setting.
●
Setting selection is possible.
▲
Setting can only be selected for the first image.
- Setting selection is not possible.


