187
Appendix
Before Use
Index
Basic Guide
Advanced Guide
Camera Basics
Auto Mode /
Hybrid Auto Mode
Other Shooting Modes
P Mode
Tv, Av, M, and C Mode
Playback Mode
Wi-Fi Functions
Setting Menu
Accessories
●
To cancel printing in progress, press the [ ] button, choose [OK],
and then press the [ ] button again.
●
After displaying a scene to print as described in steps 2 – 5 of
“Viewing” (
110), you can also access the screen in step 1
here by pressing the [ ][ ] buttons to choose [ ] in the movie
control panel and then pressing the [ ] button.
Adding Images to the Print List (DPOF)
Still Images
Movies
189) and ordering prints from a photo development
service can be set up on the camera. Choose up to 998 images on a
memory card and configure relevant settings, such as the number of
copies, as follows. The printing information you prepare this way will
conform to DPOF (Digital Print Order Format) standards.
●
RAW images cannot be included in print list.
3
Choose the printing area.
z
Press the [ ][ ] buttons or turn the [ ]
dial to choose [Cropping], and then press
the [ ] button.
z
Follow step 2 in “Cropping Images before
Printing” (
area.
4
Print the image.
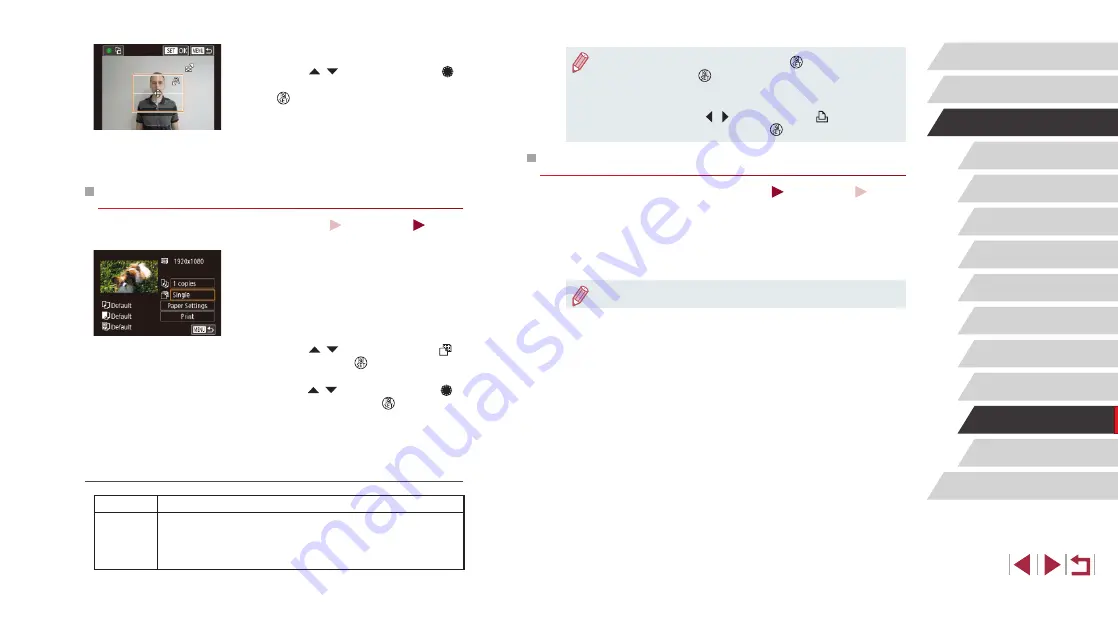
Printing Movie Scenes
Still Images
Movies
1
Access the printing screen.
z
Follow steps 1 – 5 in “Easy Print”
(
184) to choose a movie. The screen
at left is displayed.
2
Choose a printing method.
z
Press the [ ][ ] buttons to choose [ ],
and then press the [ ] button. On the
next screen, choose an option (either
press the [ ][ ] buttons or turn the [ ]
dial), and then press the [ ] button to
return to the printing screen.
3
Print the image.
Movie Printing Options
Single
Prints the current scene as a still image.
Sequence
Prints a series of scenes, a certain interval apart, on a
single sheet of paper. You can also print the folder number,
file number, and elapsed time for the frame by setting
[Caption] to [On].


