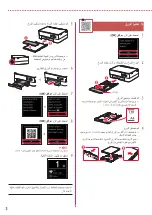
3
ENGLISH
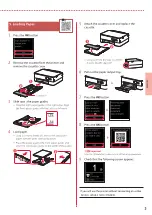
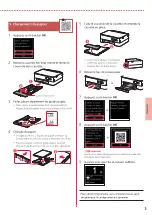
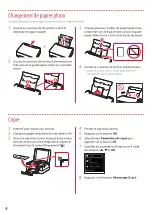
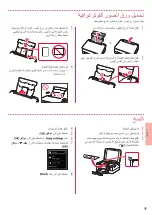
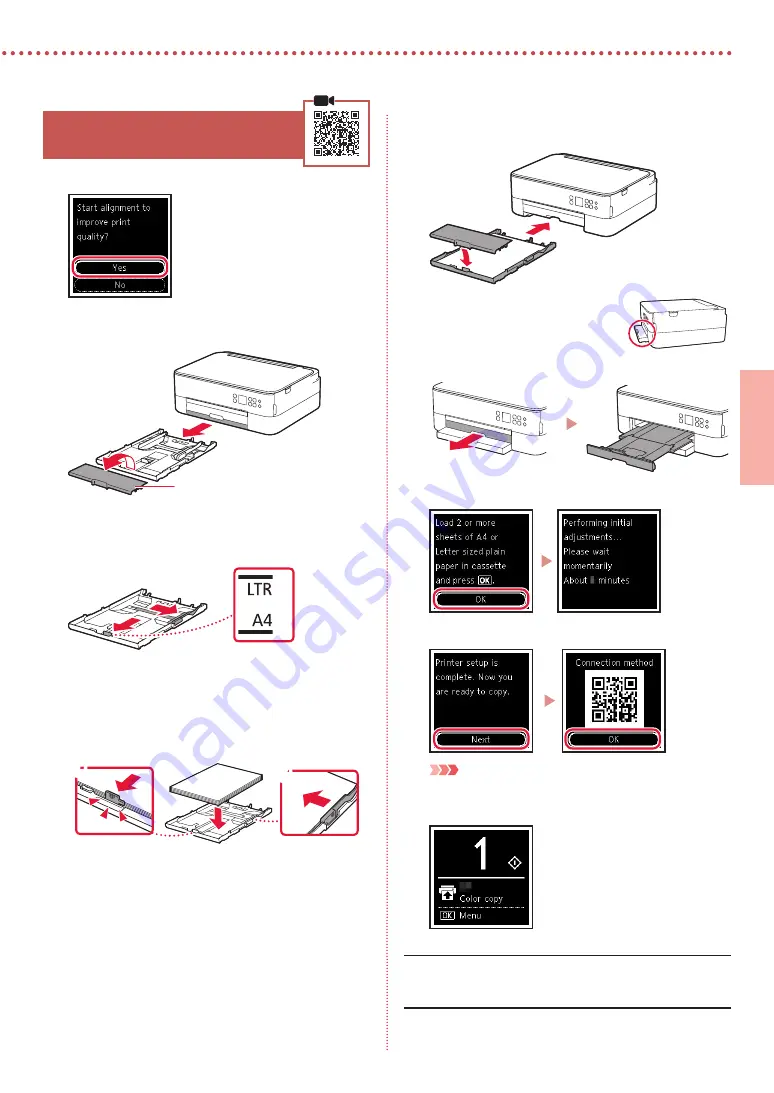
5. Loading Paper
1
Press the
OK
button.
2
Remove the cassette from the printer and
remove the cassette cover.
a
b
Cassette cover
3
Slide apart the paper guides.
•
Slide the right paper guide to the right edge. Align
the front paper guide with the Letter or A4 mark.
4
Load paper.
•
Load 2 or more sheets of Letter or A4 sized plain
paper with the print side facing down.
•
Place the paper against the front paper guide, and
align the right paper guide to the width of the paper.
a
b
5
Attach the cassette cover and replace the
cassette.
a
b
•
Look at it from the side to confirm
it looks like the diagram.
6
Pull out the paper output tray.
7
Press the
OK
button.
8
Press the
OK
button.
Important
Scan the QR code for a video tutorial of the setup procedure.
9
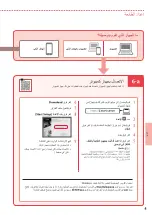
Check that the following screen appears.
If you will use the printer without connecting any other
devices, setup is now complete.
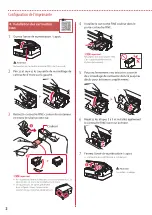
Содержание PIXMA TS5340a
Страница 3: ...1 1 FINE Windows 2 1 2 b a 3 a b 3 1 2 ON 3 OK 4 OK QR 5 OK...
Страница 4: ...2 4 FINE 1 FINE 2 3 FINE a b 4 FINE FINE FINE 5 6 2 5 FINE 7 a b...
Страница 5: ...3 5 1 OK 2 a b 3 Letter A4 4 2 Letter A4 a b 5 a b 6 7 OK 8 OK QR 9...
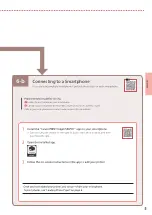
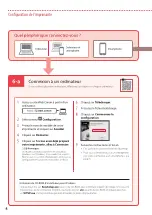
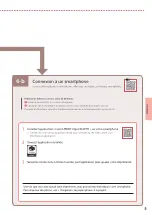
Страница 7: ...6 b 5 1 Canon PRINT Inkjet SELPHY Canon QR 2 3 a Wi Fi b 6 b 6...
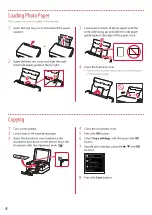
Страница 8: ...6 1 2 a b 3 a b 4 1 2 Letter A4 3 4 5 OK 6 Copy settings OK 7 OK 8 Start...
Страница 9: ...1 1 FINE Windows 2 1 2 b a 3 a b 3 1 2 ON 3 OK 4 OK QR 5 OK...
Страница 10: ...2 4 FINE 1 FINE 2 3 FINE a b 4 FINE FINE FINE 5 6 2 5 FINE 7 a b...
Страница 11: ...3 5 1 OK 2 a b 3 Letter A4 4 2 Letter A4 a b 5 a b 6 7 OK 8 OK QR 9...
Страница 13: ...6 b 5 1 Canon PRINT Inkjet SELPHY QR Canon 2 3 a Wi Fi b 6 b 6...
Страница 14: ...6 1 2 a b 3 a b 4 1 2 Letter A4 3 4 5 OK 6 Copy settings OK 7 OK 8 Start...
Страница 27: ...6 1 1 2 2 a b 3 3 a b 4 4 1 1 2 2 A4 Letter 3 3 4 4 5 5 OK 6 6 OK Copy settings 7 7 OK 8 8 Start...
Страница 28: ...6 b 5 1 1 Canon PRINT Inkjet SELPHY Canon 2 2 3 3 Wi Fi a b 6 b 6...
Страница 30: ...3 5 1 1 OK 2 2 a b 3 3 Letter A4 4 4 A4 Letter 2 a b 5 5 a b 6 6 7 7 OK 8 8 OK 9 9...
Страница 31: ...2 FINE 4 1 1 FINE 2 2 3 3 FINE a b 4 4 FINE FINE FINE 5 5 6 6 FINE 5 2 7 7 a b...
Страница 32: ...1 1 Windows FINE 2 1 1 2 2 b a 3 3 a b 3 1 1 2 2 ON 3 3 OK 4 4 OK 5 5 OK...
Страница 33: ...RMC Regulatory Model Code K10500 RMC Regulatory Model Code K10564...


