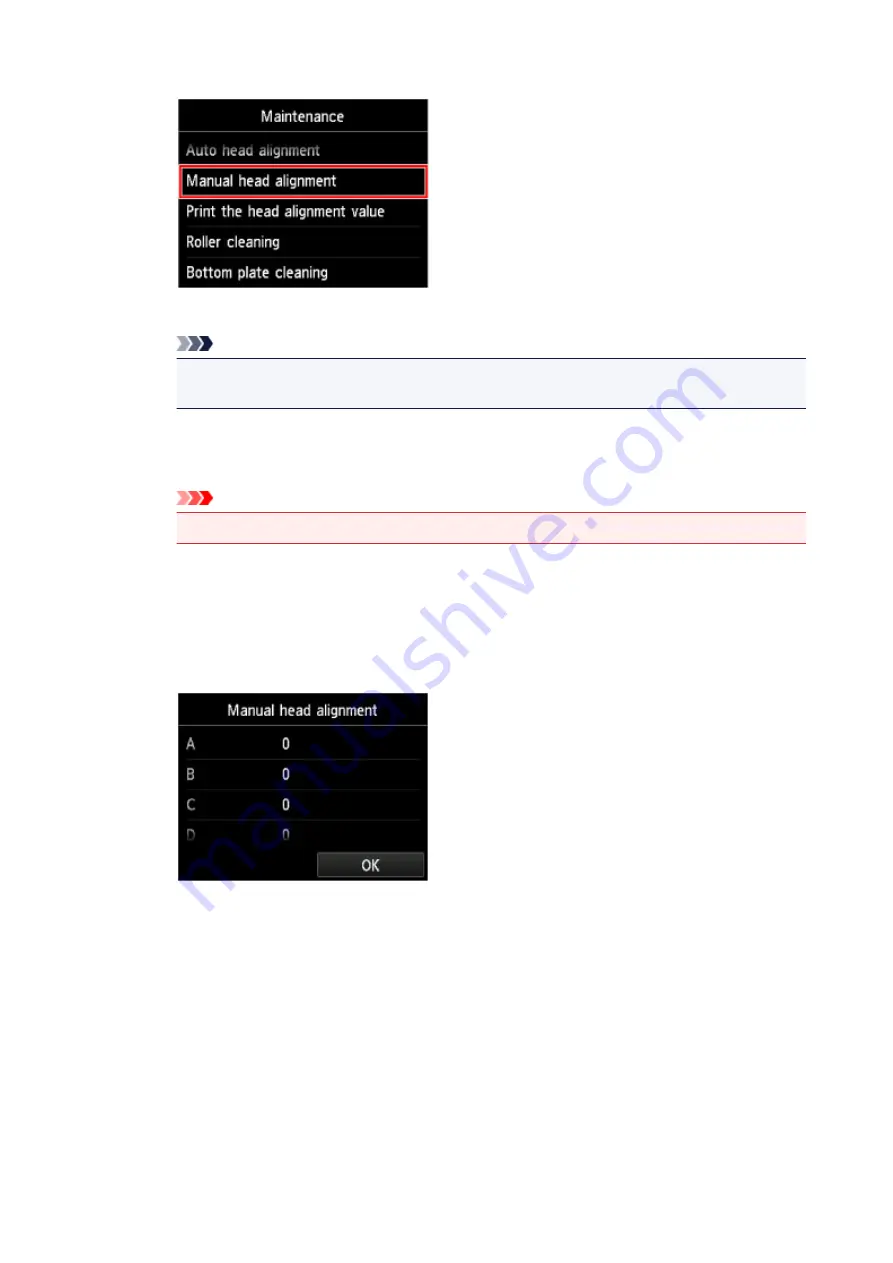
3. Tap
Manual head alignment
.
The confirmation screen will appear.
Note
• To print and check the current head position adjustment values, select
Print the head alignment
value
.
4. Tap
Yes
.
The print head alignment pattern is printed.
Important
• Do not open the operation panel while printing is in progress.
5. When the message "
Did the patterns print correctly?
" appears, confirm that the pattern is
printed correctly, tap
Yes
.
6. Confirm the message, then tap
Next
.
The input screen for the head position adjustment values will appear.
5. Look at the first pattern and adjust the print head position.
1. Tap A to check the printed patterns, and tap the number of the pattern in column A that has
the least noticeable vertical streaks.
229
Содержание PIXMA MG7500 Series
Страница 90: ... 8 Display area The display changes based on the menu you select 90 ...
Страница 126: ...Safety Guide Safety Precautions Regulatory and Safety Information 126 ...
Страница 133: ...Main Components Front View Rear View Inside View Operation Panel 133 ...
Страница 150: ...This opens another list of items Drag it in the same manner and tap a setting 150 ...
Страница 151: ...Loading Paper Originals Loading Paper Placing a Printable Disc Loading Originals Inserting the Memory Card 151 ...
Страница 175: ...175 ...
Страница 181: ... D 0 25 inch 6 3 mm 181 ...
Страница 198: ...Inserting the Memory Card Before Inserting the Memory Card Inserting the Memory Card Removing the Memory Card 198 ...
Страница 204: ...Replacing an Ink Tank Replacing an Ink Tank Checking the Ink Status 204 ...
Страница 258: ...Note The effects of the quiet mode may be less depending on the print quality settings 258 ...
Страница 275: ...Language selection Changes the language for the messages and menus on the touch screen 275 ...
Страница 276: ...Home screen background color Selects the background color of the HOME screen You can select black or white 276 ...
Страница 290: ...Information about Network Connection Useful Information about Network Connection 290 ...
Страница 337: ...5 Delete Deletes the selected IP address from the list 337 ...
Страница 368: ...Checking the Ink Status with the Ink Lamps 368 ...
Страница 375: ...375 ...
Страница 383: ...Printing from a Computer Printing with Application Software that You are Using Printer Driver 383 ...
Страница 403: ...Note Selecting Scaled changes the printable area of the document 403 ...
Страница 438: ...Note During Grayscale Printing inks other than black ink may be used as well Related Topic Adjusting Tone 438 ...
Страница 445: ...Adjusting Brightness Adjusting Intensity Adjusting Contrast 445 ...
Страница 488: ...Printing with ICC Profiles Printing a Color Document in Monochrome Displaying the Print Results before Printing 488 ...
Страница 542: ...Using the Slide Show Function Printing Photo While Viewing the Slide Show 542 ...
Страница 551: ...About Disc Label Printing Copying the Label Side of Disc Printing Photo from a Memory Card onto the Disc Label 551 ...
Страница 566: ...PictBridge print settings 566 ...
Страница 593: ...Scanning Scanning from a Computer Scanning from the Operation Panel of the Machine 593 ...
Страница 608: ...5 Select Select Source according to the items to be scanned 6 Select Auto scan for Paper Size then click OK 608 ...
Страница 668: ...Instructions Opens this guide Defaults You can restore the settings in the displayed screen to the default settings 668 ...
Страница 676: ...Related Topic Scanning Items Larger than the Platen Image Stitch 676 ...
Страница 697: ...697 ...
Страница 720: ...Related Topic Scanning in Basic Mode 720 ...
Страница 769: ...Other Scanning Methods Scanning with WIA Driver Scanning Using the Control Panel Windows XP Only 769 ...
Страница 773: ...When scanning is completed the scanned image appears in the application 773 ...
Страница 795: ...6 Select the application you want to start after scanning in Application Settings 7 Click OK 795 ...
Страница 796: ...The responses will be executed according to the specified settings when you start scanning from the operation panel 796 ...
Страница 848: ...Disc Tray Does Not Feed Properly 848 ...
Страница 851: ...Problems with Printing Quality Print Results Not Satisfactory Ink Is Not Ejected 851 ...
Страница 871: ...Problems with Scanning Problems with Scanning Scan Results Not Satisfactory Software Problems 871 ...
Страница 890: ...Software Problems The E mail Client You Want to Use Does Not Appear in the Screen for Selecting an E mail Client 890 ...
Страница 951: ...1250 Cause The paper output tray is closed Action Open the paper output tray to resume printing 951 ...
Страница 958: ...1401 Cause The print head may be damaged Action Contact the service center 958 ...
Страница 959: ...1403 Cause The print head may be damaged Action Contact the service center 959 ...
Страница 960: ...1405 Cause The print head may be damaged Action Contact the service center 960 ...
Страница 968: ...1660 Cause The ink tank is not installed Action Install the ink tank 968 ...
Страница 1006: ...5B00 Cause Printer error has occurred Action Contact the service center 1006 ...
Страница 1007: ...5B01 Cause Printer error has occurred Action Contact the service center 1007 ...
Страница 1008: ...5B10 Cause Printer error has occurred Action Contact the service center 1008 ...
Страница 1009: ...5B11 Cause Printer error has occurred Action Contact the service center 1009 ...


