


Note
With the XPS printer driver, the
Stamp/Background...
button has become the
Stamp...
button and only the stamp function can be used.
3.
Click
Define Stamp...
The
Stamp Settings
dialog box opens.
4.
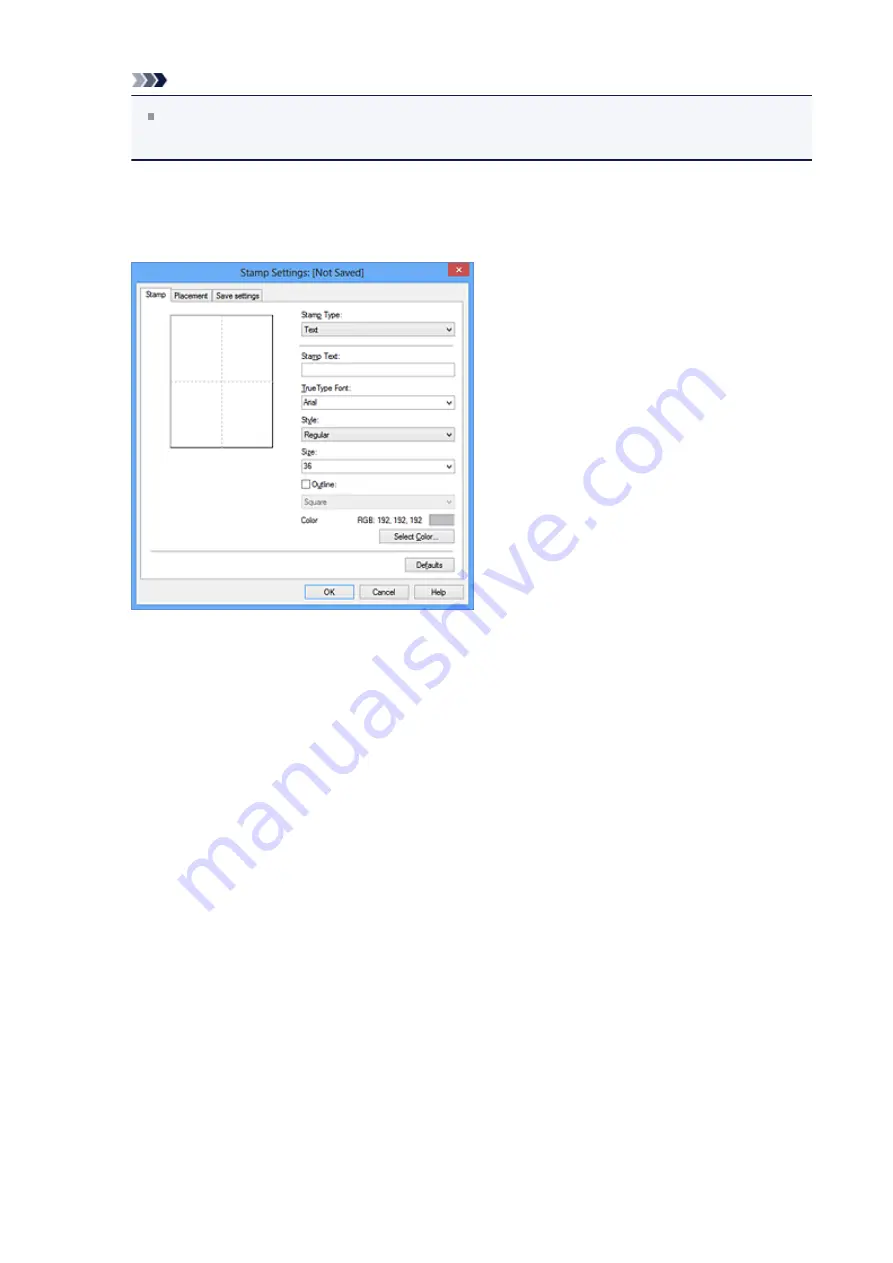
Configure the stamp while viewing the preview window
• Stamp tab
Select
Text
,
Bitmap
, or
Date/Time/User Name
that matches your purpose for
Stamp Type
.
•
For
Text
registration, the characters must already be entered in
Stamp Text
. If
necessary, change the
TrueType Font
,
Style
,
Size
, and
Outline
settings. You
can select the color of the stamp by clicking
Select Color...
.
•
For
Bitmap
, click
Select File...
and select the bitmap file (.bmp) to be used. If
necessary, change the settings of the
Size
and
Transparent white area
.
•
For
Date/Time/User Name
, the creation date/time and user name of the
printed object are displayed in
Stamp Text
. If necessary, change the settings
of
TrueType Font
,
Style
,
Size
, and
Outline
. You can select the color of the
stamp by clicking
Select Color...
.
38
Содержание Pixma MG2500 Series
Страница 1: ...MG2500 series Online Manual Printing Copying English ...
Страница 5: ...Printing from a Computer Printing with Application Software that You are Using Printer Driver 5 ...
Страница 44: ...3 Complete the setup Click OK then it returns to Stamp Background dialog box 44 ...
Страница 61: ...Adjusting Colors with the Printer Driver Printing with ICC Profiles 61 ...
Страница 93: ...In such cases take the appropriate action as described 93 ...
Страница 173: ...Copying Making Copies Basic Switching the Page Size between A4 and Letter 173 ...


