2
1
1
B
A
B
A
1
2
Action
Action
Action
Note
<Default State>
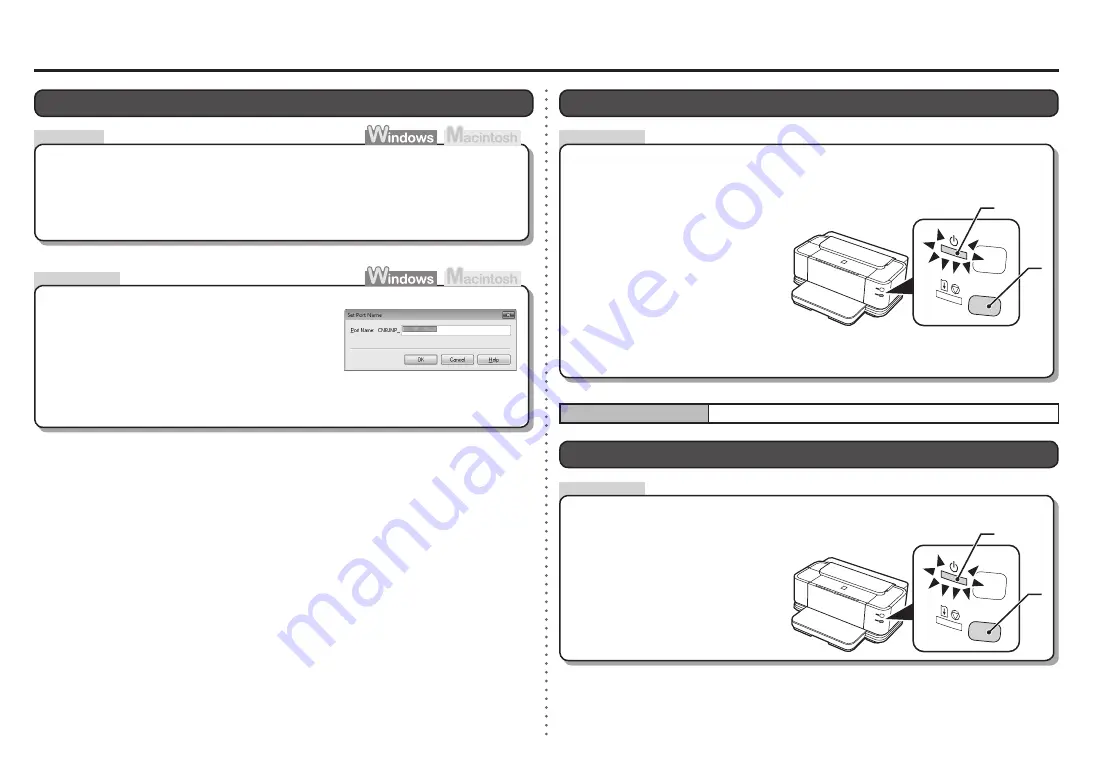
Restoring the Printer's Default LAN Setting to Perform Setup Again
The LAN setting of the printer is now restored to the default state.
Use the
RESUME/CANCEL
button on the printer to restore the default state.
Hold down the
RESUME/CANCEL
button (A) on the printer until
the
POWER
lamp (B) flashes 10
times, then release the
RESUME/
CANCEL
button after the tenth
flash.
Changing the Port Name
By changing the port name, you can change the name of the printer.
When you set up an additional computer to use the printer whose port name you changed, the
printer is displayed with the changed port name. When two or more computers are set up, the
changed name is displayed.
When multiple computers or printers are present, this can be used to change the name to one that
is easy to remember.
•
The port name can be changed by the following procedure.
Change the port name.
Port names should consist of alphanumeric characters and be no longer than 21 characters,
excluding the prefix.
•
The port name includes the fixed prefix "
CNBJNP_
", which you do not need to enter.
•
Click
Set Port Name
in the
Setup Completion
dialog box.
The
Set Port Name
dialog box is displayed.
•
Perform setup again by following the procedures in "Wired LAN Connection" (Windows: P.23,
Macintosh: P.32) and onward in the printed manual:
Getting Started
.
•
Printing the Printer's Network Setting Information
Use the
RESUME/CANCEL
button on the printer to print the network setting information.
Hold down the
RESUME/CANCEL
button (A) on the printer until
the
POWER
lamp (B) flashes 6
times, then release the
RESUME/
CANCEL
button after the sixth
flash.
TCP/IP setting
Obtain an IP address automatically
Disconnect the LAN cable.
Printing will start.
Содержание PIXMA iX7000
Страница 1: ...Network Setup Troubleshooting...
Страница 9: ...QT5 2706 V01 XXXXXXXX CANON INC 2009 PRINTED IN THAILAND...


