2B996-016JA
15
7� MODE SETTING BY ON SCREEN DISPLAY
Various settings can be controlled on the unit by using the on screen menu displayed on the monitor. The contents
once set are memorized even if the power source is turned off, so it is unnecessary to set again when using the unit
next time. When the setting is performed, select the menu of the item to be set. (Use a monitor that can display720 x
540 pixels or higher.)
7� 1 Using the Menus
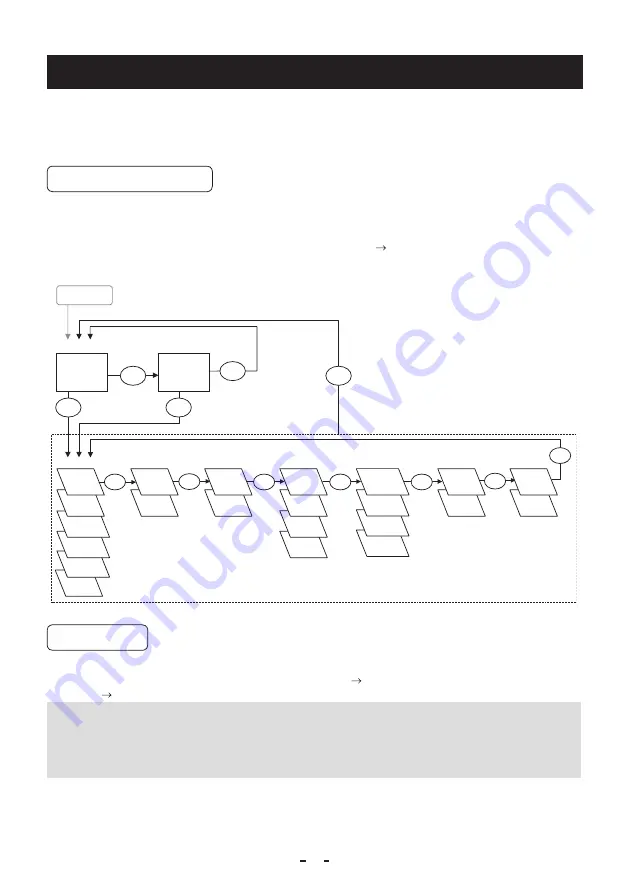
When the power is turned on, the normal screen showing only the video signal appears. Change the output to each
screen (video signal output, Index menu, and menus) by using the [DISP], [PAGE], [MENU UP], [MENU DOWN],
[DATA UP], and [DATA DOWN] buttons.
* A menu is selected when pushing the [PAGE] button after moving the “ ” on the screen by the [MENU UP], [MENU
DOWN] button while the Index menu is displayed.
AUTO
NR
MANU
PED
E. TRG
RR
E. TRG
1P SR
E. TRG
PW SR
SS
MANU
AWB
WHT BAL
ON
MANU
OFF
GAMMA
GAMMA
OFF
MANU
PAGE
PAGE
PAGE
PAGE
PAGE
EXT
OUTPUT
INT
BAUD
RATE
SHUTTER
GAIN
PROCESS
SYNC
SHADING
OPTION
PAGE
PAGE
C.SHAD.
OFF
V.SHAD.
MANU
V.SHAD.
OFF
C.SHAD.
MANU
POWER ON
DISP
PAGE
PAGE
DISP
DISP
Video signal output
Index menu
Menues
7� 2 Menus
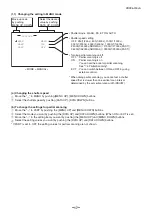
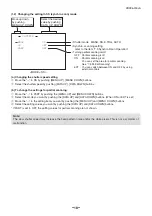
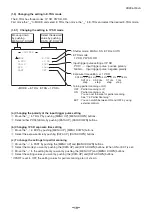
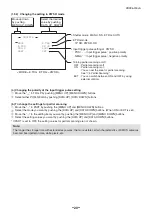
• Select the menu to change the setting by referring to the item “7.1 Using the Menus”.
• When the [MENU UP], [MENU DOWN] buttons are pushed, the “ ” on the screen moves up and down.
Move the “ ” to the item whose setting you wish to change.
Note:
When partial scanning (see page 29) is selected, if you open the content screen or setting screen, the signal
changes to FVAL, LVAL, and DVAL, the same as for all pixels scanning.
When E.TRIG is selected, if you open the content screen or setting screen, the mode changes to internal sync.
When you close the screen display, and return to the video signal screen, operations are done in the set mode.
Содержание JCT-TF5G
Страница 39: ...2B996 016JA 39 ...


