


44
Routine Maintenance
(3)
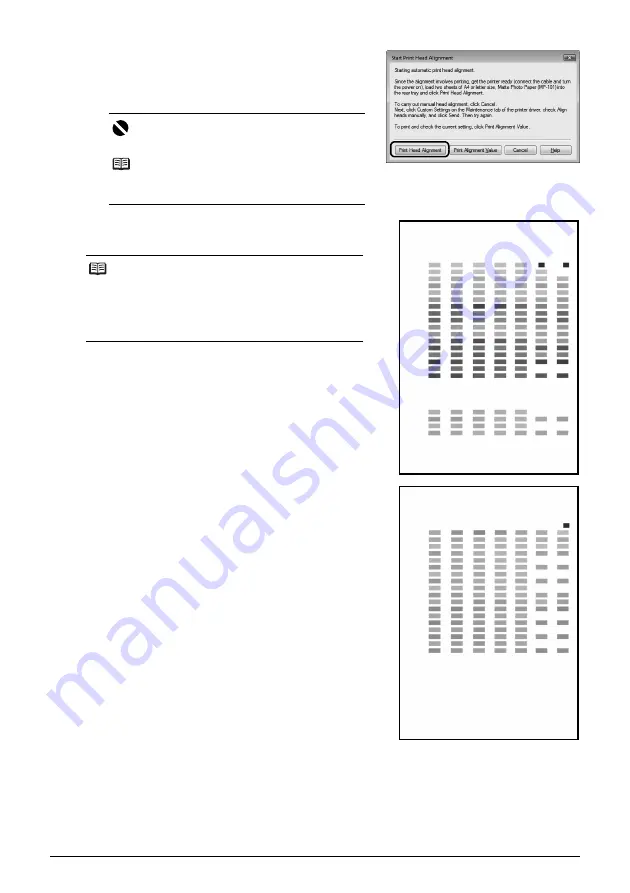
Confirm the displayed message and click
Head Alignment
.
The print head alignment pattern is printed.
Printing takes about 10 minutes to complete.
If the pattern is printed as shown to the right, the
Print Head is aligned automatically.
Important
Do not open the Top Cover while printing.
Note
Clicking
Print Alignment Value
prints the current
settings and finishes Print Head Alignment.
Note
z
If the pattern is not printed successfully, see
“ALARM Lamp Flashes Orange” on page 77.
z
If results of Automatic Print Head Alignment are not
satisfactory, see “Manual Print Head Alignment” on
page 47 and align the Print Head manually.
Содержание iP4500 - PIXMA Color Inkjet Printer
Страница 3: ...Photo Printer Quick Start Guide series ...


