


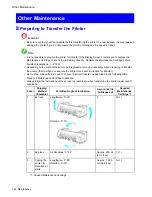


Other Maintenance
To protect the internal parts in transit, always follow the steps below before transferring the printer to a new
location. Refer to the Quick Start Guide for details on packing the printer and installing it after transfer.
Caution
•
Avoid tipping the printer excessively in transit. Ink inside the printer may leak and cause stains. If it is
necessary to stand the printer up or tilt it, contact your Canon dealer.
1.
Remove the paper.
•
Roll
(→P.186)
(→P.181)
•
Sheet
(→P.216)
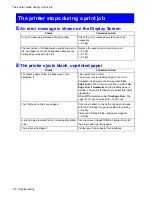
2.
Press the
Menu
button to display
MAIN MENU
.
3.
Press
▲
or
▼
to select
Maintenance
, and then press the
►
button.
4.
Press
▲
or
▼
to select
Move Printer
, and then press the
►
button.
5.
Press
▲
or
▼
to select the level of transfer, and then press the
OK
button.
The printer now starts preparing for transfer.
Under
Level 1
conditions, follow the procedure starting with step 10. There is no need to remove
Ink Tank.
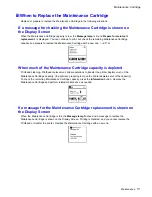
When you are nished preparing to transfer the printer under
Level 2
or
Level 3
conditions, the
Display Screen prompts you to open the Ink Tank Cover. You must remove the Ink Tank at this
point. Follow the procedure starting with step 4.
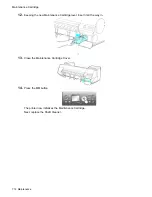
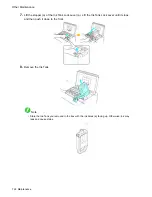
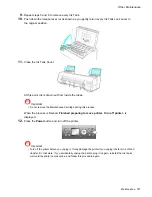
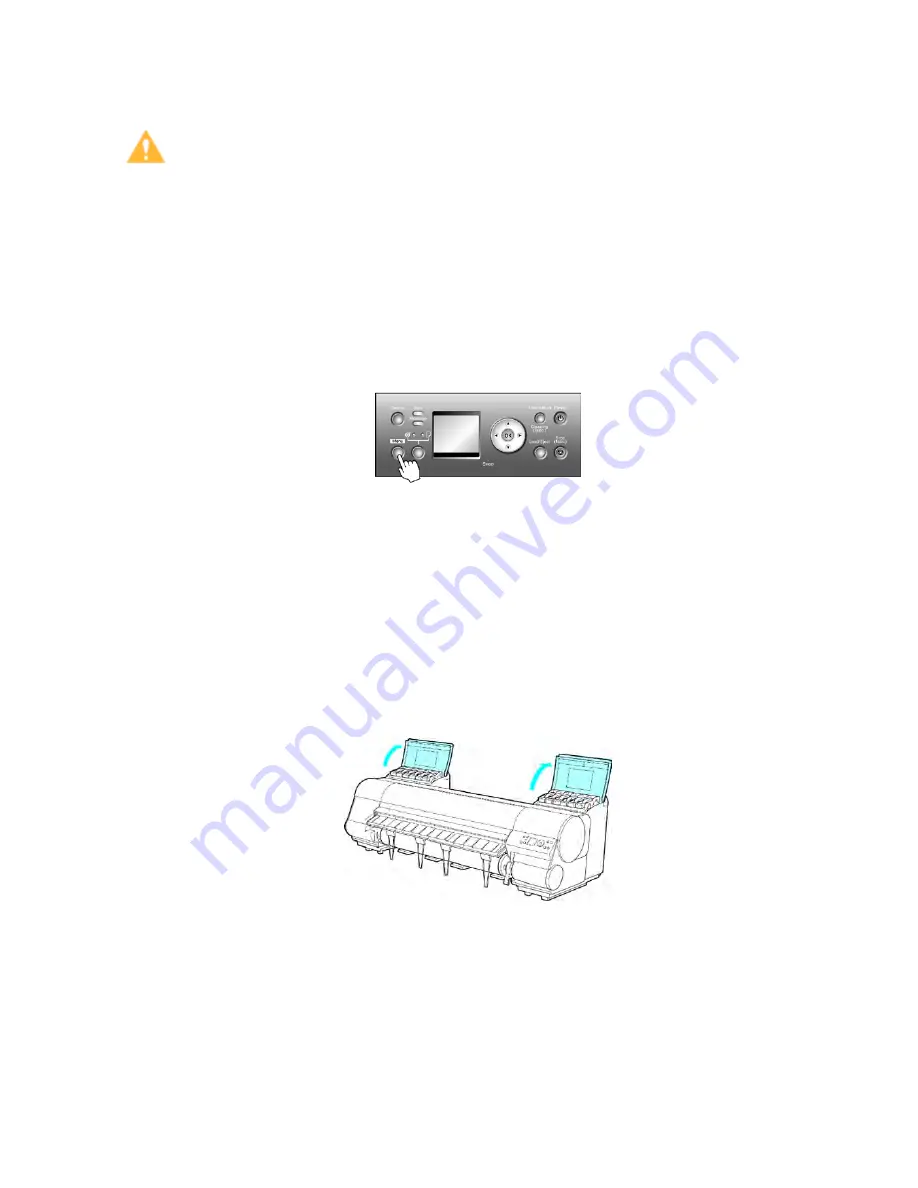
6.
Open the left and right Ink Tank Covers.
Maintenance 725
Содержание imagePROGRAF iPF8100
Страница 1: ...User Manual ENG Large Format Printer ...
Страница 2: ......
Страница 106: ...Hard Disk Note Enter a password if one has been set 2 Select the print job in the list and click Move 92 Printer Parts ...
Страница 125: ...Hard Disk 2 Select the saved job in the list and click Delete For details refer to the RemoteUI help Printer Parts 111 ...
Страница 241: ...Output Stacker 3 Push in the left and right Basket Arms toward the back all the way until they stop Handling Paper 227 ...
Страница 733: ...Cleaning the Printer 4 Plug the power cord into the outlet Maintenance 719 ...
Страница 813: ......
Страница 814: ... CANON INC 2007 ...