


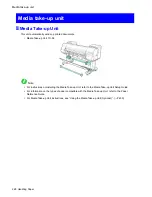
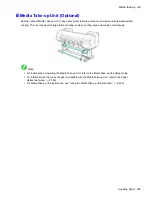
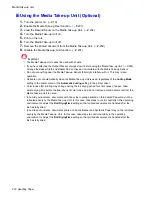


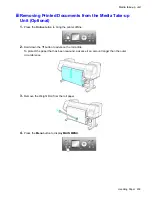

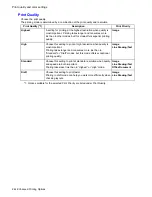


Media take-up unit
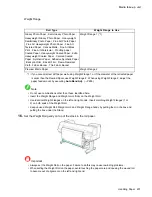
Weight Flange
Roll Type
Weight Flange to Use
Glossy Photo Paper , Semi-Glossy Photo Paper ,
Heavyweight Glossy Photo Paper , Heavyweight
SemiGlossy Photo Paper , Fine Art Photo Paper
, Fine Art Heavyweight Photo Paper , Fine Art
Textured Paper , Canvas Matte , Fine Art Block
Print , Fine Art Watercolor , Proong paper ,
Coated Paper , Heavyweight Coated Paper , Extra
Heavyweight Coated Paper , Colored Coated
Paper , Synthetic Paper , Adhesive Synthetic Paper
, Backprint Film , Backlit Film , Flame-Resistant
Cloth , Fabric Banner , Thin Fabric Banner
Weight Flange 1 (*1)
Premium Matte Paper
Weight Flange 2
*1: If you cannot retract stiff paper well using Weight Flange 1 or if the diameter of the retracted paper
is wider than the Rewind Spool, use Weight Flange 2. When using Weight Flange 2, adjust the
paper feed amount by executing
Auto Band Adj.
(→P.655)
Note
•
Do not use combinations other than those identied here.
•
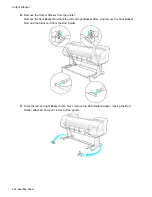
Insert the Weight Flange and Weight Joint rmly on the Weight Roll.
•
Use identical Weight Flanges on the left and right ends. Insert matching Weight Flanges (1 or
2) on both ends of the Weight Roll.
•
Keep unused Weight Roll, Weight Joint, and Weight Flange handy by putting them in the box and
putting the box under the Stand.
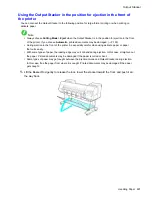
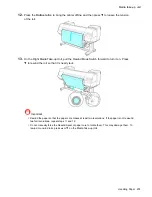
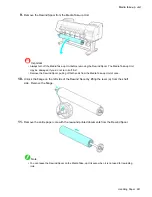
16.
Set the Weight Roll gently on top of the slack in the roll paper.
Important
•
Always set the Weight Roll on the paper. Failure to do this may cause rewinding problems.
•
When setting the Weight Roll on the paper, avoid touching the paper core and causing the wound roll
to become out of alignment on the left and right end.
Handling Paper 237
Содержание imagePROGRAF iPF8100
Страница 1: ...User Manual ENG Large Format Printer ...
Страница 2: ......
Страница 106: ...Hard Disk Note Enter a password if one has been set 2 Select the print job in the list and click Move 92 Printer Parts ...
Страница 125: ...Hard Disk 2 Select the saved job in the list and click Delete For details refer to the RemoteUI help Printer Parts 111 ...
Страница 241: ...Output Stacker 3 Push in the left and right Basket Arms toward the back all the way until they stop Handling Paper 227 ...
Страница 733: ...Cleaning the Printer 4 Plug the power cord into the outlet Maintenance 719 ...
Страница 813: ......
Страница 814: ... CANON INC 2007 ...