49
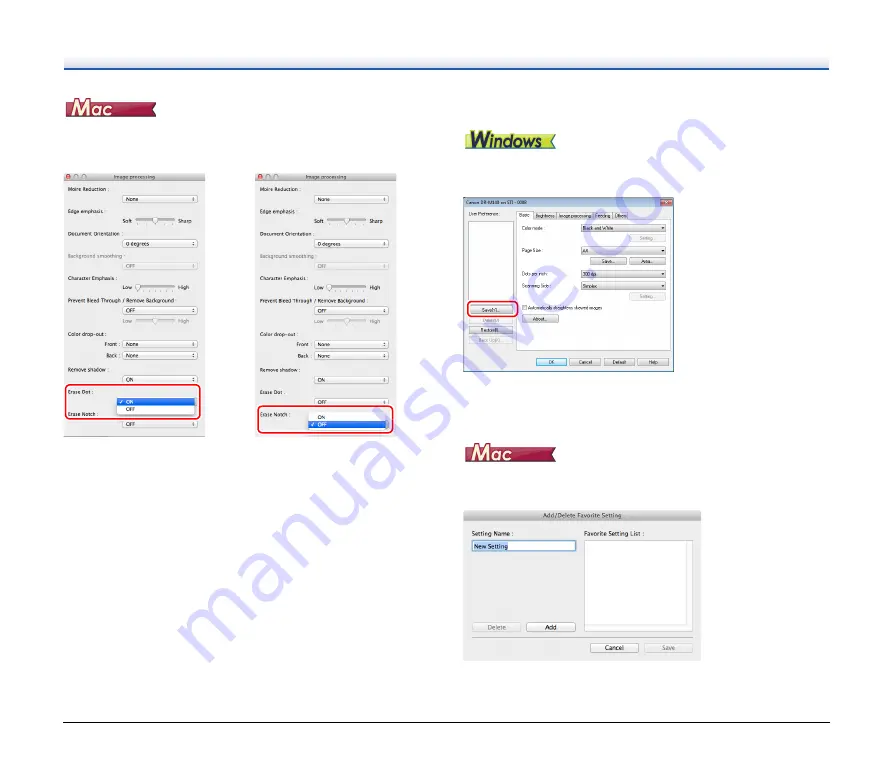
Click [Image processing] and select [ON] for [Erase Dot] or [Erase
Notch] in the dialog box that appears.
• When [ON] is selected for [Erase Dot], the isolated 3x3 black dots on
white backgrounds (or isolated 3x3 white dots on black
backgrounds) are erased automatically.
• When [ON] is selected for [Erase Notch], the portions (notches)
protruding outside the contours are erased from the scanned
images.
When you want to save a scanner driver setting
When you finish configuring a setting, click the [Save] button of [User
Preference] to save the setting.
The saved setting is registered to the list. You can delete a setting
from the list with the [Delete] button, and save or load a configuration
file with the [Back Up] or [Restore] button.
When you finish configuring a setting, select [Add/Delete] of [Favorite
Settings] to save the setting.
Clicking the [Add] button registers the current setting to [Favorite
Setting List]. Use the [Delete] button to delete a setting from the list.


