11
Register Sender Information
●
Entering Information
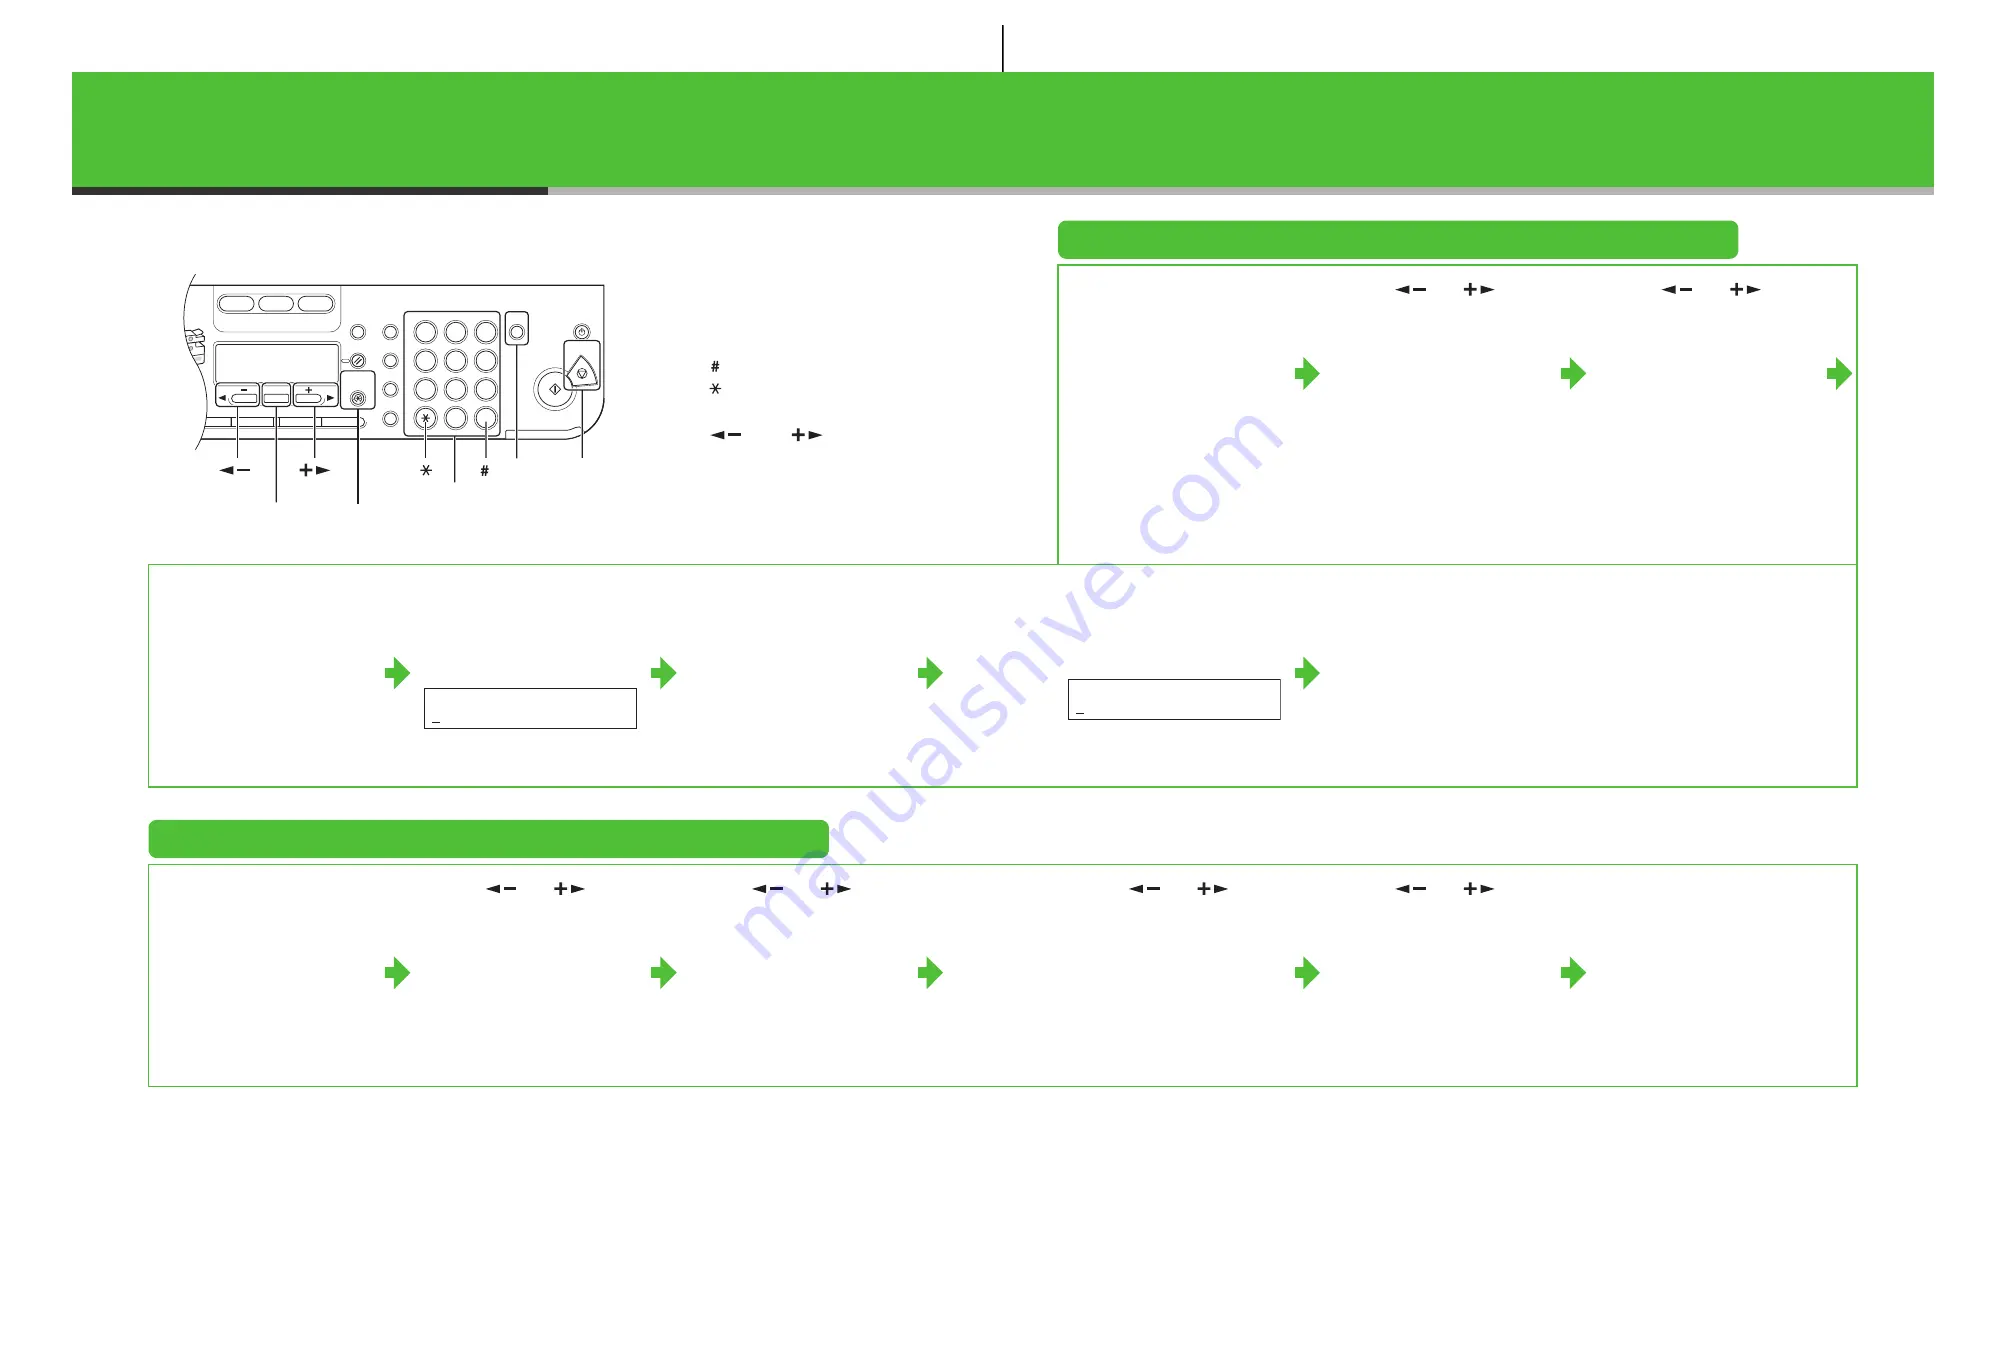
– Numeric keys: Enter letters and
numbers.
– [ ]: Enter symbols.
– [ ]: Switches letter and number
input modes.
– [
] and [
]: Move the
cursor position.
– [Clear]: Deletes the character at
the cursor position, or the entire
entry if held for more than one
second.
1
Press [Additional
Functions].
2
Use [
] or [
] to
select <3. FAX
SETTINGS>, then press
[OK].
3
Use [
] or [
] to
select <2. USER
SETTINGS>, then press
[OK].
4
Confirm that <1. UNIT
TELEPHONE #> is
displayed, then press
[OK].
5
Use the numeric keys to
enter your fax/telephone
number (max. 20 digits,
including spaces), then
press [OK].
6
Confirm that <2. UNIT
NAME> is displayed, then
press [OK].
7
Use the numeric keys to
enter the unit name (up to
24 characters), then press
[OK].
8
Press [Stop] to return to
standby mode.
Set the Telephone Line Type
1
Press [Additional
Functions].
2
Use [
] or [
] to
select <3. FAX
SETTINGS>, then press
[OK].
3
Use [
] or [
] to
select <2. USER
SETTINGS>, then press
[OK].
4
Use [
] or [
] to
select <5. TEL LINE
TYPE>
, then
press [OK].
5
Use [
] or [
] to
select the telephone line
type, then press [OK].
<TOUCH TONE>: Tone dialing
(default)
<ROTARY PULSE>: Pulse dialing
6
Press [Stop] to return to
standby mode.
Paper
Select
COPY
FAX
SCAN
Image Quality
Density
Enlarge/Reduce
OK
Two-Sided
System
Monitor
View
Settings
Reset
Collate
GHI
@./
PQRS
Tone
JKL
ABC
TUV
MNO
DEF
Clear
ON/OFF
Stop
Start
Processing/
Data
Error Power
WXYZ
SYMBOLS
Additional
Functions
2 on 1
Frame Erase
1
4
7
2
5
8
0
#
3
C
6
9
[OK]
[Stop]
Numeric Keys
[
]
[
]
[Additional Functions]
[Clear]
[
]
[
]
U N I T T E L E P H O N #
Ex.
U N I T N A M E : A
12


