0F40-07X
Perform one of the following solutions according to the cause.
<Cause 1> The printer is not turned ON.
Solution
Turn the printer ON.
<Cause 2> The USB cable is not connected properly.
Solution
Make sure that the printer and computer are properly connected with the USB cable.
"Connecting the Printer and Computer"
<Cause 3> The USB cable was already connected and the printer was turned ON before the
printer driver was installed.
Solution
Perform the following procedure.
1. Turn the printer OFF.
2. Disconnect the USB cable.
3. Connect the USB cable again.
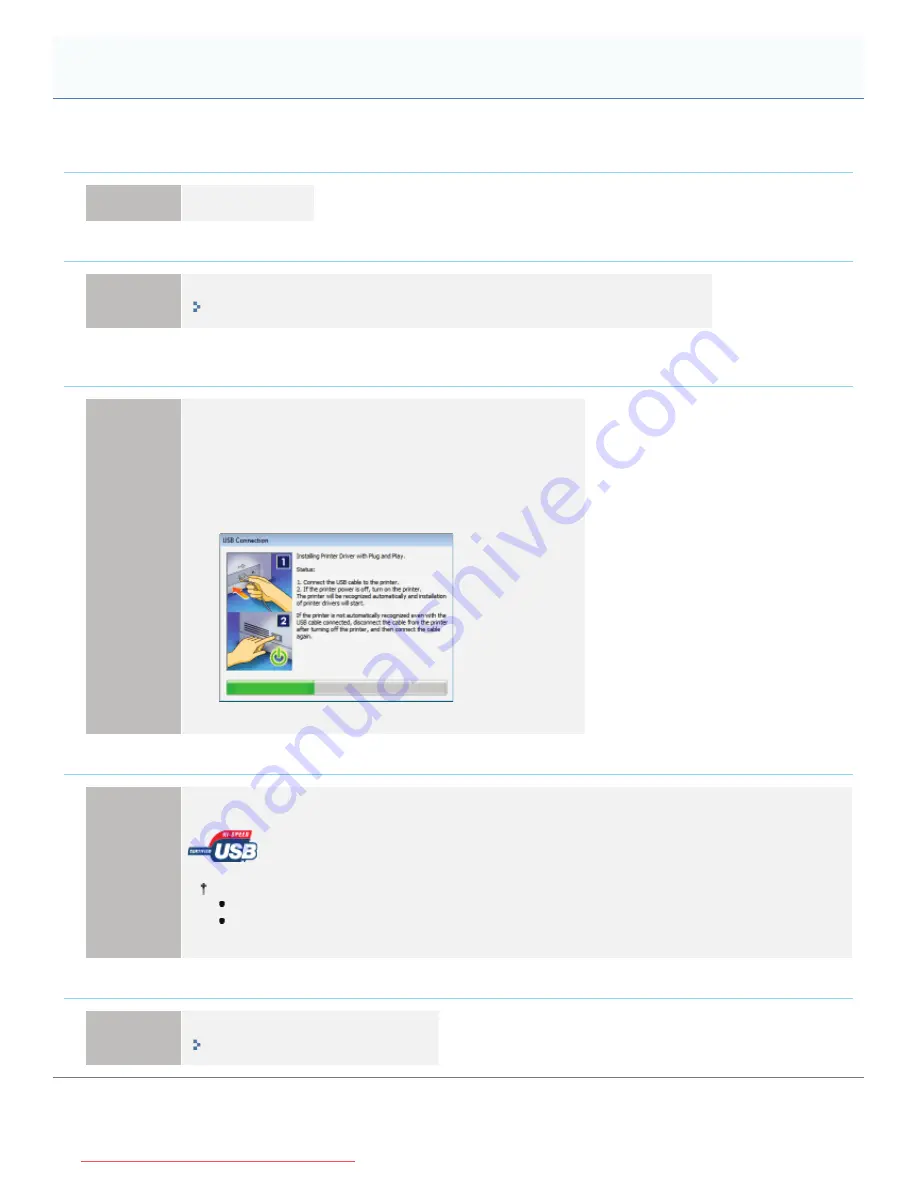
4. While the following screen appears, turn the printer ON.
<Cause 4> An inappropriate USB cable is being used.
Solution
Use a USB cable that is appropriate for the USB interface environment of the printer and has the following
symbol.
The following is the USB interface environment of this printer.
Hi-Speed USB
USB
<Cause 5> The USB class driver is installed.
Solution
Uninstall the USB class driver.
"Uninstalling the USB Class Driver"
The Printer Is Not Recognized Automatically
㻠㻞㻣㻌㻛㻌㻡㻝㻠
Downloaded from ManualsPrinter.com Manuals
Содержание imageCLASS LBP7110Cw
Страница 1: ...㻝㻌㻛㻌㻡㻝㻠 Downloaded from ManualsPrinter com Manuals ...
Страница 81: ...㻤㻝㻌㻛㻌㻡㻝㻠 Downloaded from ManualsPrinter com Manuals ...
Страница 83: ...It takes approximately 60 seconds 㻤㻟㻌㻛㻌㻡㻝㻠 Downloaded from ManualsPrinter com Manuals ...
Страница 88: ...㻤㻤㻌㻛㻌㻡㻝㻠 Downloaded from ManualsPrinter com Manuals ...
Страница 119: ...㻝㻝㻥㻌㻛㻌㻡㻝㻠 Downloaded from ManualsPrinter com Manuals ...
Страница 121: ... 2 Click Next ĺ Proceed to the Printer Information Screen 㻝㻞㻝㻌㻛㻌㻡㻝㻠 Downloaded from ManualsPrinter com Manuals ...
Страница 124: ...㻝㻞㻠㻌㻛㻌㻡㻝㻠 Downloaded from ManualsPrinter com Manuals ...
Страница 153: ...㻝㻡㻟㻌㻛㻌㻡㻝㻠 Downloaded from ManualsPrinter com Manuals ...
Страница 183: ...3 Click OK Then the Page Setup sheet reappears 㻝㻤㻟㻌㻛㻌㻡㻝㻠 Downloaded from ManualsPrinter com Manuals ...
Страница 204: ... Low 㻞㻜㻠㻌㻛㻌㻡㻝㻠 Downloaded from ManualsPrinter com Manuals ...
Страница 249: ...㻞㻠㻥㻌㻛㻌㻡㻝㻠 Downloaded from ManualsPrinter com Manuals ...
Страница 255: ...㻞㻡㻡㻌㻛㻌㻡㻝㻠 Downloaded from ManualsPrinter com Manuals ...
Страница 282: ...6 Click Close 7 Click Apply 8 Click OK NOTE 㻞㻤㻞㻌㻛㻌㻡㻝㻠 Downloaded from ManualsPrinter com Manuals ...
Страница 286: ...㻞㻤㻢㻌㻛㻌㻡㻝㻠 Downloaded from ManualsPrinter com Manuals ...
Страница 303: ...9 Click Finish 㻟㻜㻟㻌㻛㻌㻡㻝㻠 Downloaded from ManualsPrinter com Manuals ...
Страница 317: ... 2 Click OK 㻟㻝㻣㻌㻛㻌㻡㻝㻠 Downloaded from ManualsPrinter com Manuals ...
Страница 323: ...㻟㻞㻟㻌㻛㻌㻡㻝㻠 Downloaded from ManualsPrinter com Manuals ...
Страница 353: ...㻟㻡㻟㻌㻛㻌㻡㻝㻠 Downloaded from ManualsPrinter com Manuals ...
Страница 355: ...4 Click Edit 5 Configure the SNMPv1 protocol 㻟㻡㻡㻌㻛㻌㻡㻝㻠 Downloaded from ManualsPrinter com Manuals ...
Страница 362: ...4 Click Generate Key 5 Specify a key to be created 㻟㻢㻞㻌㻛㻌㻡㻝㻠 Downloaded from ManualsPrinter com Manuals ...
Страница 366: ...4 Click Register Key and Certificate 5 Click Install 㻟㻢㻢㻌㻛㻌㻡㻝㻠 Downloaded from ManualsPrinter com Manuals ...
Страница 372: ...8 Click Register 㻟㻣㻞㻌㻛㻌㻡㻝㻠 Downloaded from ManualsPrinter com Manuals ...
Страница 378: ...㻟㻣㻤㻌㻛㻌㻡㻝㻠 Downloaded from ManualsPrinter com Manuals ...
Страница 389: ...㻟㻤㻥㻌㻛㻌㻡㻝㻠 Downloaded from ManualsPrinter com Manuals ...
Страница 393: ...6 Enter a login name 7 Select the Use TLS check box 㻟㻥㻟㻌㻛㻌㻡㻝㻠 Downloaded from ManualsPrinter com Manuals ...
Страница 397: ...4 Click Edit 5 Select the Use IEEE 802 1X check box 㻟㻥㻣㻌㻛㻌㻡㻝㻠 Downloaded from ManualsPrinter com Manuals ...
Страница 401: ...㻠㻜㻝㻌㻛㻌㻡㻝㻠 Downloaded from ManualsPrinter com Manuals ...
Страница 436: ...7 Disconnect the USB cable from the computer then restart Windows 㻠㻟㻢㻌㻛㻌㻡㻝㻠 Downloaded from ManualsPrinter com Manuals ...


