Registering Destinations (FTP Server)
4-21
Chec
king Settings and Register
ing Destinations
4
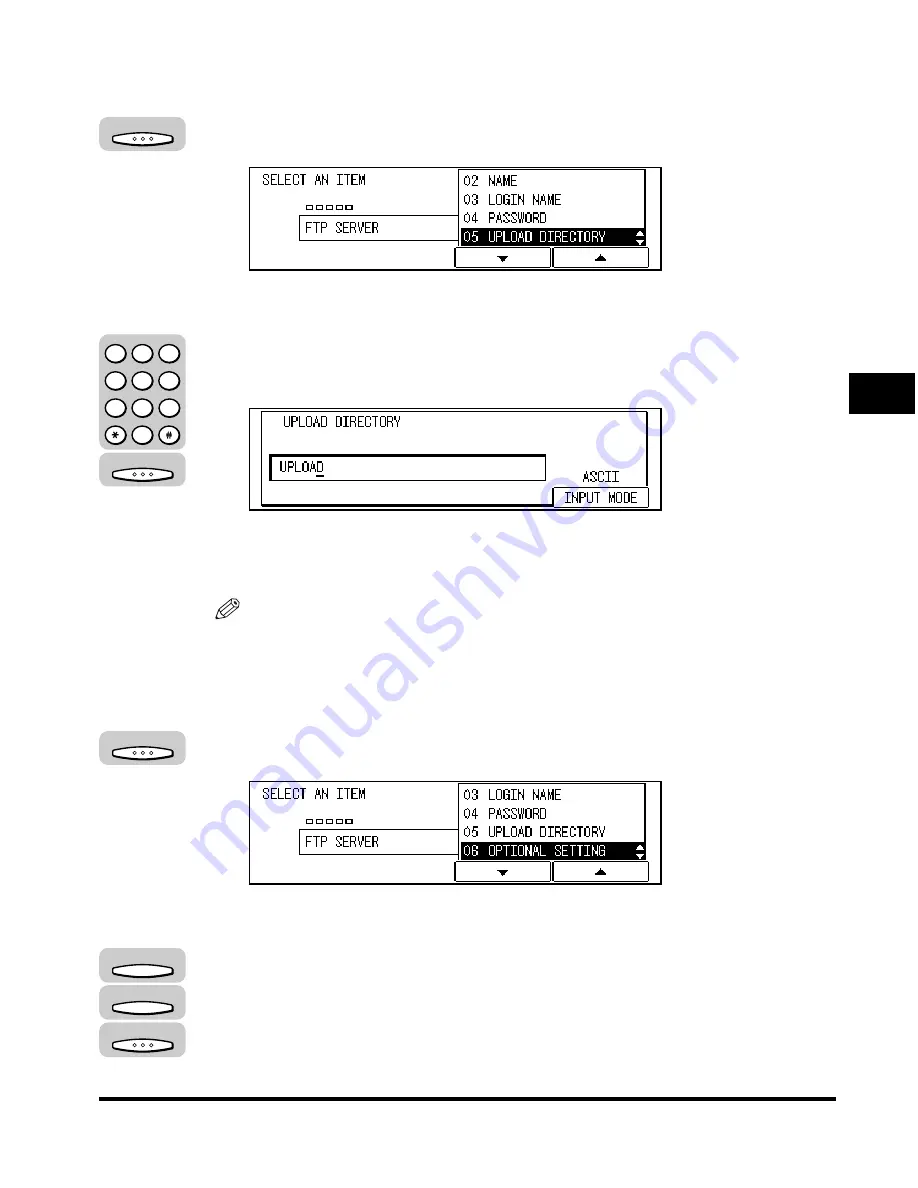
<05 UPLOAD DIRECTORY> is highlighted.
14
Press [OK].
The display for entering the upload directory appears.
15
Input an upload directory for the image using the numeric
keys
➞
press [OK].
The FTP SERVER menu returns.
<06 OPTIONAL SETTING> is highlighted.
NOTE
•
If you do not specify a folder for uploading an image, the default folder at the time of
login will be used as the upload folder.
•
For details on how to input characters, see Chapter 2, "Basic Operations," in the
Reference Guide
.
16
Press [OK] to specify optional settings.
The OPTIONAL SETTING menu appears.
17
If you want to specify optional settings, press [F3] (
▼
) or [F4]
(
▲
) to highlight <02 ON>
➞
press [OK].
If you do not want to specify optional settings, highlight <01 OFF>
➞
press [OK].
OK
OK
1
2
3
4
5
6
7
8
9
0
@.
GHI
PRS
ABC
JKL
TUV
DEF
MNO
WXY
OPER
SYMBOLS
OK
F3
F4
OK
Содержание ImageCLASS 2300
Страница 1: ......
Страница 2: ...imageCLASS 2300 Sending Guide 0 Ot ...
Страница 7: ...6 Error Code Table 6 5 Glossary 6 9 Index 6 13 ...
Страница 9: ...8 Function Keys Key icon Key Function Example Press F3 DENSITY Press F4 F3 F4 ...
Страница 11: ...10 ...
Страница 15: ...Preparation Before Use 1 4 Overview 1 ...
Страница 33: ...Setting the Network 2 18 Setting the Network 2 ...
Страница 83: ...Setting to Receive Mail Via a POP3 Server 3 50 Setting Up a Mail Account 3 ...
Страница 139: ......


