6
Clearing Paper Jams
6-3
T
roub
leshooting
CAUTION
•
When removing jammed originals or paper, take care not to cut your hands on the edges
of the original or paper.
•
When removing jammed paper or when inspecting the inside of the machine, do not allow
necklaces, bracelets, or other metal objects to touch the inside of the machine, as this
may result in burns or electrical shock.
•
When removing paper which has become jammed inside the machine, take care not to
allow the toner on the jammed paper to come into contact with your hands or clothing, as
this will dirty your hands or clothing. If they become dirty, wash them immediately with
cold water. Washing with warm water will set the toner and make it impossible to remove
the toner stains.
•
When removing paper which has become jammed inside the machine, remove the
jammed paper gently to prevent the toner on the paper from scattering and entering your
eyes or mouth. If toner enters your eyes or mouth, wash them immediately with cold water
and consult a physician.
1
Inspect all areas indicated on the touch panel display, and remove
any jammed paper. See the appropriate pages for instructions on
how to find and remove jammed paper.
If jammed paper tears while being removed, be sure to remove any remaining pieces from
inside the machine.
●
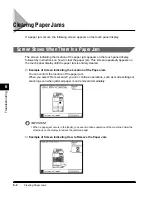
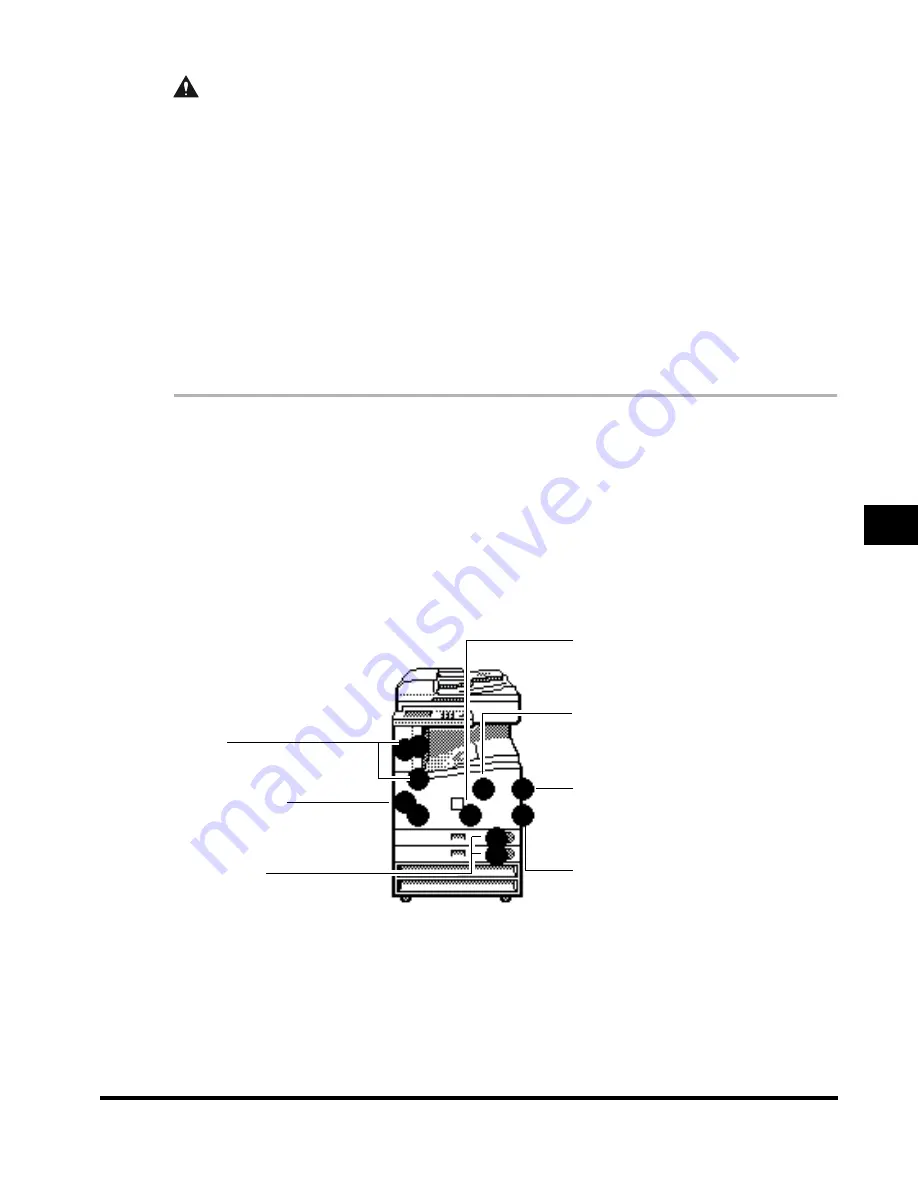
Display indicating locations of the paper jam and page number instructing
how to remove jammed paper.
Exit slot
(See ‘Clearing Paper Jams in
the Exit Slot,’ on p. 6-11.)
Main unit
(See ‘Clearing Paper Jams in
the Main Unit,’ on p. 6-6.)
Stack bypass
(See ‘Clearing Paper Jams in
the Stack Bypass,’ on p. 6-16.)
Upper right cover
(See ‘Clearing Paper Jams in
the Upper Right Cover,’ on p. 6-
14.)
Paper drawer
(See ‘Clearing Paper Jams in a
Paper Drawer,’ on p. 6-19.)
Duplexing unit
(See ‘Clearing Paper Jams in the
Duplexing Unit,’ on p. 6-9.)
Lower left cover
(See ‘Clearing Paper Jams in
the Exit Slot,’ on p. 6-11.)
E1L_US_U_.book-INDEX Page 3 Wednesday, May 23, 2001 11:40 PM

