


Performing/Changing Wired LAN Connection (Ethernet Cable)
Settings
Follow the procedure below to perform/change wired LAN settings.
Note
• For some models, you can perform network setup for a USB connected printer using Wi-Fi Connection
Assistant. Select
USB
on
Switch View
under the
View
menu to display printers for which you can
perform setup.
1.
Start up Wi-Fi Connection Assistant.
1.
2.
Check the displayed message and select
Yes
.
2.
3.
Select
Printer Network Setup
on the displayed screen.
3.
Detected printers are listed.
4.
Select printer to perform/change settings from printer list.
4.
Select the printer with
Wired LAN
displayed on
Connection Method
and
Available
displayed on
Status
to perform settings.
You can perform settings for a printer with
Available
not displayed on
Status
via USB connection.
To perform setup for a USB connected printer, select
USB
from the pulldown menu on the toolbar and
select the printer to perform/change settings.
5.
Select
Network Settings...
on
Printer Settings
menu.
5.
The
Confirm Printer Password
screen appears.
For more on the password, refer to Administrator Password.
Note
• Clicking the
icon allows you to perform/change settings.
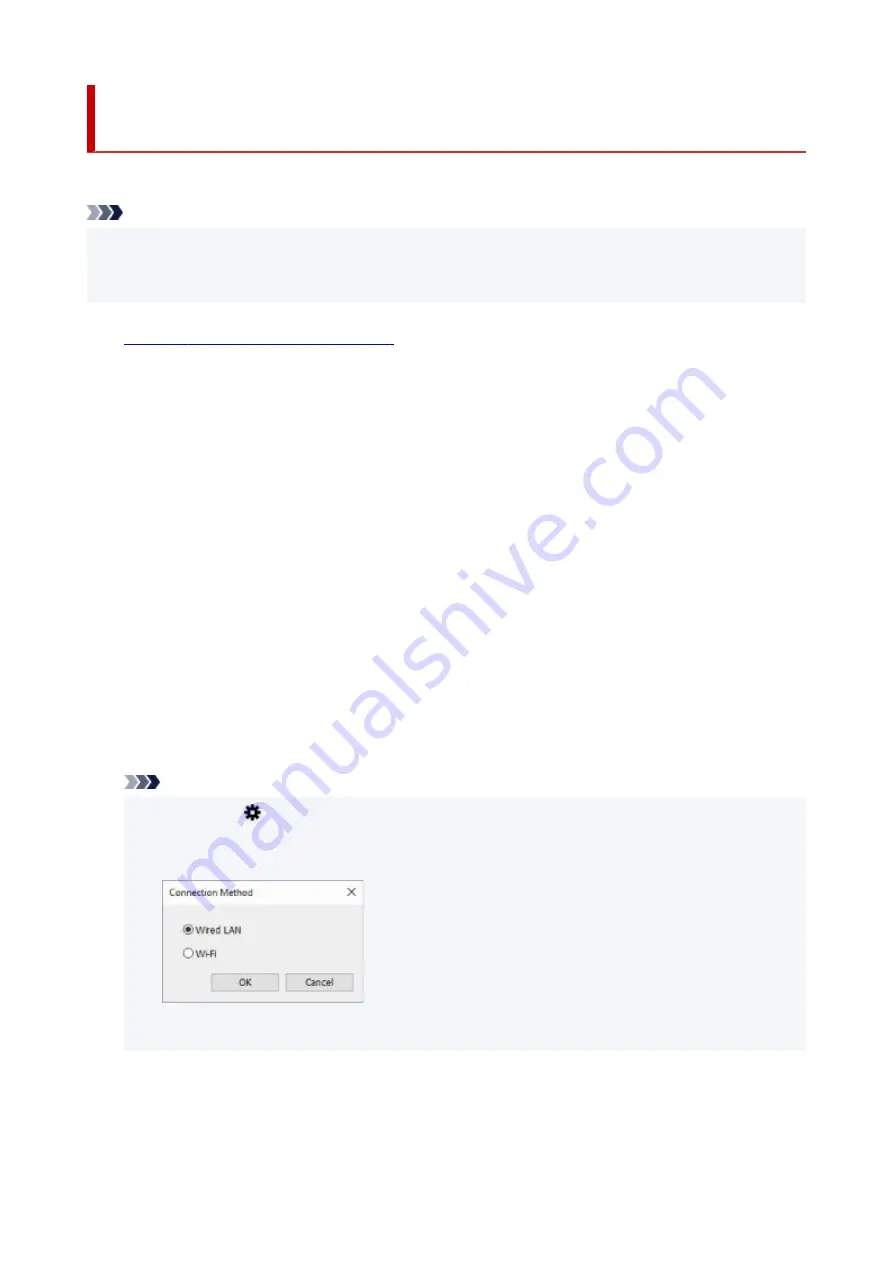
• If you select a USB connected printer on step 4, the screen below appears after the
Confirm
•
Printer Password
screen appears
Select
Wired LAN
and click
OK
.
6.
Enter password and click
OK
.
6.
The
Network Settings
screen appears.
108
Содержание GX5500 Series
Страница 1: ...GX5500 series Online Manual English...
Страница 9: ...Appendix Online Manual Symbols Used in This Document Trademarks and Licenses 9...
Страница 11: ...Trademarks and Licenses Trademarks Licenses 11...
Страница 39: ...Main Components and Their Use Main Components Power Supply Loading Paper 39...
Страница 40: ...Main Components Front View Rear View Inside View Operation Panel 40...
Страница 53: ...Power Supply Turning the Printer On and Off 53...
Страница 81: ...Refilling Ink Tanks Refilling Ink Tanks Checking Ink Level 81...
Страница 102: ...Performing Changing Network Settings Canon Wi Fi Connection Assistant Screen Performing Network Settings 102...
Страница 119: ...TR9530 series TS3300 series E3300 series 119...
Страница 142: ...Managing the Printer Power Reducing the Printer Noise Changing the Printer Operation Mode 142...
Страница 164: ...164...
Страница 173: ...Changing Printer Settings from Your Computer macOS Managing the Printer Power Changing the Printer Operation Mode 173...
Страница 178: ...For more on setting items on the operation panel Setting Items on Operation Panel 178...
Страница 202: ...Selecting Do not use power control disables all settings of the power control and scheduling 202...
Страница 209: ...Safety Safety Precautions Regulatory Information WEEE 209...
Страница 234: ...234...
Страница 238: ...Specifications Product Specifications Supported Paper Sizes and Weights Print Area Paper Load Limit 238...
Страница 251: ...Printing Printing Photos and Documents Printing Hagaki and Envelopes 251...
Страница 252: ...Printing Photos and Documents Printing from Computer Printing from Smartphone Tablet Using PIXMA MAXIFY Cloud Link 252...
Страница 322: ...Printing Using Canon Application Software Easy PhotoPrint Editor Guide 322...
Страница 323: ...Printing from Smartphone Tablet Printing from iPhone iPad iPod touch iOS Printing from Smartphone Tablet Android 323...
Страница 381: ...Problems While Printing Scanning from Smartphone Tablet Cannot Print Scan from Smartphone Tablet 381...
Страница 422: ...Errors and Messages When Error Occurred Message Is Displayed 422...
Страница 441: ...5 Hold jammed paper firmly with both hands 5 If the paper is rolled up pull it out and grasp the edges of the paper 441...
Страница 448: ...5 Replace transport unit 5 Insert the transport unit until it reaches the back of the printer 7 Attach rear cover 7 448...
Страница 470: ...3 Select Detect paper setting mismatch 3 4 Select Disable 4 470...
Страница 476: ...3 Select Detect paper setting mismatch 3 4 Select Disable 4 476...


