


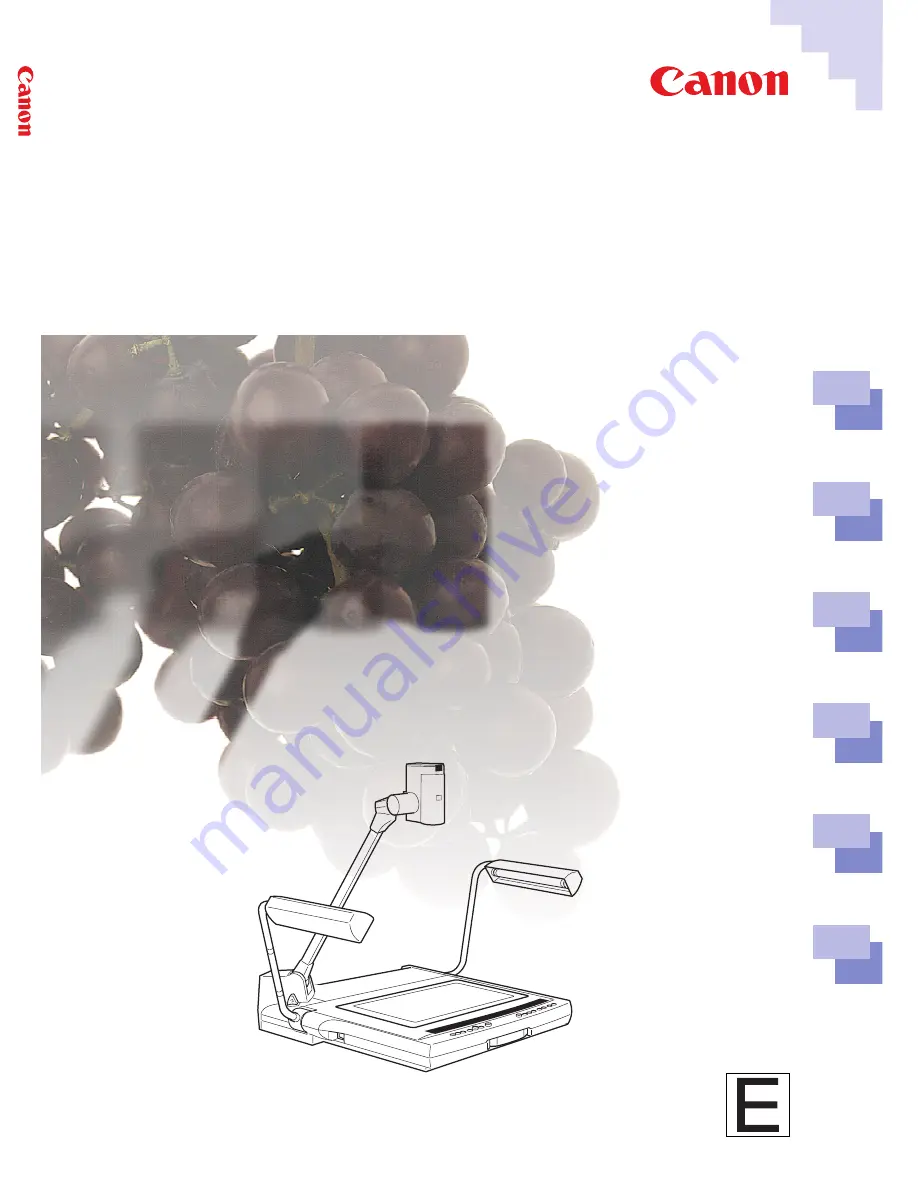
DIGITAL DOCUMENT CAMERA
DZ-3600U
▼
▼
▼
▼
▼
3
1
2
4
5
Please read this User’s Guide carefully before operation.
Be sure to read the “Safe Use of the Equipment” section before using this equipment.
Store this Guide in a readily accessible location for future reference.
S
etup for Operation
with a Computer
M
astering the
Basics
▼
▼
▼
▼
▼
User’s Manual
An i
ntroduction
to the Features
O
perating without
a Computer
▼
▼
▼
▼
▼
▼
▼
▼
▼
▼
▼
▼
▼
▼
▼
▼
▼
▼
▼
▼
T
roubleshooting
A
ppendix
ENGLISH
CANON INC.
30-2, Shimomaruko 3-chome, Ohta-ku, Tokyo 146-8501, Japan
U.S.A. —— CANON U.S.A., INC. NEW YORK OFFICE
One Canon Plaza, Lake Success, NY 11042, U.S.A.
Phone: 516-328-5960
CANON U.S.A., INC. LOS ANGELES OFFICE
15955 Alton Parkway, Irvine, CA 92718-3616, U.S.A.
phone: 714-753-4320
JAPAN —— CANON SALES CO., INC.
7-2, Nakase 1-chome, Mihama-ku, Chiba 261-8711, Japan
IMPRIMÉ AU JAPON
PUB.Z-IE-095-VI
1198SE2
©CANON INC. 1998
PRINTED IN JAPAN
DIGIT
AL DOCUMENT CAMERA
DZ-3600U
U
ser’
s Manual
Содержание DZ-3600U
Страница 14: ...1 Chapter 1 Setup for Operation with a Computer ...
Страница 24: ...2 Chapter 2 Mastering Basic Operations ...
Страница 38: ...3 Chapter 3 An Introduction to the Features ...
Страница 88: ...4 Chapter 4 Operating without a Computer ...
Страница 98: ...5 Chapter 5 Troubleshooting ...
Страница 104: ...105 Appendix ...


